About this video
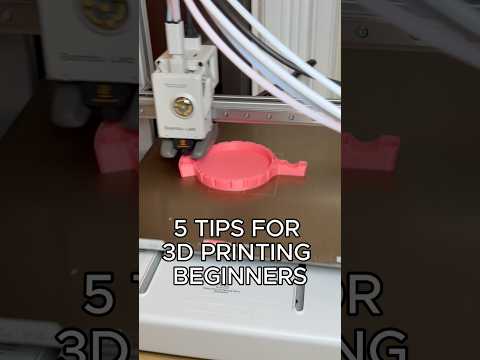
The Infill Setting That Saves Hours
If you've ever watched your 3D printer chug away for hours on end, there's a simple slicer trick that can dramatically reduce print time: lowering your infill percentage.
What Is Infill?
Infill is the internal structure of a 3D printed object. It determines how much material fills the inside of your print. Most slicers default to 15-20% infill, which is often overkill for functional and decorative prints alike.
Why 5% Infill Works
Setting infill to 5% dramatically reduces:
- Print time (often 30-50% faster)
- Material consumption
- Filament costs
A simple change from the default 20% down to 5% can shave hours off larger prints while maintaining adequate structural integrity for most projects.
How to Change Infill in Popular Slicers
Cura:
- Open your model in Cura
- Navigate to the infill section in the right panel
- Adjust the slider to 5%
PrusaSlicer:
- Go to Print Settings > Infill
- Change infill density to 5%
Simplify3D:
- Select Infill tab
- Set fill density to 0.05 (5%)
When to Use Higher Infill
While 5% works for most prints, consider 15-20%+ for:
- Functional parts under mechanical stress
- Load-bearing components
- Enclosed containers needing rigidity
Additional Time-Saving Tips
- Increase layer height (0.2mm vs 0.1mm) for faster prints
- Reduce wall count for non-functional prototypes
- Use tree supports instead of standard supports
FAQ
Does 5% infill make prints weak?
For decorative items and prototypes, 5% provides sufficient strength. For functional parts, evaluate your specific load requirements.
Will my print look different?
Only the internal structure changes. External walls and top/bottom layers remain the same, so surface quality stays intact.
Does this work with all materials?
Yes, the infill percentage applies to PLA, PETG, ABS, and other common 3D printing filaments.