About this video
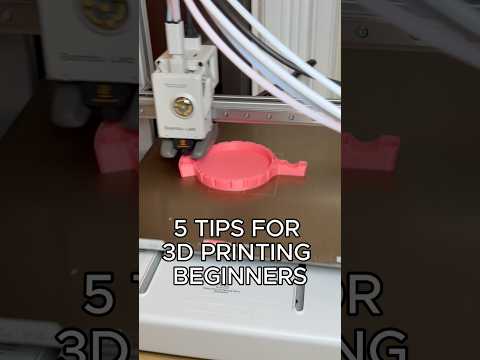
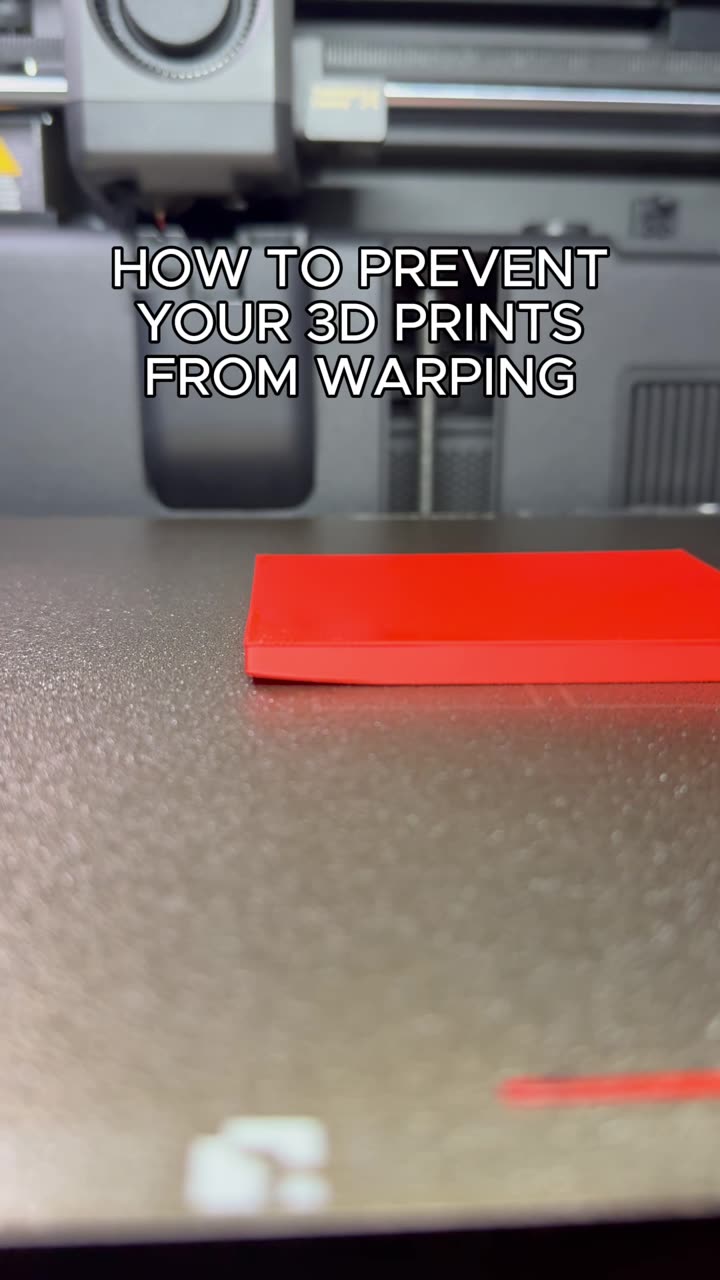
Why Split Large 3D Prints?
Printing large objects presents common challenges: bed adhesion issues, failed prints after hours of printing, and printer bed size limitations. Splitting your model into multiple parts solves all three problems while maintaining print quality.
Using the Slicer Cut Feature
Most modern slicers—including Cura, PrusaSlicer, and Bambu Studio—include built-in cut tools for splitting models:
- Select your model in the slicer preview
- Navigate to the cut option (usually found in the toolbar or right-click menu)
- Draw your cut line across where you want to split the model
- Choose "Add Connector" to insert alignment features
Types of Connectors
Connectors ensure your printed parts fit together precisely:
- Box connectors: Square-shaped, easy to print, good for structural parts
- Round dowel connectors: Provide smooth alignment
- T-slot connectors: Strong interlocking fit
- Press-fit connectors: Snap together without glue
Best Practices for Multi-Part Prints
- Place connectors along flat surfaces rather than curved areas
- Add 2-3 connectors per cut for stability
- Orient parts to minimize visible seam lines
- Consider print orientation for each individual piece
- Leave slight clearance for glue or friction-fit assembly
Recommended Settings
- Increase wall count near connector areas for strength
- Consider using the same layer height across all parts
- Enable "Merge overlapping volumes" for seamless slicing
FAQ
Q: Can I print different parts with different settings?
A: Yes, most slicers allow per-part settings for infill, supports, and layer height.
Q: What's the best way to attach printed parts?
A: Wood glue, super glue, or friction-fit connectors depending on your model requirements.
Q: Does splitting affect print strength?
A: Properly aligned connectors maintain structural integrity—sometimes stronger than single prints due to better layer adhesion.
Split large prints with confidence using these slicer techniques to overcome bed limitations and reduce failed print risks.