About this video
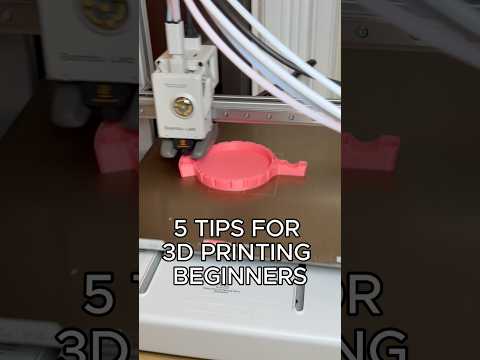
Setting Object Colors in Your 3D Print Slicer
Multi-color 3D printing has become increasingly accessible thanks to modern slicer software. Whether you're using PrusaSlicer, Cura, Bambu Studio, or OrcaSlicer, assigning colors to your models is straightforward once you understand the workflow.
Getting Started with Multi-Color Prints
Before setting colors, ensure your slicer is configured with the filaments you plan to use. Most slicers allow you to add multiple filament profiles under the printer or material settings. Common configurations include:
- Single extruder with manual filament changes
- Multi-material units (like the Prusa MMU2)
- Bambu Studio's AMS (Automatic Material System)
- IDEX systems with dual independent extruders
Step-by-Step Process
-
Add your filaments: Navigate to your slicer's material or filament settings and add each color you intend to use. Most slicers will assign a number to each filament automatically.
-
Import your models: Load all the objects you want to print into the slicer's build plate.
-
Select the object: Click on the specific model you want to assign a color to.
-
Assign the color: Use your keyboard to press the number corresponding to your desired filament. In most slicers, pressing 1, 2, 3, etc., will quickly change the object's assigned color.
-
Verify and slice: Preview the color assignment in the slicing preview and make adjustments as needed.
Pro Tips for Multi-Color Printing
- Label your filaments clearly to avoid confusion during long prints
- Check purge tower settings if using a multi-material setup to manage filament changes
- Consider color order when placing objects to minimize purge waste
- Save color presets for projects you print frequently
Common Slicer Shortcuts
Each slicer handles color assignment slightly differently. PrusaSlicer uses the number keys directly, while Cura requires right-clicking objects. Bambu Studio integrates this seamlessly with its AMS interface.
Frequently Asked Questions
Can I print different colors on the same object?
Yes, many slicers support paint-on tools to assign specific faces or layers to different colors.
Do I need special hardware?
Not necessarily. Even single-extruder printers can achieve multi-color results through pause-and-change methods.
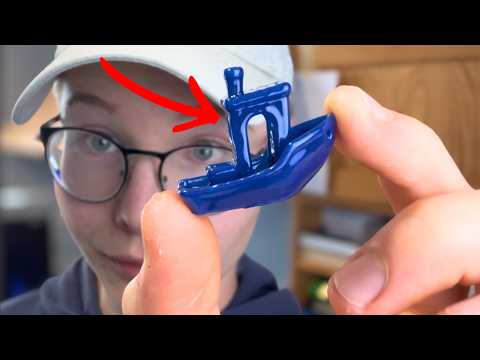
Will multi-color printing affect print quality?
When properly configured, color changes have minimal impact on overall print quality.
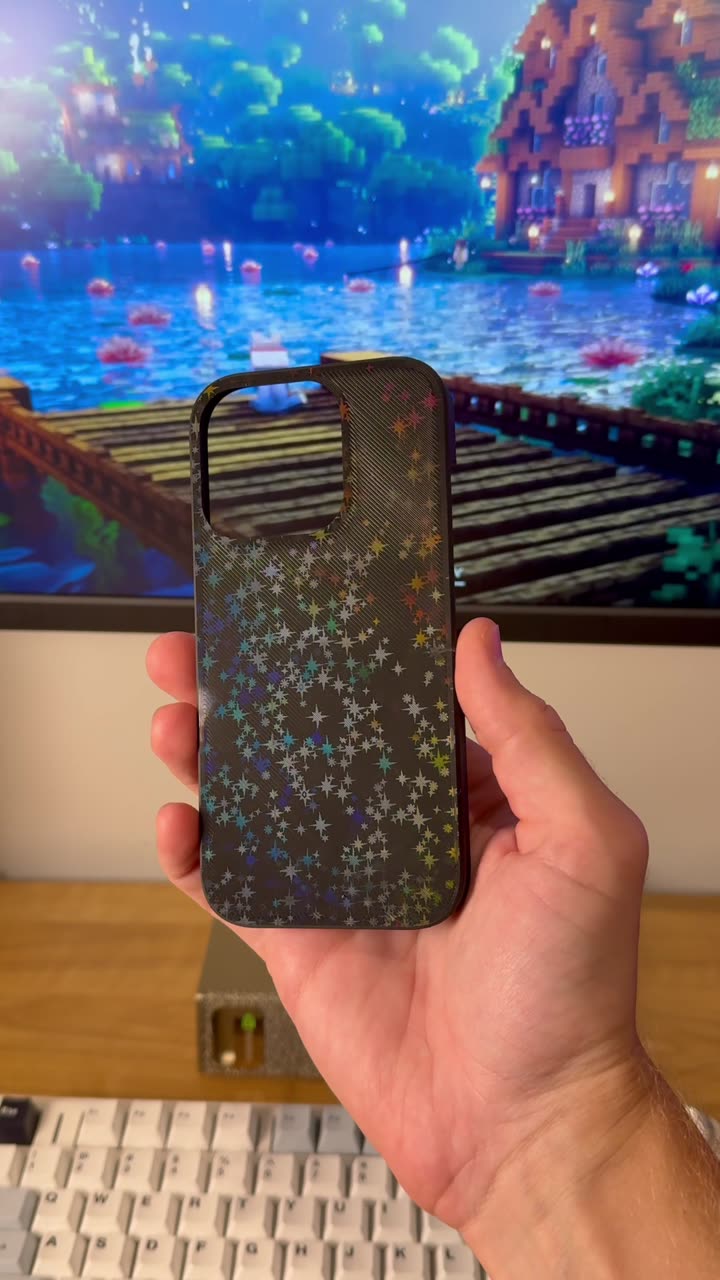
Mastering color assignment in your slicer opens up creative possibilities for labeling, prototyping, and producing visually striking 3D printed objects.