About this video
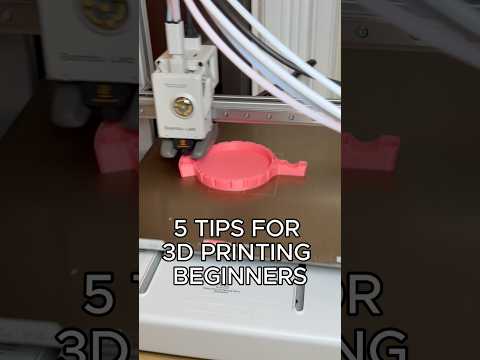
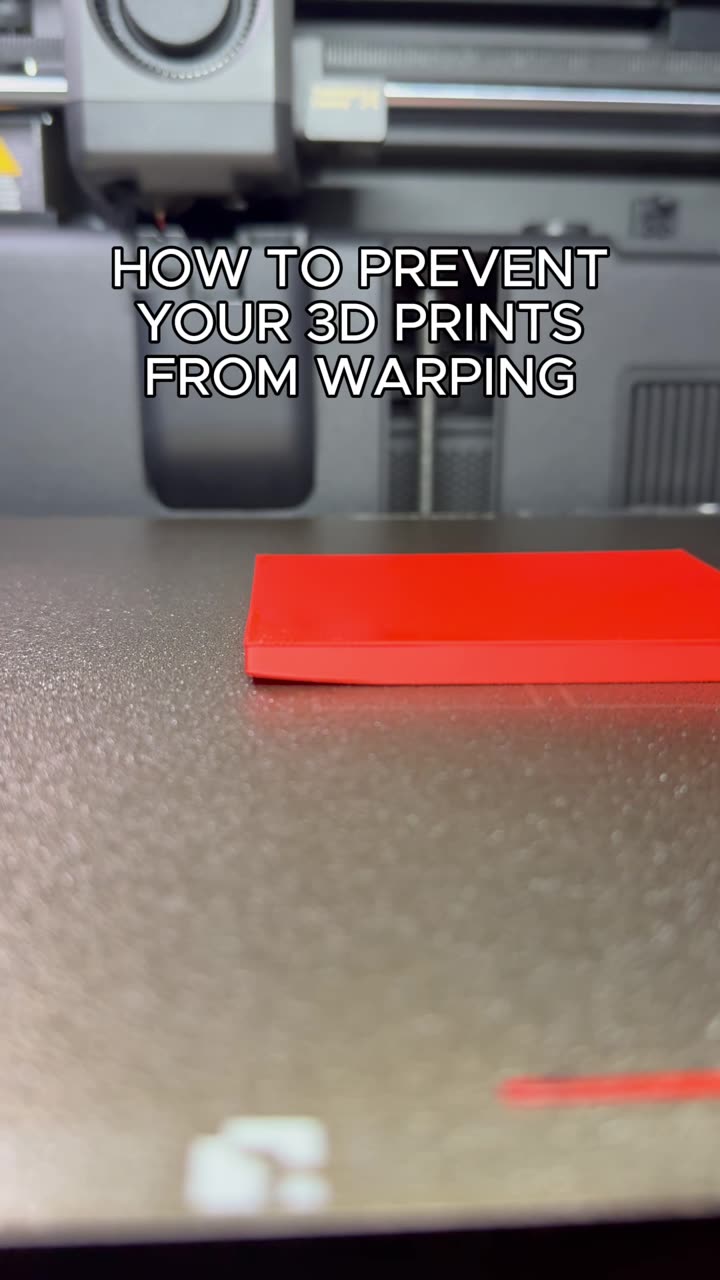
What is a Brim in 3D Printing?
A brim is a single-layer flat outline that extends outward from the base of your 3D print. It's used to improve bed adhesion for parts with small footprints, reducing the risk of warping or detachment during printing. Once printing is complete, the brim needs to be removed—and that's where many makers struggle with messy, ragged edges.
The Brim Gap Trick: 0.1mm Makes All the Difference
The secret to clean brim removal lies in a simple slicer setting: brim gap. By default, many slicers position the brim directly against your print, fusing the two together. Increasing the brim gap to 0.1mm creates a tiny air gap between the print and the brim, allowing it to snap off cleanly without leaving jagged marks or damaging the print surface.
How to Set Brim Gap in Popular Slicers
- Cura: Go to Build Plate Adhesion → Brim Gap → Enter 0.1
- PrusaSlicer: Print Settings → Advanced → Support Material → Brim Gap → Set to 0.1
- OrcaSlicer: Plate Logic → Bed Adhesion → Brim Gap → 0.1
- SuperSlicer: Print Settings → Output Options → Brim Gap → 0.1
Tips for Best Results
- Ensure your first layer is properly calibrated before enabling brim gap
- For ABS prints, consider slightly larger gaps (0.15-0.2mm) due to thermal contraction
- Test on a small calibration print first if you're unsure
- Clean your print bed between runs for consistent adhesion
Common Issues and Troubleshooting
- Brim not releasing: Increase gap to 0.15-0.2mm
- Print detaching during printing: Reduce gap or ensure proper bed adhesion elsewhere
- Uneven first layer: Recalibrate your Z-offset before adjusting brim settings
Frequently Asked Questions
Does brim gap affect print strength?
No, the gap only affects brim removal. Print structural integrity remains unchanged.
Can I use brim gap with skirts?
Yes, brim gap works independently and can be used alongside skirts if needed.
What materials benefit most from this setting?
PLA, PETG, and ABS all benefit from cleaner brim removal with this technique.
This simple one-step adjustment in your slicer can significantly improve your post-processing workflow, saving time and delivering cleaner finished prints.