About this video
What is Fuzzy Skin in 3D Printing?
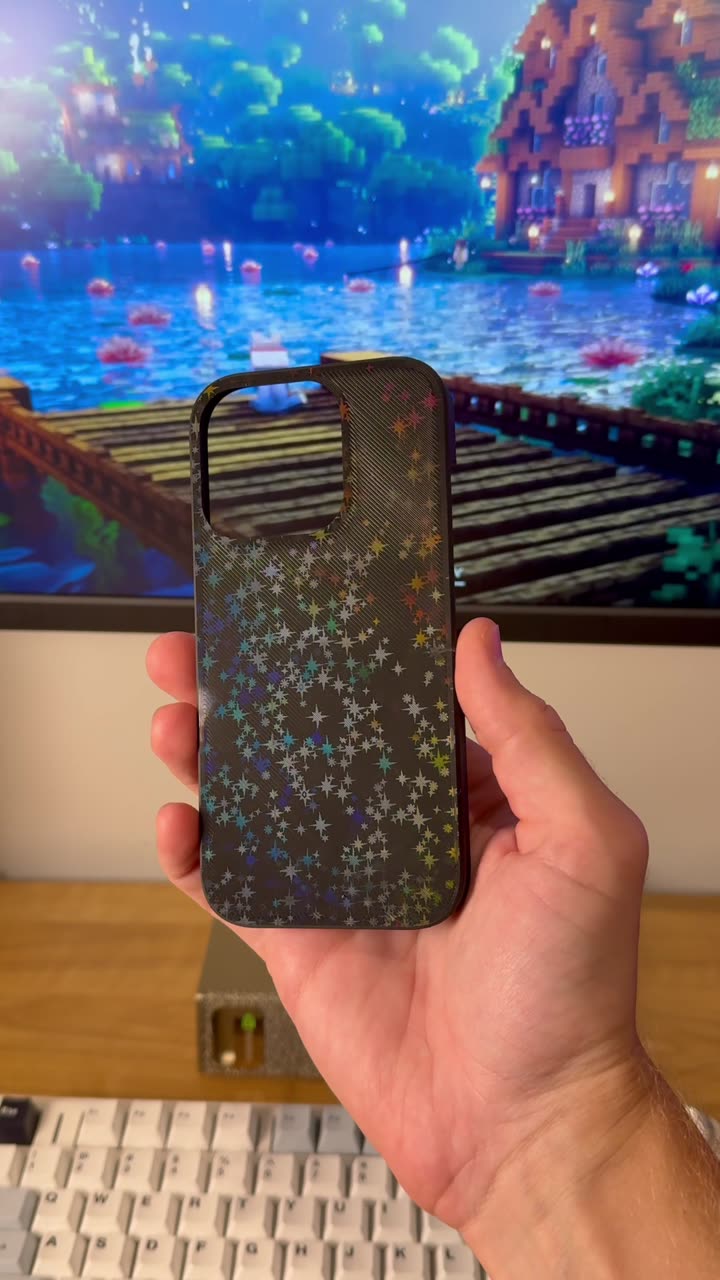
Fuzzy skin is a slicer setting that adds a unique textured surface to your 3D prints. Instead of the typical smooth exterior, your print gets a slightly rough, matte finish that resembles a fuzzy or furry texture. This technique works exceptionally well for reducing visible layer lines, creating stealthy matte finishes for cosplay props, or adding grip texture to functional parts.
How to Enable Fuzzy Skin in Your Slicer
Adding fuzzy skin to any model takes just seconds:
- Open your 3D model file in your preferred slicer software
- Navigate to the "Other" tab in your slicer settings
- Scroll down until you locate the "Fuzzy Skin" option
- Change the setting from "None" to "Contour"
- Slice your model and send it to your printer
Benefits of Using Fuzzy Skin
- Hides layer lines: Perfect for prints with visible layer striations
- Adds grip texture: Ideal for handles,工具, and ergonomic grips
- Unique aesthetic: Creates a distinctive matte finish
- Beginner-friendly: No additional hardware or materials required
Tips for Best Results
- Fuzzy skin affects only the outer shell of your print
- Works best with PLA, PETG, and TPU filaments
- Test on small prints first to gauge the texture intensity
- Combine with other settings like wall thickness for varied effects
FAQ
Does fuzzy skin affect print strength?
Fuzzy skin primarily affects the surface appearance and may slightly alter dimensional accuracy on outer walls.
Can I use fuzzy skin on all models?
Yes, fuzzy skin can be applied to virtually any model in your slicer.
Which slicers support fuzzy skin?
PrusaSlicer, SuperSlicer, and Bambu Studio all include fuzzy skin options in their settings.