About this video
Why Bambu Studio Tips Matter for 3D Printing Beginners
Jumping into 3D printing can feel overwhelming, especially when you're staring at a slicer full of buttons you don't yet understand. Bambu Studio is one of the most beginner-friendly slicers available, but a few hidden features can completely change your results from "first-try chaos" to clean, reliable prints. The five tips in this video are the exact shortcuts every new maker should learn on day one.
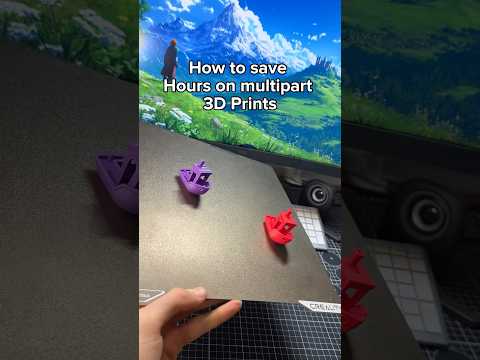
1. Use the Arrange Button on a Messy Print Bed
If your build plate looks like a scatter-plot of random models, the Arrange button does the work for you. Instead of dragging parts one by one, the slicer automatically spaces every model evenly across the bed while avoiding collisions.
- Perfect for batch printing multiple small parts
- Saves time versus manual placement
- Reduces the chance of parts fusing together
2. Lay Any Model Flat in One Click
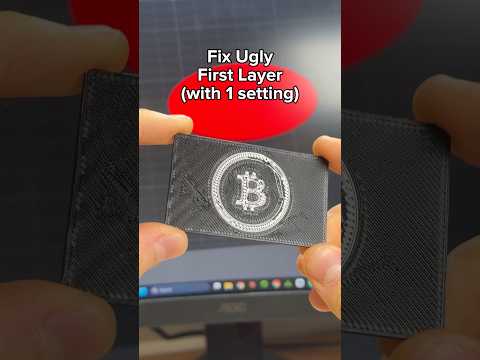
Crooked first layers are one of the most common beginner 3D printing mistakes. In Bambu Studio, the "Lay on Face" button snaps your model to the flattest surface instantly.
- No more guessing angles
- Great for organic or unevenly modeled parts
- Improves bed adhesion on the very first try
3. Smoother Details with Variable Layer Height (Adaptive)
Standard layer heights make everything look slightly "stepped," especially on curves. Switching to Adaptive Variable Layer Height tells the slicer to use thinner layers only where geometry curves or slopes demand it.
- Flat areas still print fast
- Curved surfaces look noticeably smoother
- Minimal impact on total print time
4. Paint Supports Only Where You Need Them
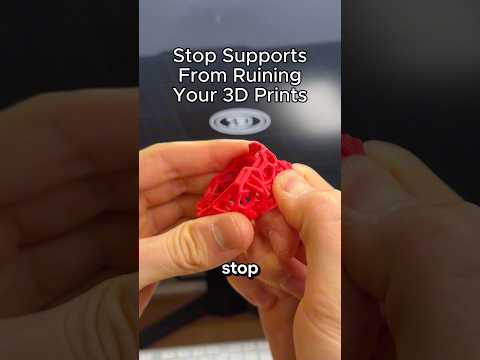
Tree and grid supports are great, but they waste filament when they wrap around areas that don't actually need them. The Support Painting tool lets you literally paint support zones onto your model.
- Saves filament on every print
- Makes post-processing cleanup faster
- Reduces scarring on visible faces
5. Cut Large Models into Printable Pieces
Some models simply won't fit on your build plate. Bambu Studio's Cut Tool lets you slice the model into parts, then automatically add plugs and connectors so the pieces snap back together after printing.
- Print oversized models on any printer
- Built-in alignment features make assembly easy
- Ideal for cosplay, helmets, and furniture-scale prints
Beginner FAQs
Do these tips work in other slicers?
Most concepts exist in Cura, PrusaSlicer, and OrcaSlicer, but the exact button names and locations may differ slightly.
Will adaptive layer height slow my prints?
Marginally, but the visual improvement on curved or detailed areas is usually worth it.
Is support painting safe for beginners?
Yes — just remember to repaint the support zone if you rotate or scale the model.