About this video
Why First Layer Color Spill Happens
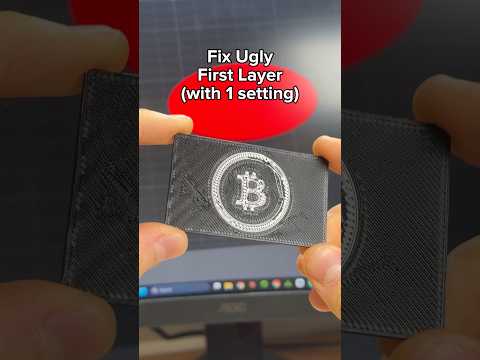
Color spill on the first layer is one of the most common issues with multi-material and multi-color 3D printing. When your slicer runs an auto filament sequence, it decides the purge and prime order for you, which often means the wrong color lays down first. The result is a muddy, contaminated base where colors bleed into each other, ruining the look of detailed prints like lithophanes, logos, and color-coded models.
The 10-Second Fix in Your Slicer
The video shows a fast workaround that works in most modern slicers that support custom filament ordering:
- Open your slicer and load your multi-color model.
- Click Customize Current Plate on the right-hand panel.
- Navigate to First Layer Filament Sequence.
- Switch the setting from Auto to Customize.
- Drag the color you want clean and visible on the first layer to position #1.
- Repeat the ordering for any additional layers if needed.
- Re-slice and print as usual.
This manual override forces the slicer to prime with your chosen filament before any others touch the build plate, dramatically reducing first-layer color contamination.
Tips for Cleaner Multi-Color First Layers
- Flush thoroughly: Even with the correct order, run a purge tower or prime blob to clear residual filament from the nozzle.
- Z-hop between swaps: Enable z-hop during tool changes to keep oozing strands off the print surface.
- Lower the first layer temperature: A slightly cooler first layer helps colors adhere without smearing into one another.
- Use a consistent filament brand: Mixing brands with different pigment bases increases bleed, even with proper sequencing.
- Calibrate your first layer height: A nozzle that is too close will drag color across the bed; too far and adhesion suffers.
FAQ
Does this work on every slicer?
Most modern slicers with multi-material support (Bambu Studio, PrusaSlicer, OrcaSlicer, SuperSlicer) expose a customizable filament sequence for the first layer.
Will this fix color spill on upper layers too?
It only addresses the first layer. For higher layers, use a properly sized purge tower and matching filament order throughout the print.
Do I need an AMS or MMU?
This trick is most useful with multi-filament systems, but it can also help when manually swapping filaments between prints.
How much purge is enough?
Start with your slicer's default purge volume and increase it if you still see bleed between highly contrasting colors.