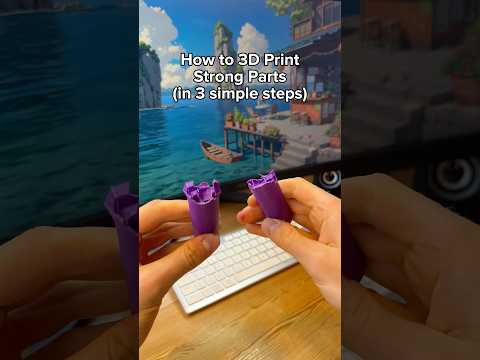
About this video
What Is a Snap Fit Connector in 3D Printing?
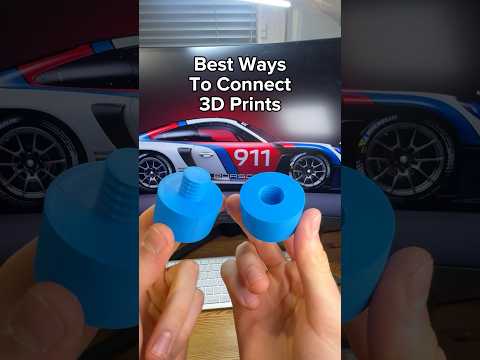
A snap fit is a mechanical joint that lets two 3D-printed parts click together without glue, screws, or extra hardware. By adding snap connectors directly inside your slicer, you skip hours of CAD redesign and go straight to functional, assembly-ready prints.
Step-by-Step: Adding Snap Fits in Your Slicer
- Open your model in the slicer and click the part you want to modify
- Select the Cut Tool from the top menu
- Adjust the cut plane so it sits where the two halves should meet
- Click Add Connectors and choose the snap-fit type
- Select middle of geometry to center the connector on your part
- Drag and resize the snap features to match your wall thickness and tolerance
- Hit Confirm Connectors and perform the cut
- Slice and print both halves — they should snap together by hand
Tips for a Reliable 3D Printed Snap Fit
- Keep the cantilever arm between 0.8x and 1.5x your wall thickness for the right flex-to-strength balance
- Add a 0.2–0.3 mm gap on mating faces to compensate for layer squish and extrusion bloom
- Print snap parts lying flat so the living hinge bends with the layer lines, not against them
- Use PETG or ABS for parts that flex repeatedly; PLA works but can fatigue and crack after a few cycles
- Test-fit once before committing to a full print run
Best Use Cases for Snap Fit Joints
- Enclosures and electronics cases
- Modular organizer bins and stackable containers
- Two-part molds, jigs, and casting forms
- Replaceable battery and accessory compartments
FAQ
Do snap fits actually work on FDM printers? Yes — FDM is the most common method because layer adhesion gives the cantilever its flex memory.
Can I use snap fits with resin prints? Yes, but keep walls thin, since cured resin is brittle and tends to snap instead of flex cleanly.