About this video
5 more do's and don'ts
Part 2 of the series. Part 1 covered infill, filament profiles, wall speed, supports and calibration. This one covers the details that make prints look professional.
| Don't | Do |
|---|---|
| Use a full outer brim | Use mouse ears (brim ears) on the corners for adhesion that's easy to remove |
| Let the Z-seam ruin your prints | Turn on scarf seam to spread the seam across the wall so it almost disappears |
| Let a dark color bleed into your first layer | Open plate settings and set the first-layer filament order so the light color prints first |
| Let small text disappear | Set the wall generator to Arachne so thin strokes print solid |
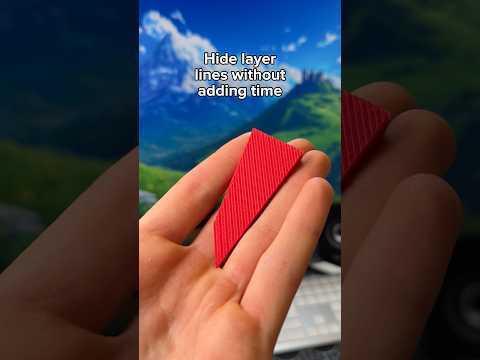
| Leave visible layer lines on curved prints | Use variable layer height to print curves with thinner layers |
How each one helps
- Mouse ears hold sharp corners down, which is where warping starts, without a brim around the whole part.
- Scarf seam blends the start and end of each wall loop instead of leaving a visible zipper or line.
- Light color first stops dark filament from showing through or smearing into light areas of the first layer in multicolor prints.
- Arachne varies the line width to fit fine lettering. More fixes are in 3 ways to fix your text in 3D prints.
- Variable layer height keeps flat areas fast while smoothing domes and curves.
Related
FAQ
Where is scarf seam in Bambu Studio?
In the process settings under Quality → Seam. It's also available in OrcaSlicer.
Does variable layer height slow prints down?
Only on the curved areas that get thinner layers. Flat sections stay at your normal layer height.