Description
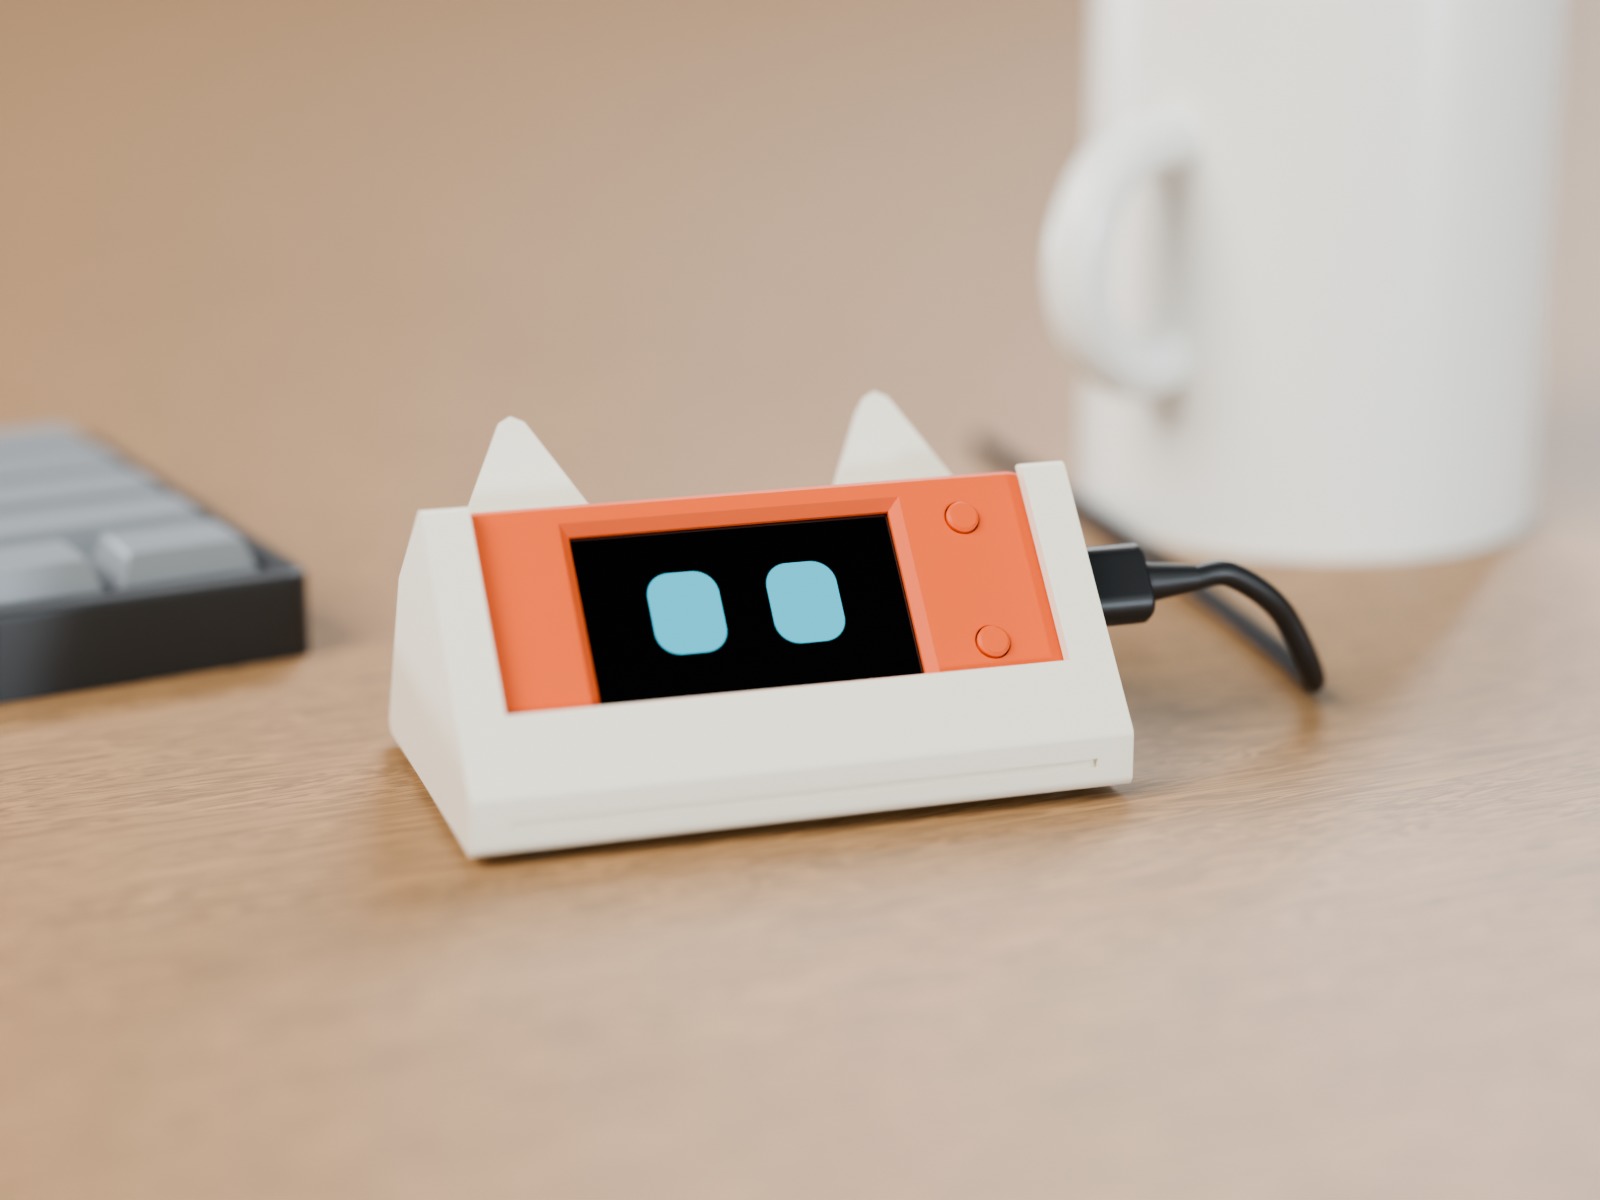
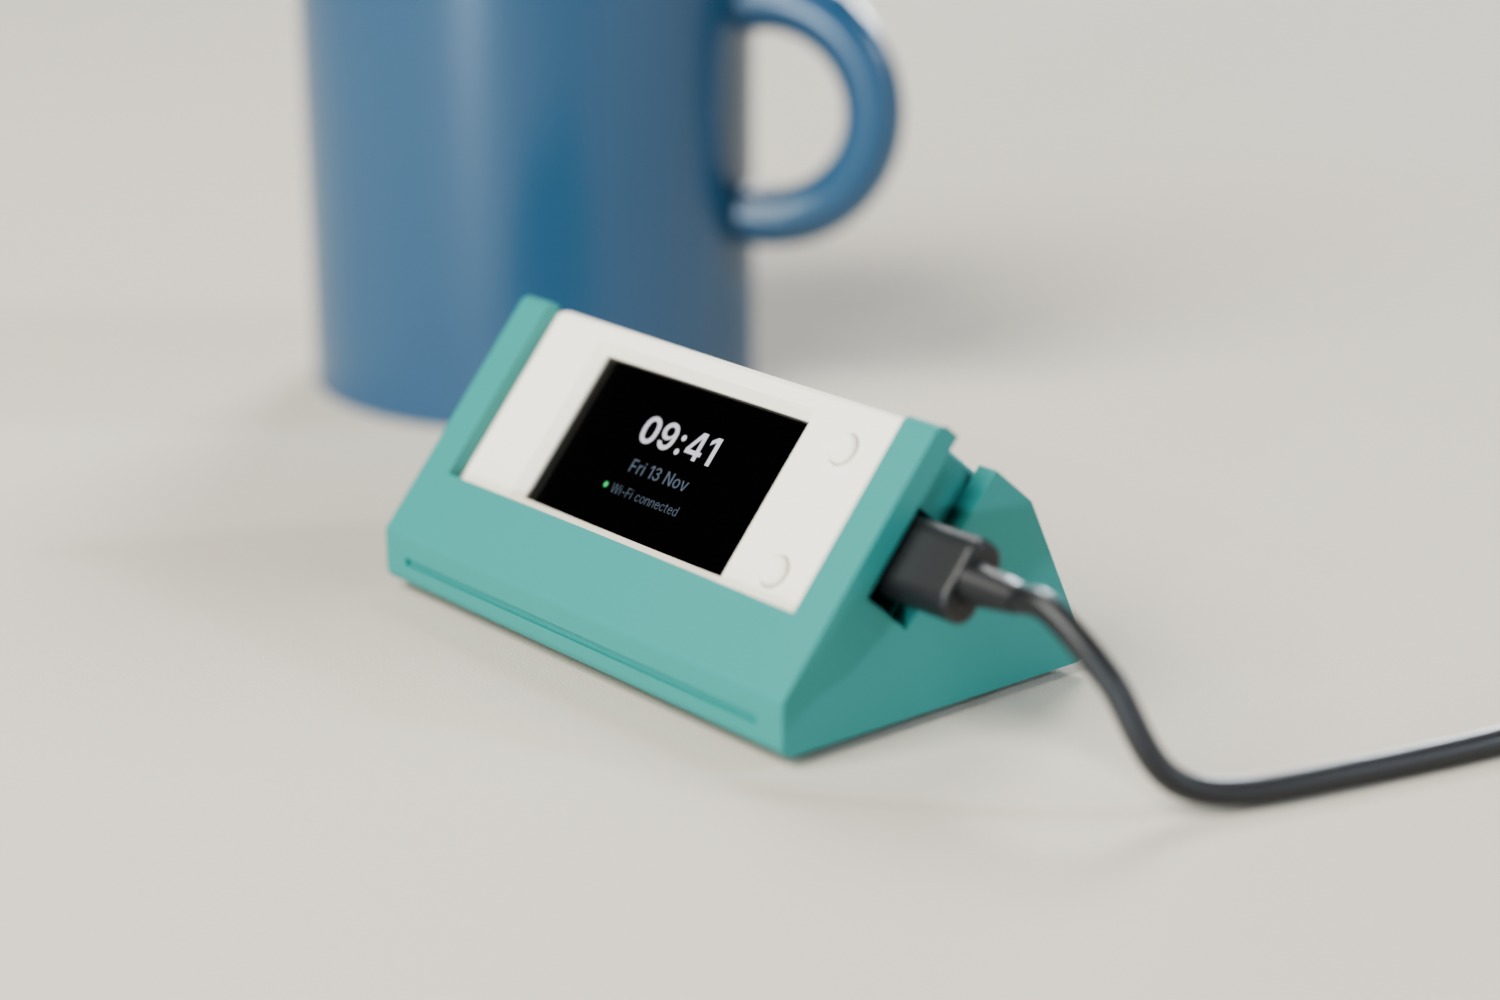
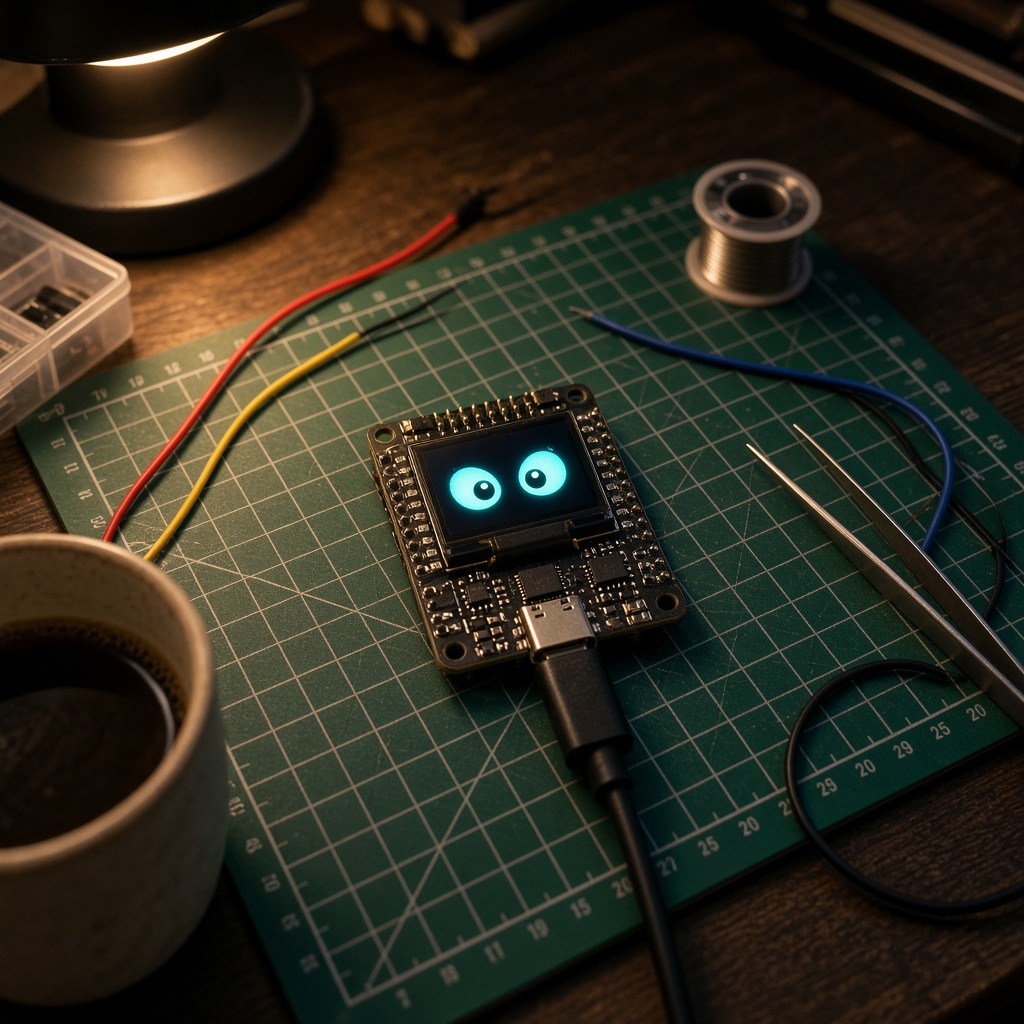
A little face for the desk. Two eyes that blink, look around, get sleepy when you ignore them, and run a focus timer when you actually need to get something done.
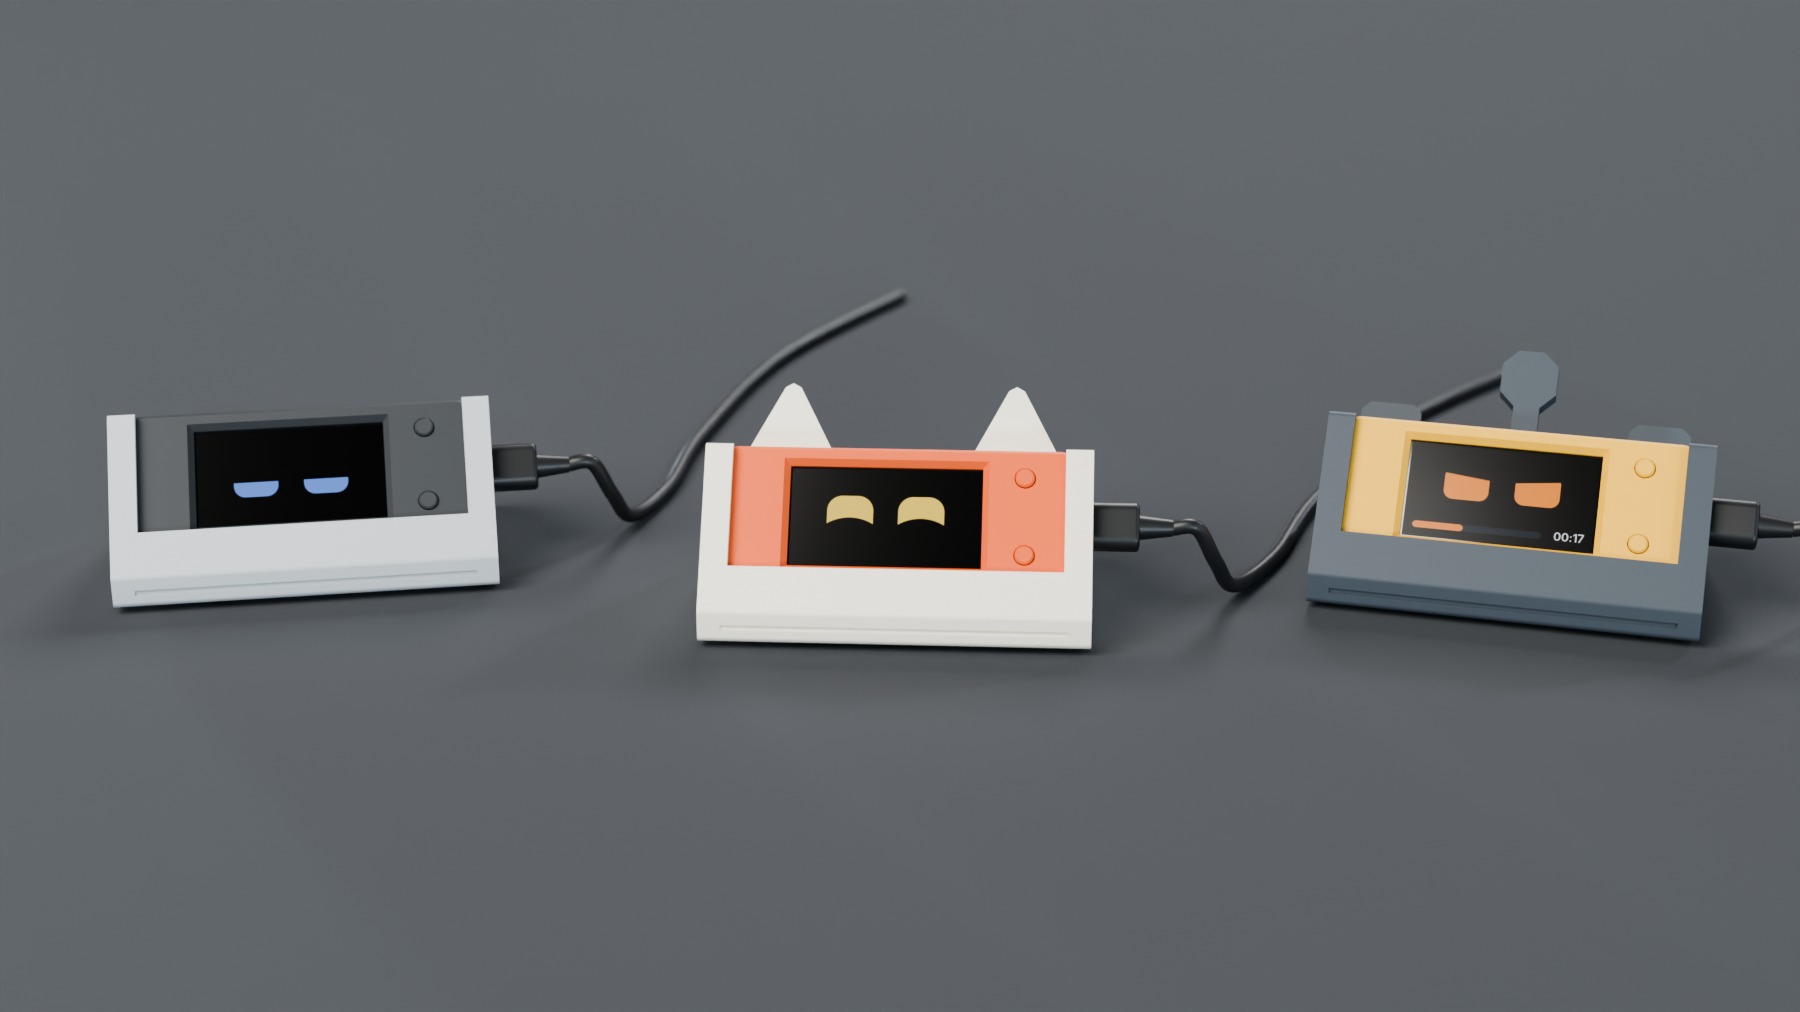
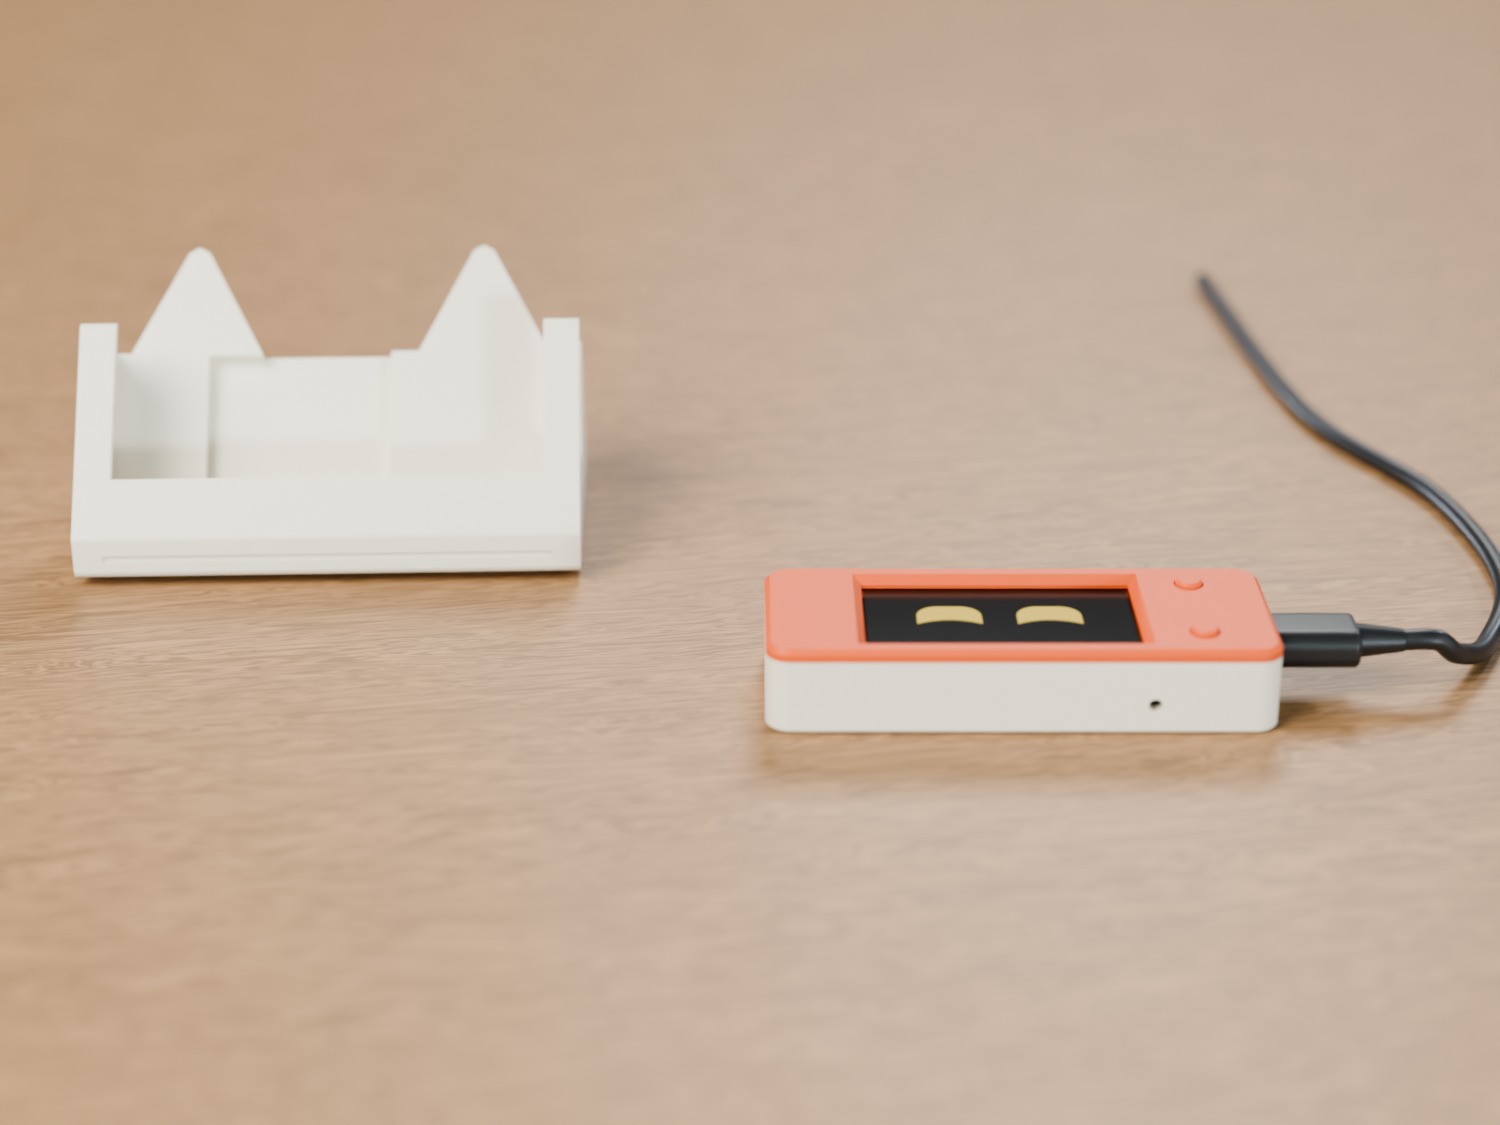
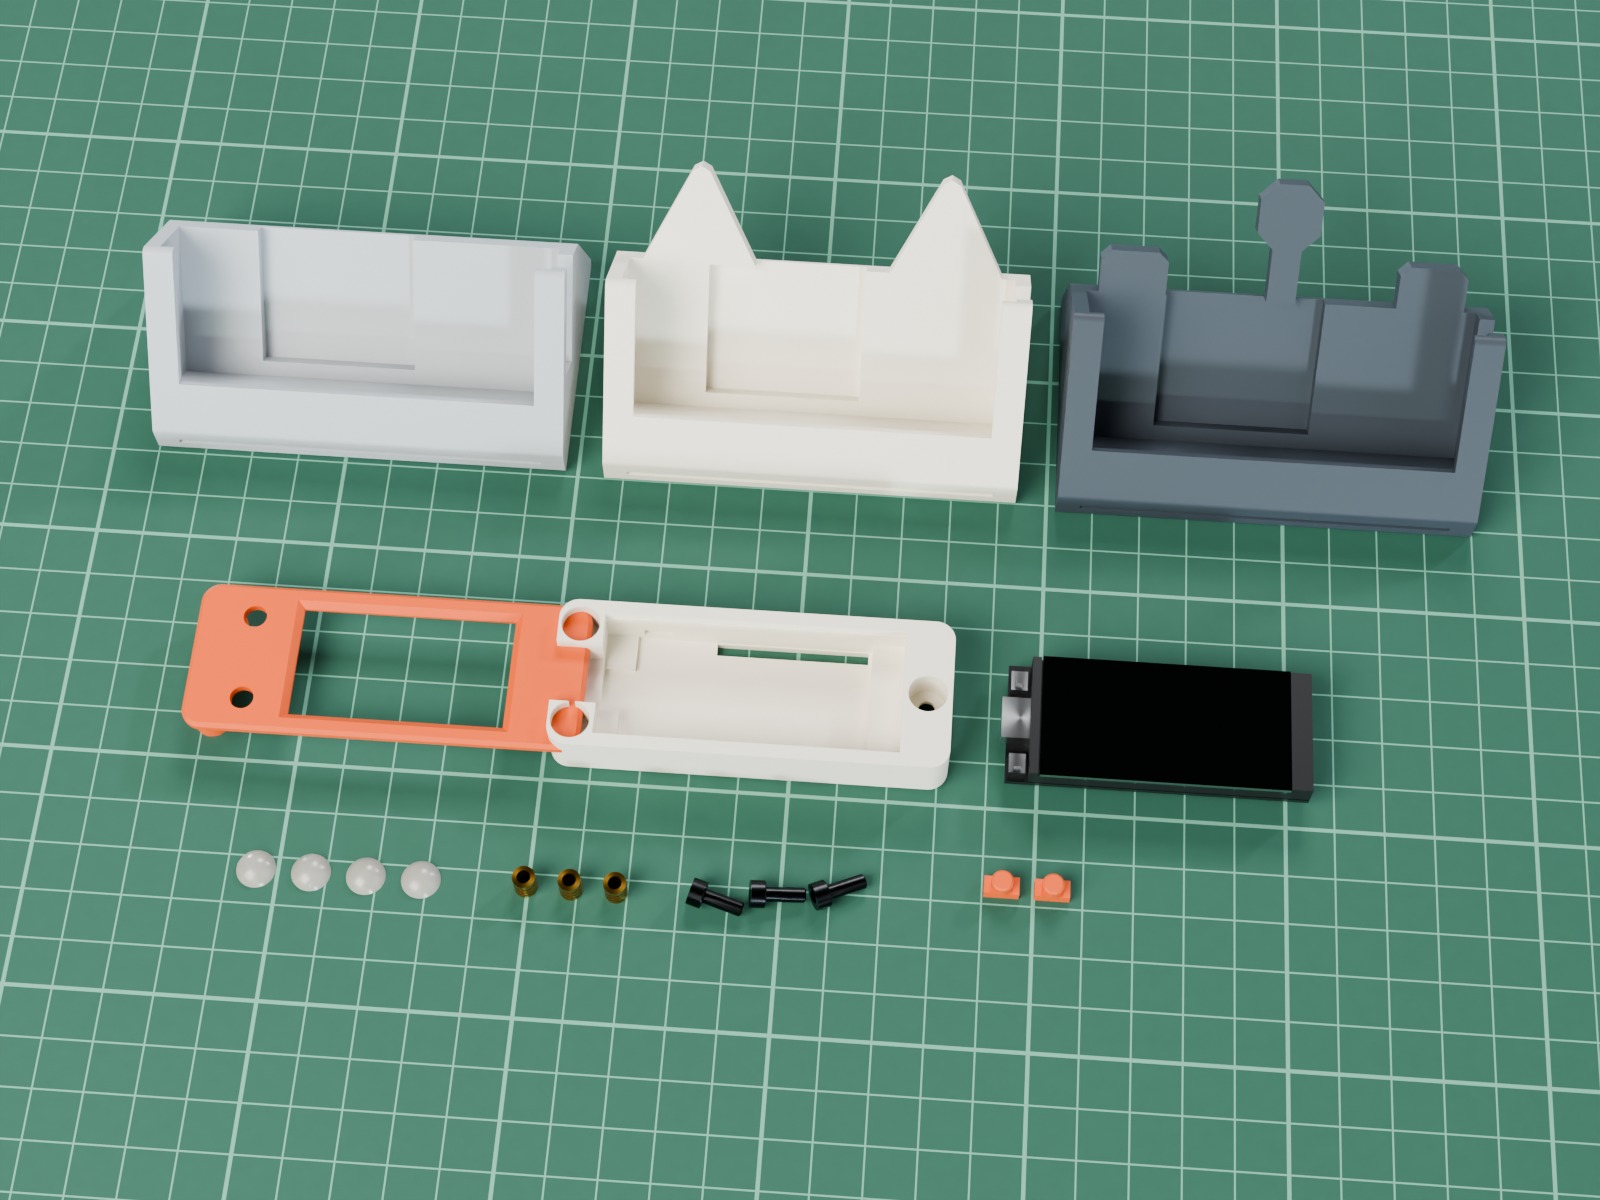
It all runs on one LILYGO T-Display-S3. The board sits in a small screw-together cartridge (I call it the T-Core) and the cartridge slides into a shell. There are three shells: Mono (plain), Kit (cat ears) and Bolt (antenna and side lugs). They all have the same pocket, so you can swap the outside without touching the electronics. The shells lean the screen back 40 degrees, so pressing a button pushes it into the desk instead of tipping it over.
What it does:
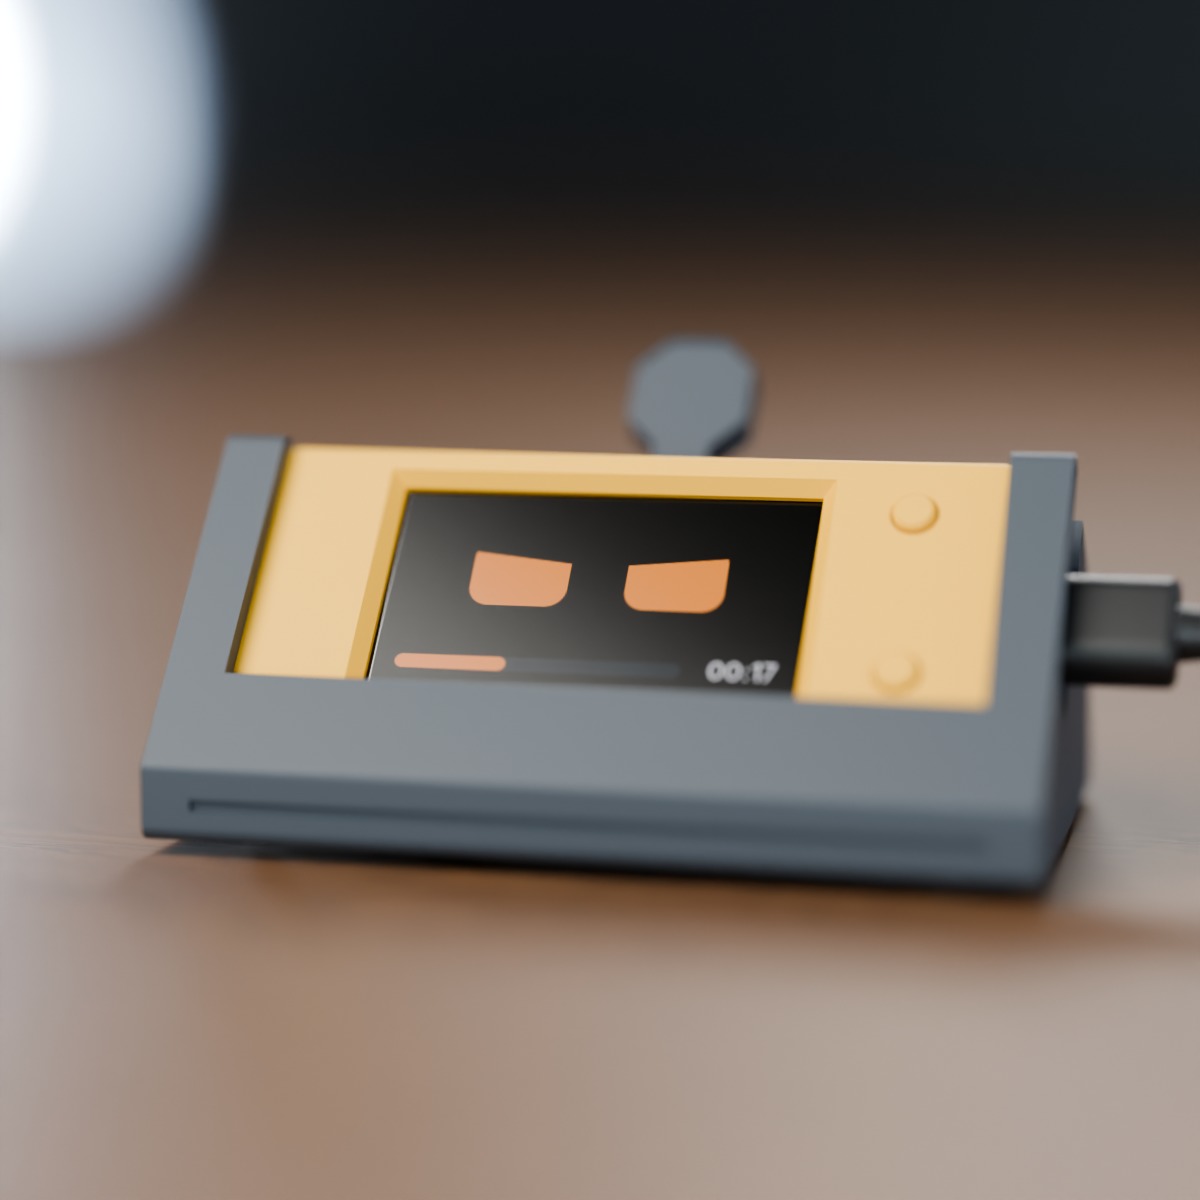
- Six moods (neutral, happy, sleepy, surprised, focused, annoyed) with random blinks and glances. Poke it five times fast and it gets annoyed.
- Focus timer on one button. Press to start, pause or resume, hold to reset. Hold it while idle to pick 25, 5, 15 or 45 minutes.
- The other button pokes the face. Hold it for a clock page. The clock needs Wi-Fi once to get the time, everything else works offline.
- After two minutes on its own it gets sleepy and dims the screen.
You need:
- LILYGO T-Display-S3, non-touch. The H569 without pins is the one I designed for, the H577 with soldered pins also fits (there's a relief for the pins)
- USB-A to USB-C data cable
- 3 M3 heat-set inserts, 5.7 mm long
- 3 M3 x 8 socket head screws
- 4 rubber bumpers, 8 mm
- About 50 g of PLA for the cartridge and one shell
- Optional: a 12 mm passive piezo if you want it to beep
Roughly US$14 in parts if you already have a printer and an iron.
It won't fit the Touch or AMOLED versions of the T-Display-S3 or the older ESP32 T-Display.
Printing: PLA is fine, nothing gets warm. 0.2 mm layers, 3 walls, 15% infill, 4 walls on the two button caps. No supports anywhere. Bezel face down, tray flat back down, shells upright on their base. Everything fits a 180 mm bed. A contrasting colour for the bezel and caps looks nice. Print the pocket gauge first (about 10 minutes), the finished cartridge should slide through it with light friction.
Assembly takes about 15 minutes:
- Melt the three inserts into the bezel bosses with the iron at about 220 C.
- Drop the two button caps into their holes, round end first.
- Lay the board face down in the bezel and put the tray on. It only fits one way.
- Three screws from the back, snug and no more.
- Bumpers under the shell, slide the cartridge in with the USB end on the right, plug in.
Firmware is in totem_source.zip as a PlatformIO project, plus a prebuilt factory image. To flash the prebuilt one, hold both front buttons while you plug in the cable and write the .bin at offset 0x0 with esptool or Espressif's web flasher. For the clock, copy config.example.h to config.h and fill in your Wi-Fi and time zone. There's a host simulator and 40 tests you can run with make on a computer, no board needed. The zip also has the build guide, the wiring table and the CadQuery source if you want to change the fit or draw your own shell.
Where it's at: the firmware compiles, the tests pass, and the CAD was checked digitally against LILYGO's own board model. I haven't printed or built this one yet. On a first build I'd check how the buttons feel through the caps, whether the picture needs DISPLAY_ROTATION 3, which button ends up as poke and which as timer (SWAP_BUTTONS flips them), the clock over Wi-Fi, and that it stays put when you press it.
The third-party parts (LovyanGFX, the Arduino-ESP32 core in the prebuilt image, the Inter font bitmaps) keep their own licences, they're listed in the zip.
This model is licensed under
Creative Commons Public Domain
This licence allows derivative works. Open it in a tool to build on it — credit is filled in for you when you publish.
Totem ESP32-S3 desk buddy with swappable shells (T-Display-S3, no soldering)
Print Profiles
+Show Print ProfilesDiscussed in
Similar models
cable grommet • tv mount • drywall
Brush Cable Pass-Through Grommet for Drywall (1.5/2/3 in hole saw)

phone stand • desk organizer • desk tray
Case-Friendly Phone Stand & Desk Tray — Fits Phones in Cases up to 84 mm Wide, No Supports

raspberry pi 5 • pi 5 case • nvme
Slab 5 mini desktop case for Raspberry Pi 5 with Active Cooler and M.2 HAT+ NVMe




Comments