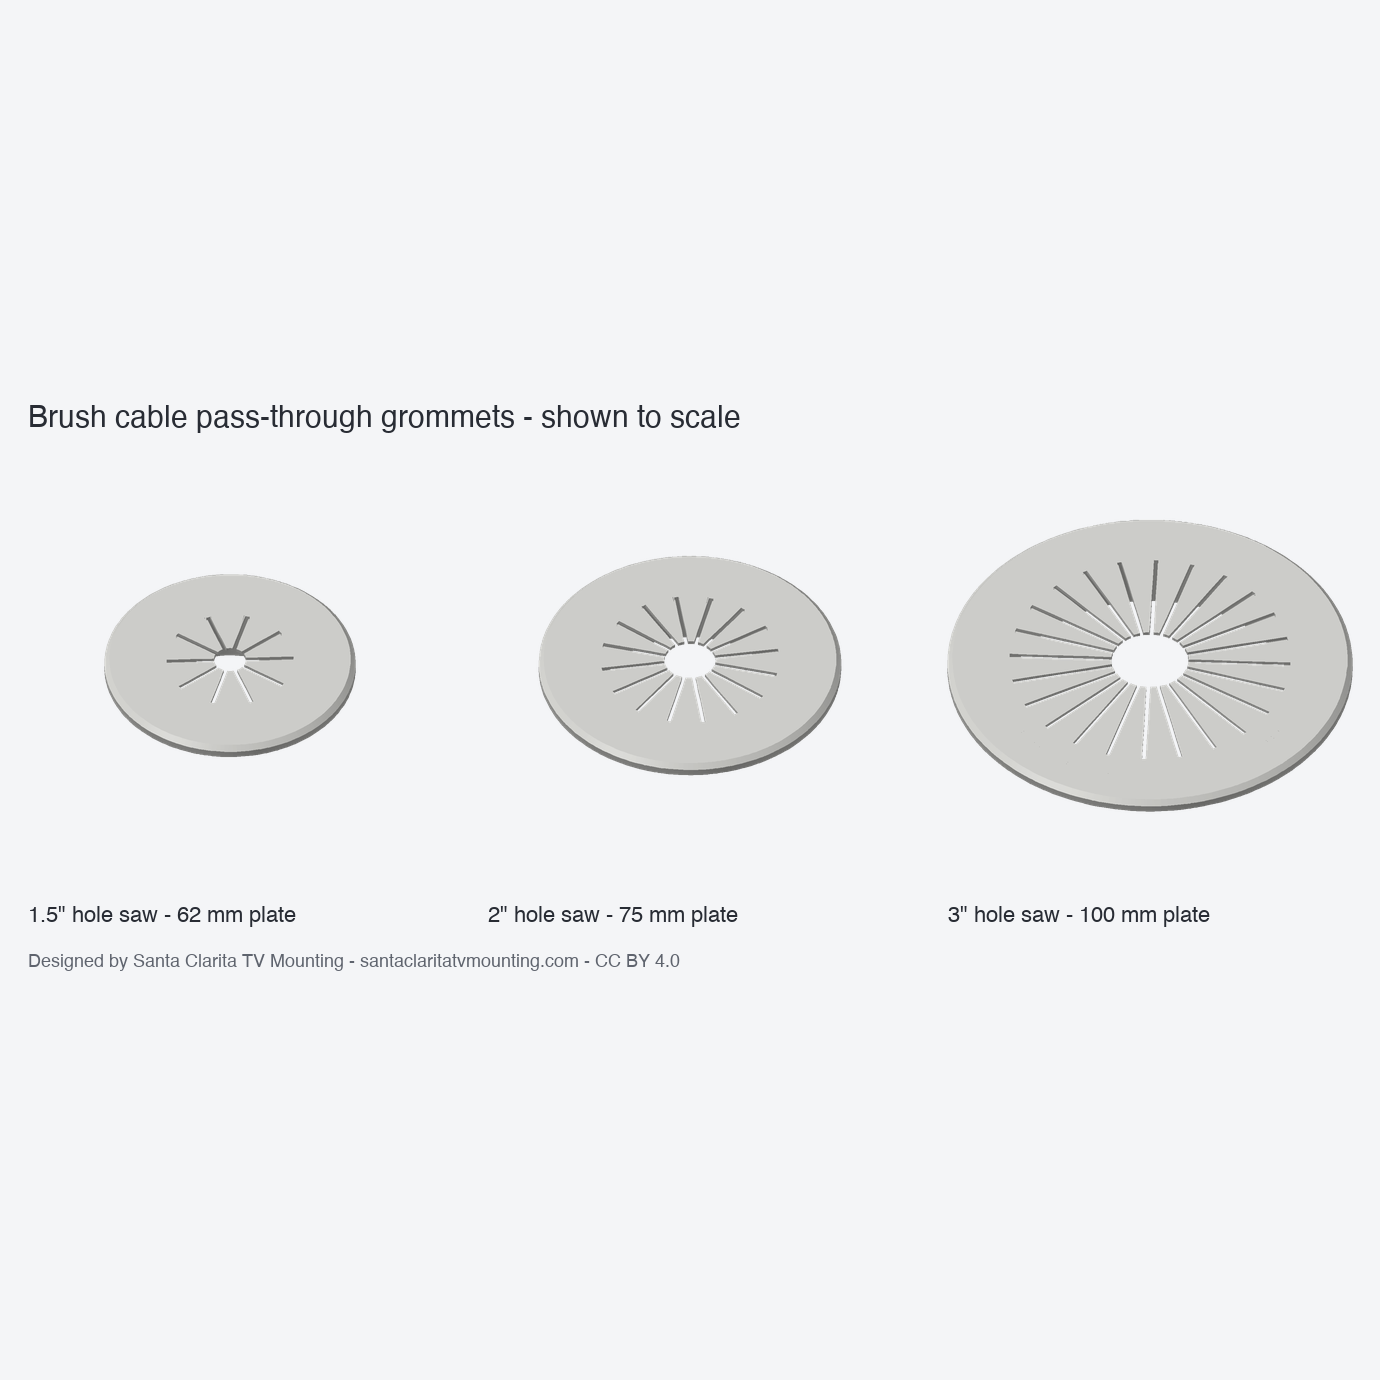
Description
A printable, parametric cover for the hole you cut behind a wall-mounted TV to route HDMI, power-kit and Ethernet cables through the drywall. It is one printed piece:
- a round face plate that hides the ragged edge of a hole-saw cut,
- a tapered press-fit collar that goes into the hole, sized for 1/2" (12.7 mm) drywall,
- a "brush" face of flexible radial fingers. Cables push through, the fingers close around them, and the hole behind them stays hidden.
Files
- grommet_1-5in_holesaw.stl: for a 1-1/2" (38.1 mm) hole. 62 mm plate, 10 fingers. Fits 1-2 cables.
- grommet_2in_holesaw.stl: for a 2" (50.8 mm) hole. 75 mm plate, 16 fingers. The usual TV + soundbar bundle.
- grommet_3in_holesaw.stl: for a 3" (76.2 mm) hole. 100 mm plate, 24 fingers. Large bundles, or connectors passed through whole.
Dimensions (defaults)
- Plate diameter: 62.1 / 74.8 / 100.2 mm
- Collar OD at plate / at tip: 38.4/37.5, 51.1/50.2, 76.5/75.6 mm
- Collar depth 12.2 mm, plate thickness 3.0 mm (all sizes)
- Bore: 33.5 / 46.2 / 71.6 mm
- Finger thickness 0.8 mm; center opening 8.0 / 12.7 / 19.1 mm
Print settings
- Material: PLA works. PETG is better: its fingers are tougher and flex more times without cracking. TPU (95A) also works if you want very soft fingers.
- Layer height: 0.2 mm, 0.4 mm nozzle.
- Orientation: as exported, face down (fingers on the bed, collar pointing up).
- Supports: none. No overhangs steeper than 45°.
- Walls / infill: 3-4 perimeters, 20-30% infill. The collar is 2 mm thick, so it ends up nearly solid either way.
- Brim: not needed; the face gives a large first layer.
- The face is the first layer, so a textured PEI or smooth sheet sets its finish. Print in white to match a typical wall, or paint it with wall paint afterwards.
Print time is about 35-60 minutes per part, using about 10-20 cm³ of filament.
How to fit it
- Mark the hole behind where the TV will sit. Check for studs, pipes and wiring first; a stud finder with AC detection helps. Check local code: power cords may not run inside a wall. Use an in-wall-rated power kit (CL2/CL3-rated low-voltage cable, or a recessed power kit).
- Cut with the matching hole saw (1-1/2", 2" or 3"). Clean off the paper fuzz.
- Run the cables through the hole before fitting the grommet. You can also pass each cable between two fingers from the front.
- Press the collar into the hole until the plate sits flat. The collar is 0.3 mm oversize at the plate and narrows toward the tip, so it pinches the drywall face. If your hole came out large, add a wrap of tape around the collar or a few dots of hot glue / removable mounting putty.
- Use a second grommet for the low (TV-stand or outlet-level) hole.
The collar is 0.5 mm shorter than the drywall is thick, so it never hits anything behind the wall.
Make your own size
The STLs come from a parametric Python generator (hole saw diameter, drywall thickness, plate overlap, finger count and thickness, press-fit and more). It refuses combinations that can't be printed. All three files pass mesh checks: watertight, manifold, consistent outward normals, no self-intersections, no unsupported overhangs.
Images are computer renders of the STL files, not photos of printed parts.
Designed with an AI-assisted parametric generator.
License: CC BY 4.0. Credit: Designed by Santa Clarita TV Mounting.
This model is licensed under
Creative Commons Attribution
This licence allows derivative works. Open it in a tool to build on it — credit is filled in for you when you publish.
Brush Cable Pass-Through Grommet for Drywall (1.5/2/3 in hole saw)

Print Profiles
+Show Print ProfilesDiscussed in
Similar models
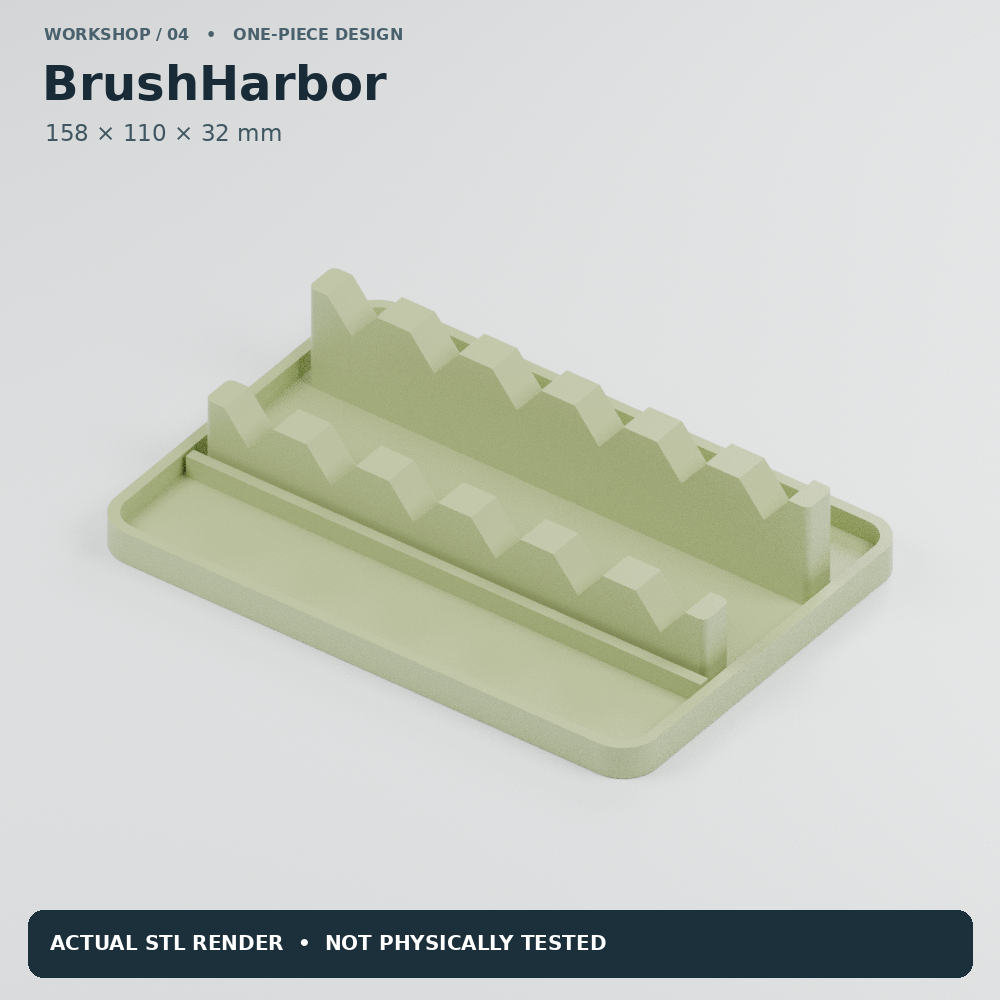
FunctionalPrintsChallenge • brush rest • hobby tools
BrushHarbor — Six-Lane Brush Rest with Integrated Catch Tray

esp32 • esp32-s3 • t-display-s3
Totem ESP32-S3 desk buddy with swappable shells (T-Display-S3, no soldering)
cable organizer • cable management • desk
Rill Weighted Desk Cable Organizer | Four Channels for USB-C Cables | Hidden Washer Ballast


FunctionalPrintsChallenge • sanding form • hand sanding
ContourSled — Flat, Curved & Chamfered Hand-Sanding Form





Comments