
Description
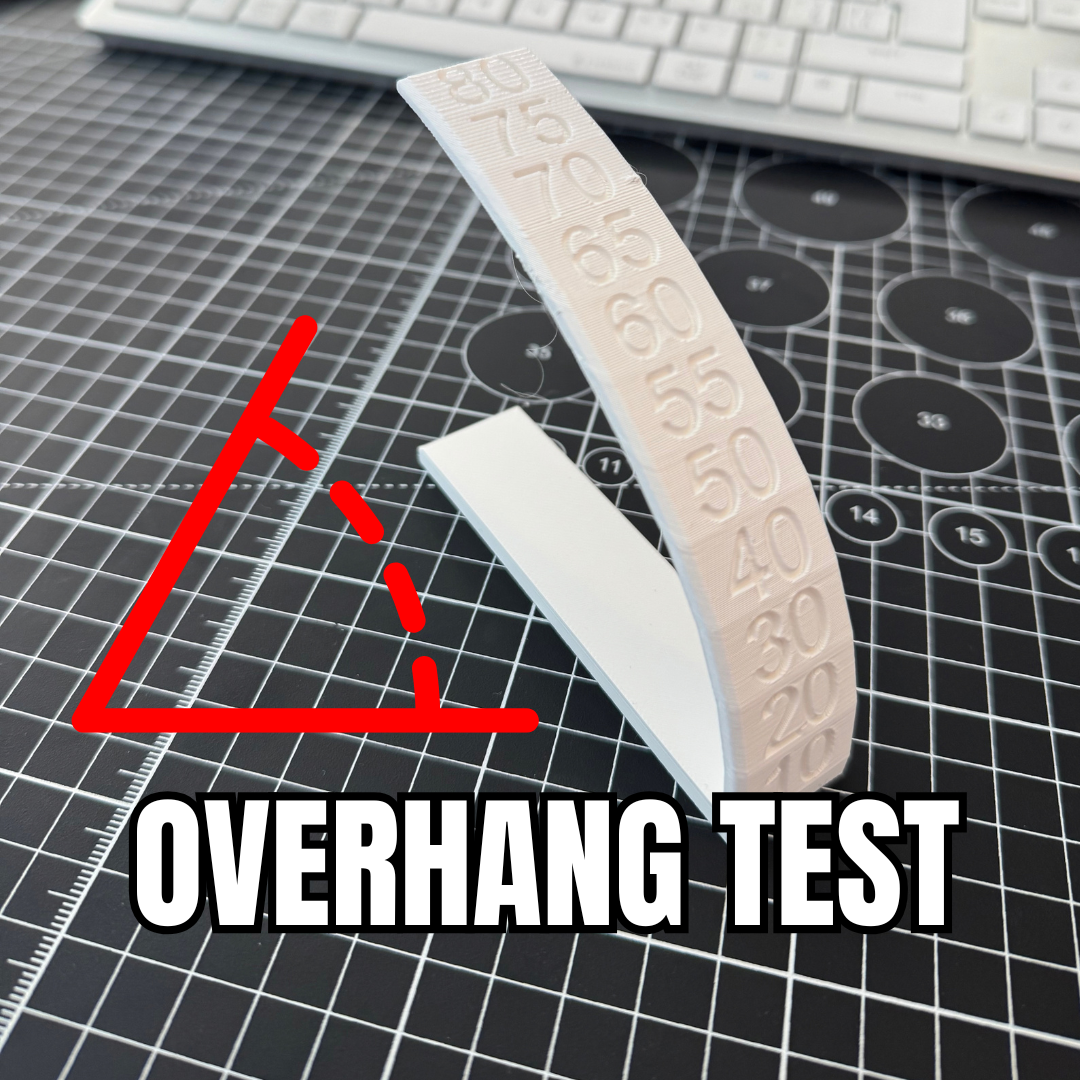
📐 Angles Tested This model evaluates your printer's overhang capabilities across a curved test piece featuring the following angles:
10 20 30 40 50 55 60 65 70 75 80
⚙️ Print Settings & Profile
Ready-to-Print: The included .3mf file is fully configured. Just hit slice and print (make sure supports are turned OFF for this specific test print).
🛠️ How to Evaluate Your Print Print the model using the provided .3mf profile.
Once finished, inspect the underside of the curved overhang. Find the Limit: Look closely at the bottom surface as the angle increases. Find the highest number where the printed lines remain tight and completely smooth. Check for Failure: Once you see sagging, drooping plastic loops, or a messy surface, you have exceeded your printer's cooling and overhang limit. The number right below this failure point is your max angle. Calculating Your Support Threshold Angle: To get the perfect number for your slicer's support settings, take your highest successful number and subtract it from 90. Example: If your print looks great up to 60 but gets messy at 65, your successful result is 60. Subtract that from 90 (90 - 60 = 30). You will then enter 30 into your slicer's "Support threshold angle" setting!
Category
3d printer
Remix this model
This licence allows derivative works. Open it in a tool to build on it — credit is filled in for you when you publish.
Comments
Similar Models
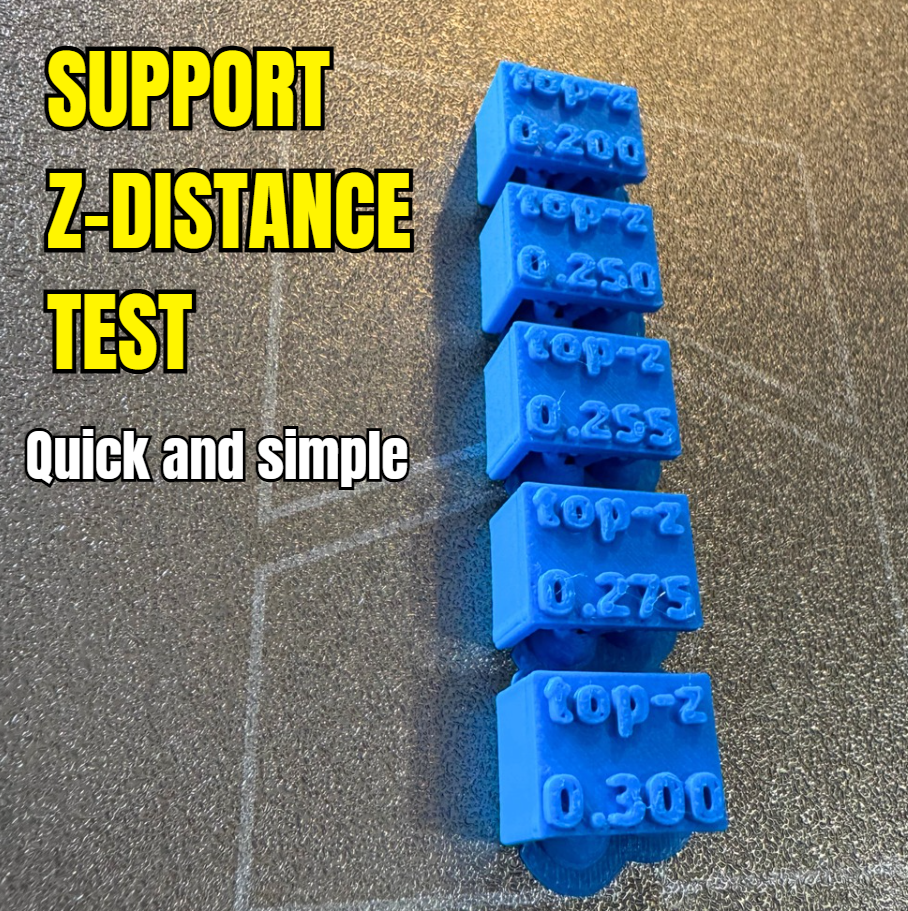
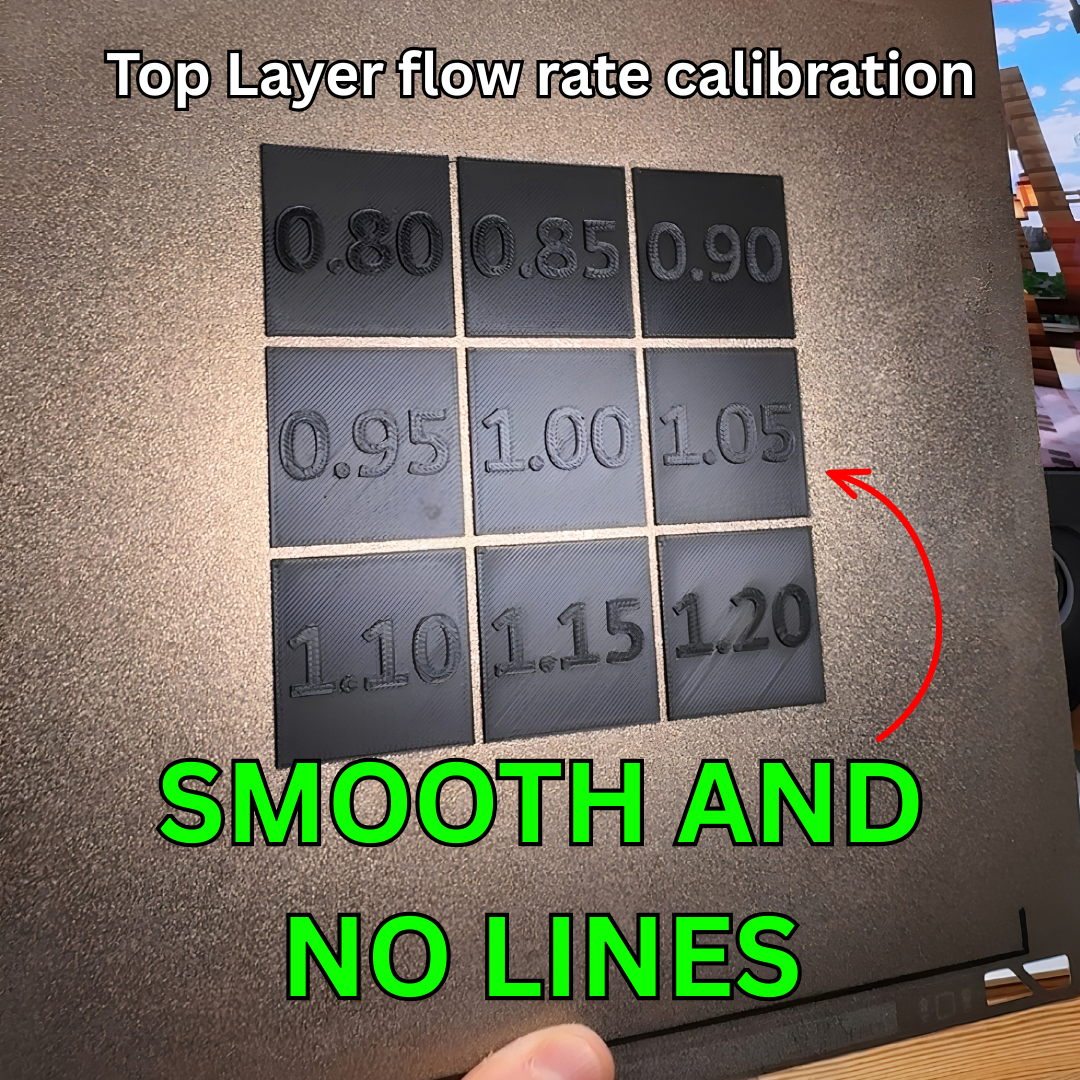
calibration • top layer • 3d printed top layer
Top Layer flow rate calibration - Get smooth top layers with no lines

electric scooter • ms energy • turn signal
MS Energy Urban 500 Electric Scooter Turn Signal