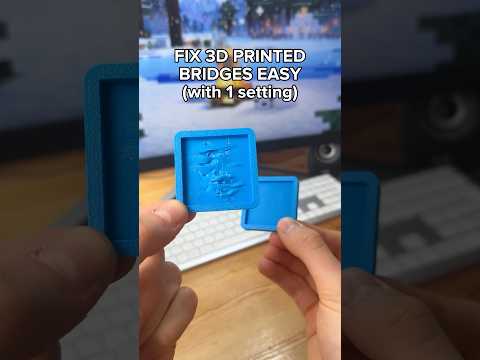
About this video
Why 3D Printed Text Looks Broken
If your 3D printed text comes out looking jagged, fused, or unreadable, the problem is usually not your printer — it is your slicer. By default, most slicers use the Classic wall generator, which sticks to a fixed extrusion width for every perimeter. That rigid width often clashes with the thin walls of small letters, causing characters to blob together, lose serifs, or collapse entirely.
The One Setting That Fixes It: Arachne Wall Generator
Inside your slicer's Quality settings, look for the Wall Generator option and switch it from Classic to Arachne.
What Arachne does differently
- Adaptive wall width: Instead of forcing one line width, Arachne dynamically adjusts the extrusion width based on the geometry it is printing.
- Better small-feature handling: Thin features like letter strokes, serifs, and small embossed text get their own optimized wall path.
- Improved dimensional accuracy: Corners, holes, and fine details stay true to the original 3D model.
- Stronger thin walls: The generator merges nearby paths intelligently, so delicate geometry prints cleanly without gaps.
Step-by-Step
- Open your slicer (PrusaSlicer, SuperSlicer, OrcaSlicer, or any fork that supports it).
- Navigate to Print Settings → Quality.
- Locate the Wall Generator dropdown.
- Change it from Classic to Arachne.
- Re-slice your model and check the preview — you should see sharper, more accurate text immediately.
Tips for the Best Results
- Pair Arachne with a smaller nozzle (0.4mm or even 0.25mm) for tiny text on labels, nameplates, or miniatures.
- Keep your layer height low (0.1–0.16mm) when printing readable text to maximize surface detail.
- Use a consistent filament diameter and calibrate your extrusion multiplier so adaptive walls do not over- or under-extrude.
- Slow down the first layer if your text is embossed on a flat surface to prevent the nozzle from knocking over fine features.
FAQ
Does Arachne work on every printer?
Yes, it works on any FDM printer supported by the slicer. Just make sure your firmware handles the new G-code paths, which virtually all modern firmware does.
Will Arachne slow down my prints?
Slicing takes slightly longer because the algorithm is more complex, but actual print time is usually the same or even slightly faster due to smarter path planning.
Is Arachne better than Classic for everything?
For most detailed prints, yes. For very large, simple objects where print speed matters more than detail, Classic can still perform well.
Do I need to re-tune my settings after switching?
Usually no, but it is worth re-slicing a test model to verify wall ordering, top/bottom solid layers, and seam placement look correct.