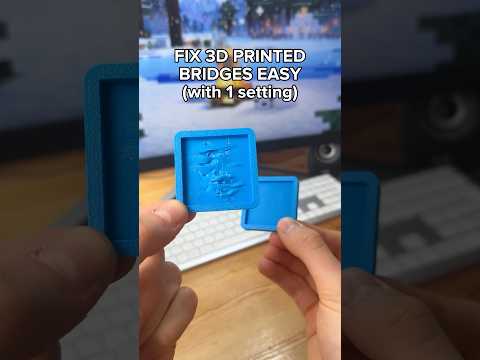
About this video
Why Vertical Holes Cause Stringing in 3D Prints
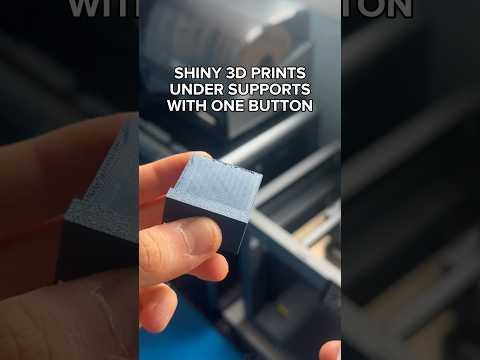
If you have ever sliced a model with a vertical hole or recessed feature and noticed messy, droopy filament hanging from the underside, you are not alone. This is one of the most common 3D print stringing issues, and it happens because the slicer has nothing to bridge across. The nozzle prints directly into open air, so the melted filament droops and creates a thin, wispy mess on the bottom of the part.
This is different from typical travel stringing caused by retractions or oozing. Instead, it is a geometric problem: the slicer thinks it is printing a tall, unsupported hole and refuses to help you across the gap.
The Fix: Bridge Counterbore Holes Setting
Most modern slicers hide a small but powerful setting designed exactly for this scenario. In Cura (and similar slicers with the same workflow), navigate to:
- Quality settings
- Expand Bridging
- Find Bridge Counterbore Holes
- Change the option from None to Partially Bridged
Once enabled, the slicer automatically detects vertical holes and counterbores in your model and generates small support bridges across the opening. Instead of extruding straight into nothing, the printer now has anchor points to lay filament down cleanly.
What You Get With Partially Bridged
Switching to Partially Bridged delivers two big improvements:
- Cleaner bottom surfaces – no more wispy filament hanging under the hole.
- More accurate wall dimensions – the printer can hold tighter tolerances because it is bridging rather than free-falling.
You can also experiment with the Fully Bridged option in the same menu. Fully Bridged closes the hole entirely with bridges, which works great for cosmetic prints but can be harder to remove if the hole is functional.
Tips for Best Results
- Use this setting on vertical holes and counterbores, not angled or organic curves.
- Pair it with proper bridge settings: lower print speed (around 20–30 mm/s), higher bridge flow, and adequate cooling.
- Test with a small calibration print before committing to a long print.
- If your slicer uses different terminology, look for terms like "bridge holes," "counterbore bridging," or "perimeter bridging."
FAQ
Does this work for horizontal holes too?
No. Bridge Counterbore Holes is specifically for vertical holes that drop downward from a flat surface.
Will it add supports I need to remove?
Not typically. The bridges are thin and sit just under the part, so they usually print cleanly without cleanup.
Is this setting available in every slicer?
Cura has it directly under Quality > Bridging. PrusaSlicer and OrcaSlicer handle counterbore bridging differently, so check your slicer's bridging or support settings for a similar option.
Save this tip for your next print and follow for more quick 3D printing fixes.