About this video
Calibration part 1: nozzle temperature
Every filament brand, and often every color, prints best in a slightly different temperature range. A temperature tower prints the same test section at several temperatures, so you can see which one gives the cleanest result on your printer.
How to run it
- In your slicer (Bambu Studio is shown), open the Calibration menu.
- Choose Temperature, select your filament, and click OK.
- Print the tower.
- Find the section with the fewest defects: the least stringing, clean overhangs and bridges, and good layer bonding.
- Edit your filament settings and set the nozzle temperature to that value. Save the profile.
Now that filament profile is tuned to your printer instead of a generic preset.
What to look for
| Too hot | Too cold |
|---|---|
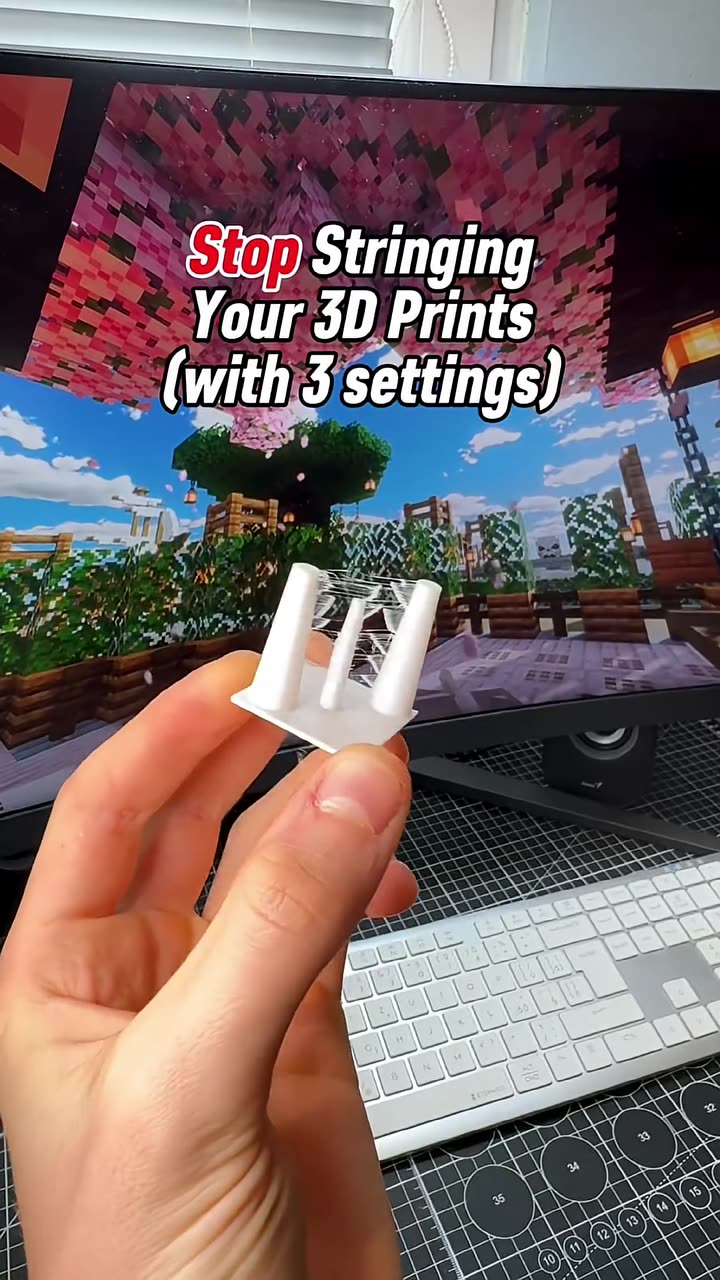
| Stringing and blobs | Weak layers that split apart |
| Droopy overhangs | Rough or matte surface on glossy filaments |
| Sagging bridges | Under-extrusion and gaps |
Next steps
- Part 2: flow rate calibration
- Still stringing at the best temperature? Dry the spool with the filament drying guide.
FAQ
Do I need to run it for every filament?
Run it once per new brand or material type. Save each result as its own filament profile.
Which slicers have a temperature tower?
Bambu Studio and OrcaSlicer have it built into the Calibration menu. For other slicers you can download a temperature tower model.