About this video
Why Preview Fuzzy Skin Settings Before Printing
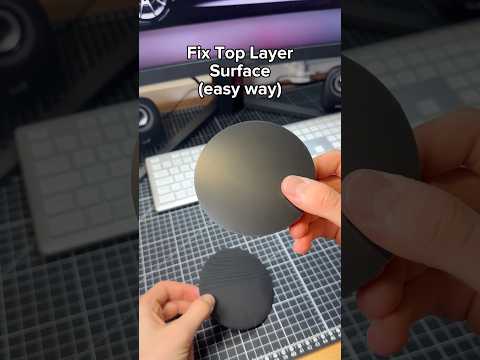
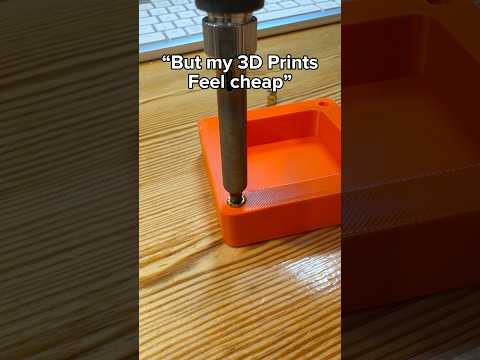
Fuzzy skin is one of the most popular 3D printing textures for hiding layer lines and adding a tactile, stone-like finish to FDM prints. The catch? You usually have to commit to a full print before knowing if you picked the right settings. This printable fuzzy skin sample model solves that problem by letting you preview every common texture on a single small plate.
What the Model Includes
The sampler prints multiple fuzzy skin texture patches side by side, each labeled with the exact slicer settings used to generate it. For example, the stone texture patch shows a distance of 0.6 mm and a thickness of 0.2 mm, the two key parameters that control fuzzy skin in PrusaSlicer, OrcaSlicer, and SuperSlicer. Once printed, you can hold the swatches in your hand, compare them visually, and feel the difference between fine, medium, and coarse textures.
How to Use the Fuzzy Skin Sample
- Download the model from PrintPal and load it into your slicer.
- Pick a texture to test, such as the stone pattern or a smoother variant.
- Note the labeled settings printed next to each swatch.
- Enable fuzzy skin in your slicer and enter the matching distance and thickness values.
- Print the swatch plate on your real project filament to confirm color, gloss, and feel.
Tips for Dialing In Your Fuzzy Skin Texture
- Distance controls how far apart the random skin perturbations occur. Lower values (0.3-0.5 mm) give a finer grain; higher values (0.8-1.0 mm) produce a rougher, sandstone-like surface.
- Thickness sets how deep the texture pushes into the outer wall. Keep it under 0.3 mm for most prints to avoid weakening thin features.
- Test on the same filament you plan to use, because PLA, PETG, and ABS each render fuzzy skin very differently.
- Combine with a 0.2 mm layer height for the best balance of detail and print speed.
Frequently Asked Questions
What slicers support fuzzy skin?
PrusaSlicer, OrcaSlicer, SuperSlicer, and Bambu Studio all include fuzzy skin as an experimental or built-in feature.
Does fuzzy skin increase print time?
Slightly. The outer walls get randomized jitter, which adds a few extra movements but rarely more than 5-10% of total time.
Can I use fuzzy skin on any print?
It works best on solid decorative parts, vases, and figurines. Avoid it on mechanical fits, threads, and bearing surfaces where texture would interfere with function.
Download the sampler, print a single small plate, and lock in the perfect fuzzy skin texture for your next project.