About this video
How to Turn Any Sketch Into a 3D Print
You don't need CAD software or 3D modeling experience to create custom prints. With PrintPal's AI-powered sketch-to-3D tool, any hand-drawn design can become a physical object in minutes.
The Sketch-to-3D Process
The workflow is refreshingly simple:
- Draw your design using a thick-tip marker on paper — bold, dark lines work best for clear recognition
- Photograph the sketch with your phone in good lighting
- Upload to PrintPal.IO and navigate to the 3D Generator tool
- Select the "Sketch to 3D" preset from the available options
- Generate your model and send it directly to your 3D printer
Why Thick Marker Lines Matter
The AI reads contrast and line weight to understand your design intent. Thin ballpoint pen lines may not register as clearly, so using a broad-tip marker or felt-tip pen ensures the generator interprets your sketch accurately. Black ink on white paper provides optimal contrast.
What You Can Create
This method works well for:
- Custom figurines and character designs
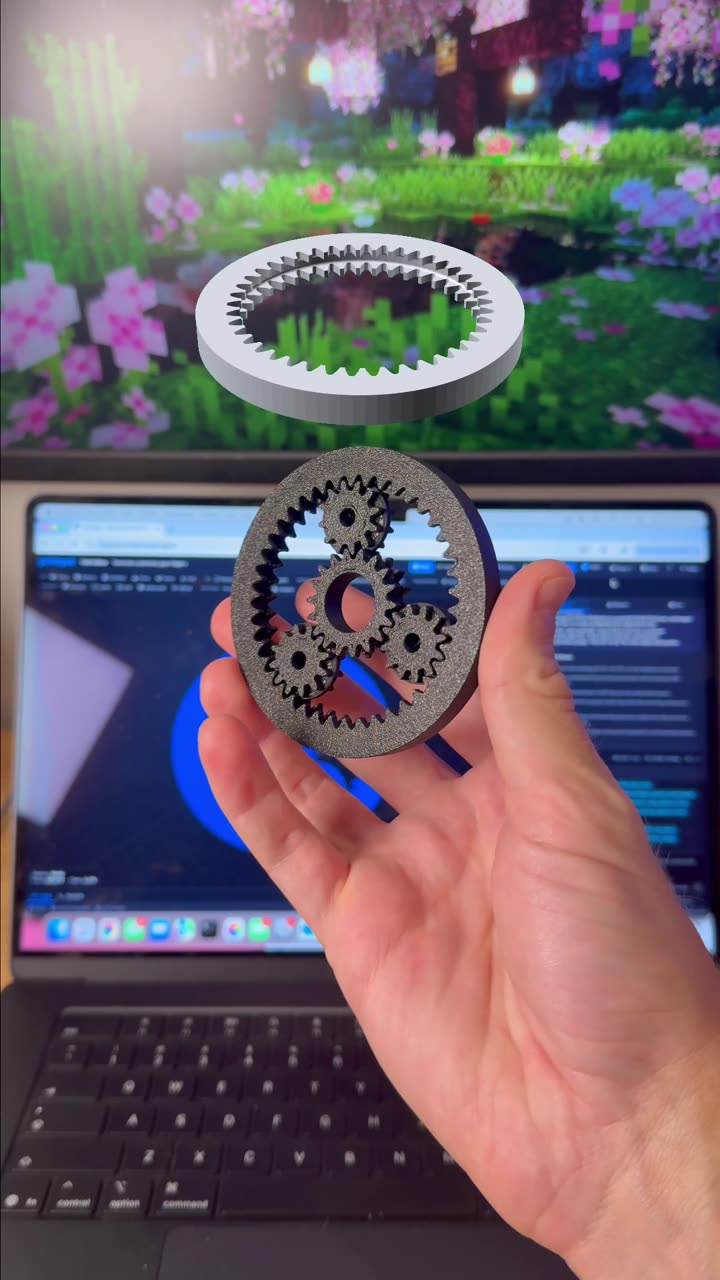
- Simple mechanical parts and prototypes
- Personalized gifts and ornaments
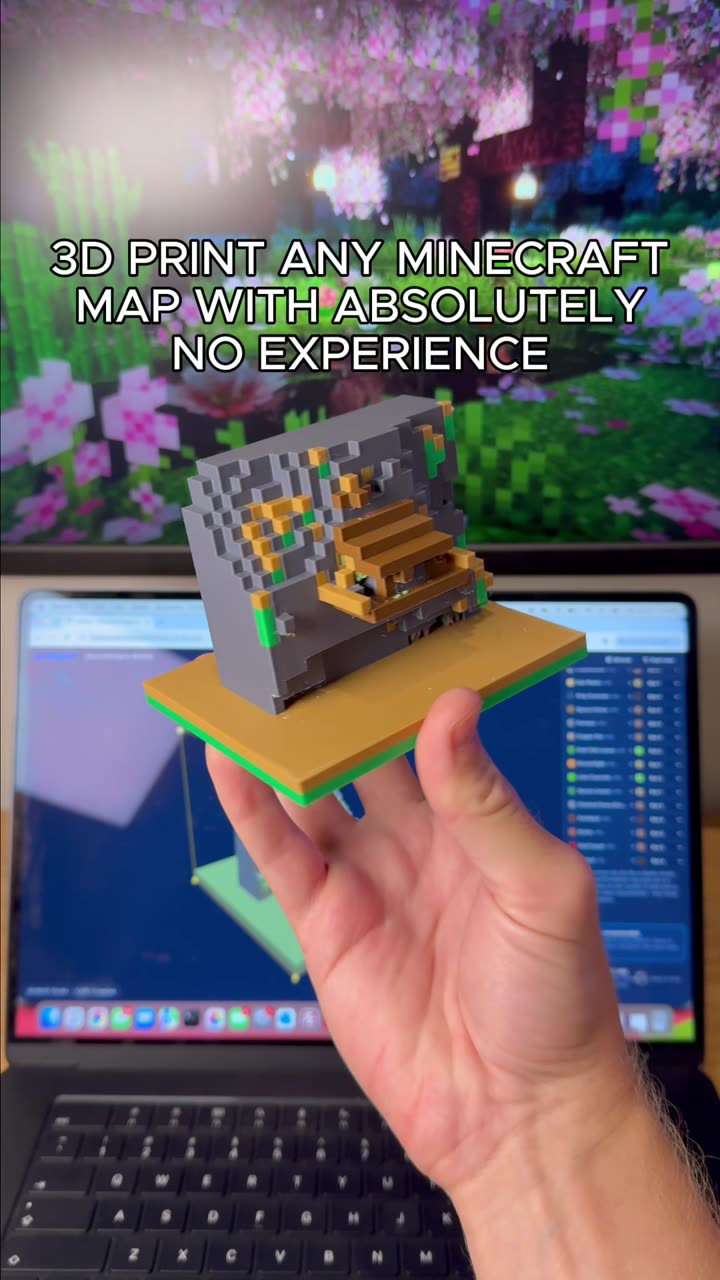
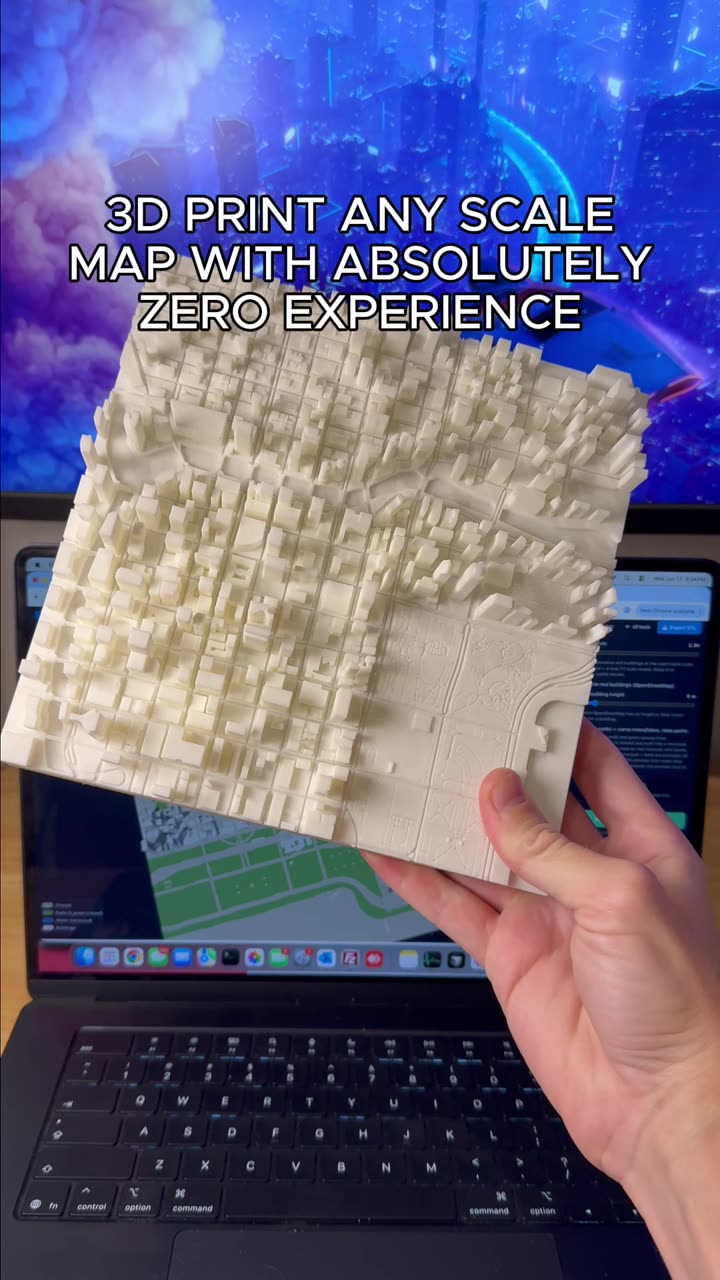
- Architectural concept models
- Educational science project models
Materials and Tools Needed
- Paper and thick-tip marker (permanent marker works great)
- Smartphone camera
- 3D printer with compatible filament (PLA, PETG, or ABS)
- PrintPal.IO account (free to start)
Frequently Asked Questions
Do I need design experience?
No. That's the point — the AI handles the conversion. You just need to draw clearly.
What file types does PrintPal output?
Standard STL and OBJ formats compatible with most slicers.
Can I edit the generated model?
Yes, PrintPal provides basic editing tools before you send to print.
What if my sketch is messy?
Clean, bold lines produce better results. Try to keep outlines closed and shapes clearly defined.
Get Started Today
Follow the link in the PrintPal bio to access the 3D Generator and start transforming your ideas into tangible objects — no expertise required.