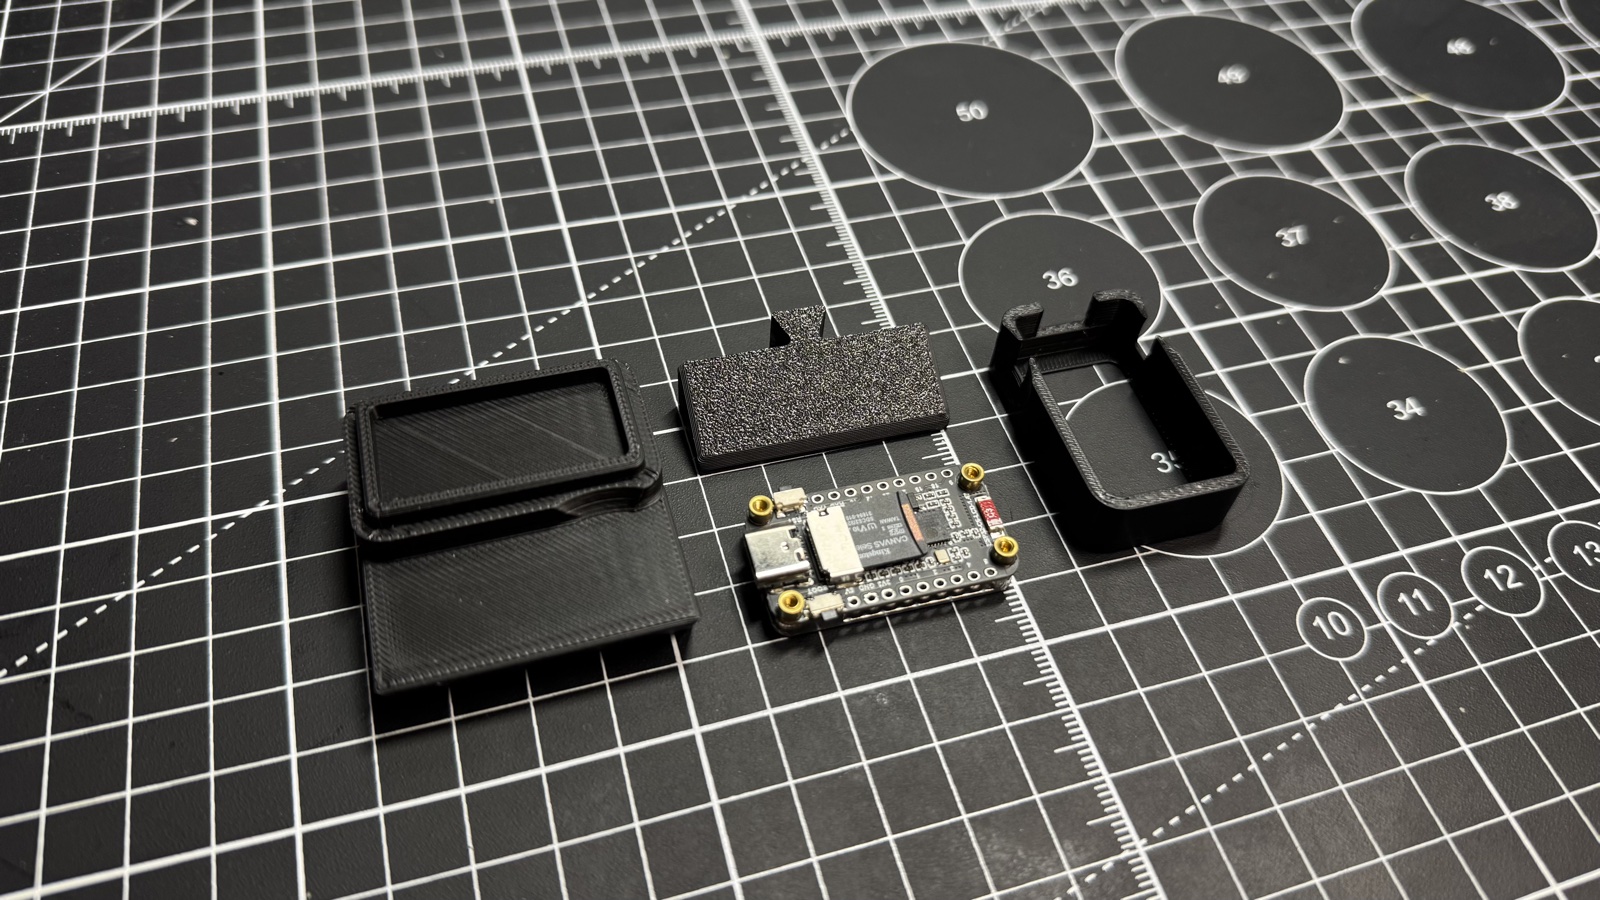
Flash writes a precompiled image over USB-C in Chrome or Edge. The .ino below is the source — you do not need Arduino IDE unless you want to change the sketch.
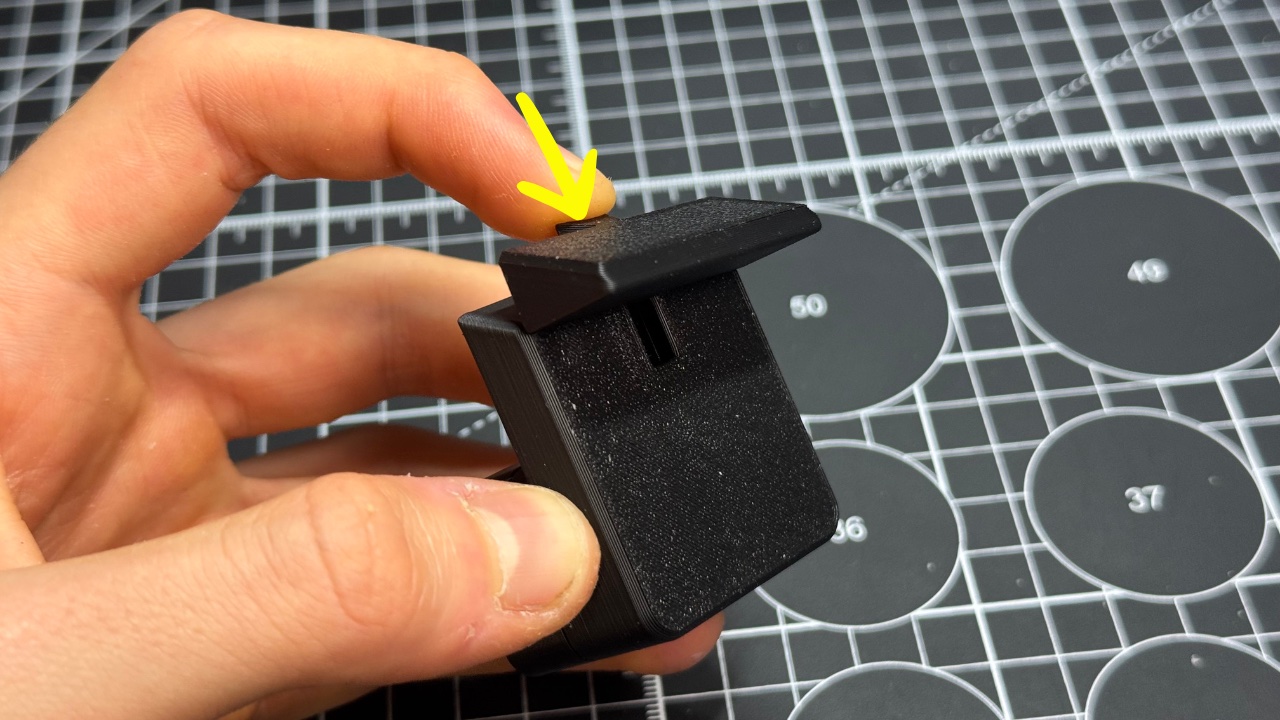
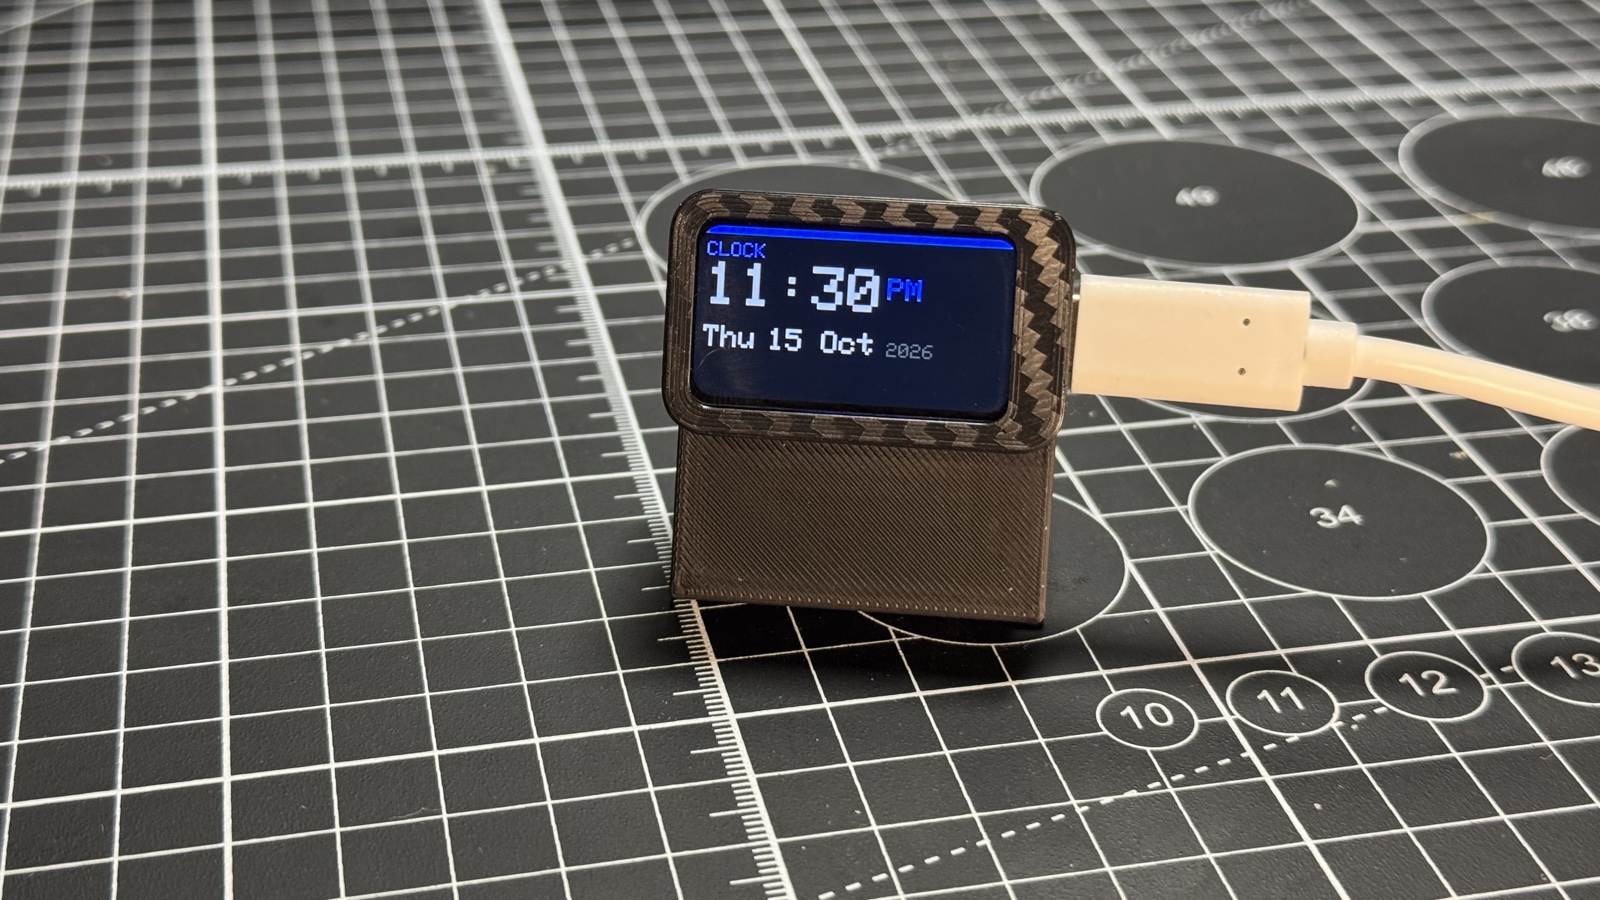
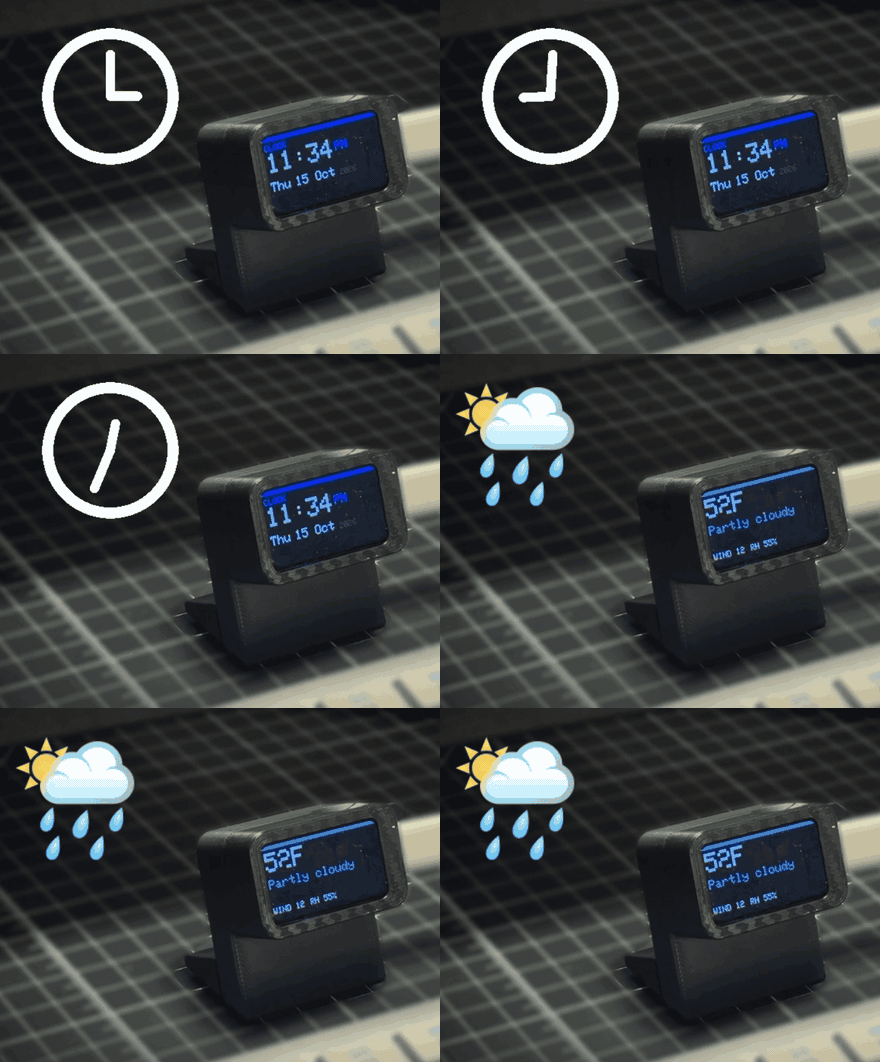
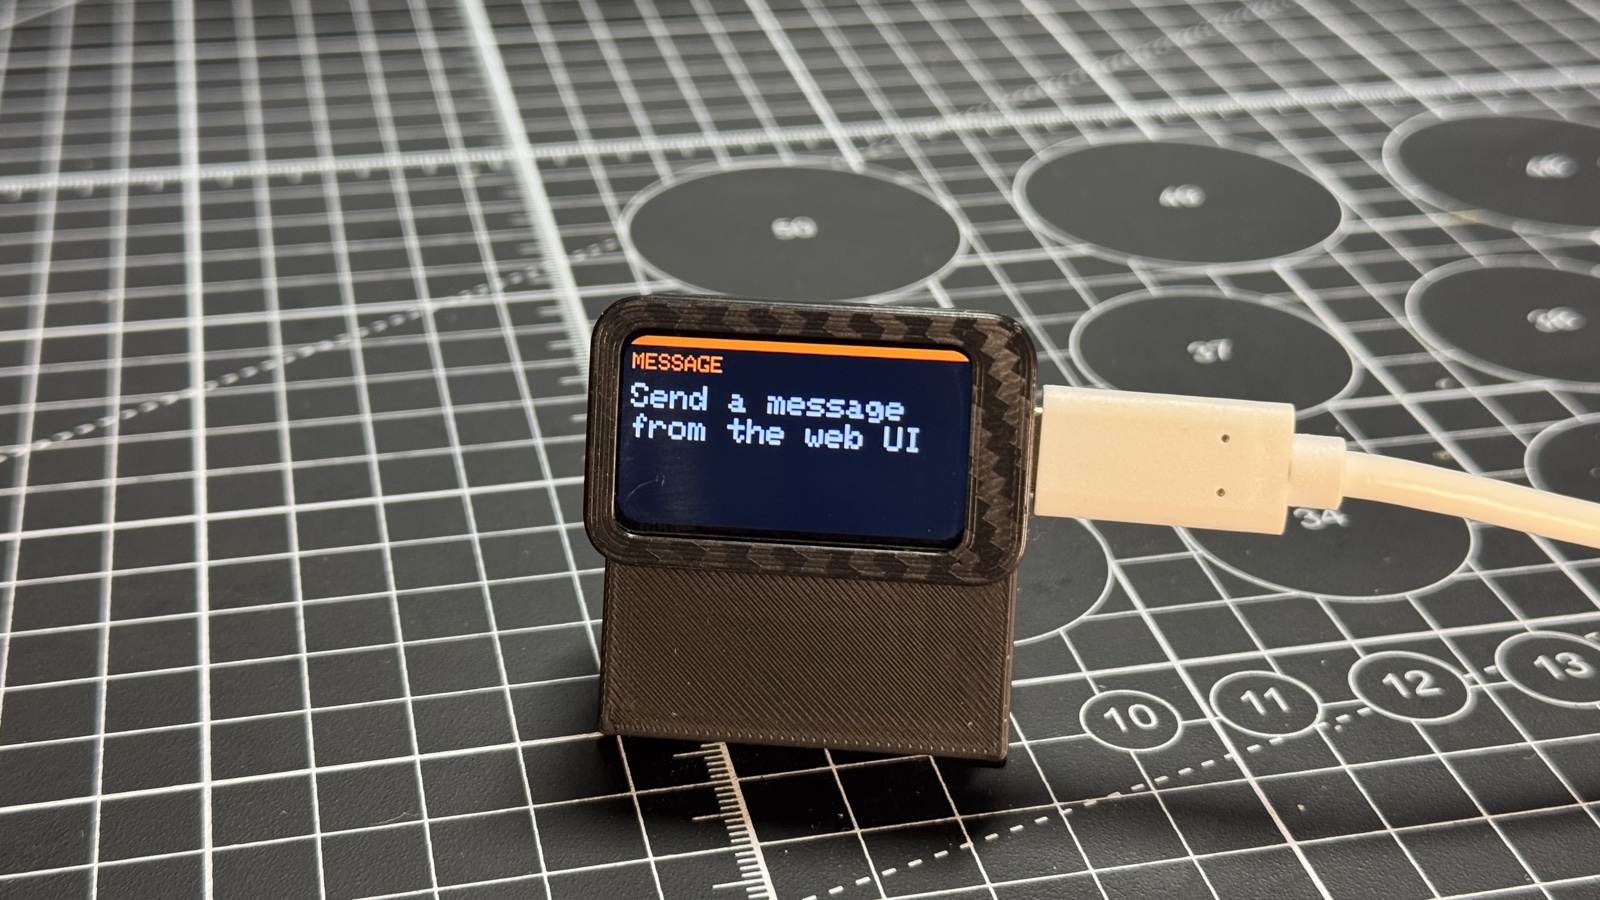
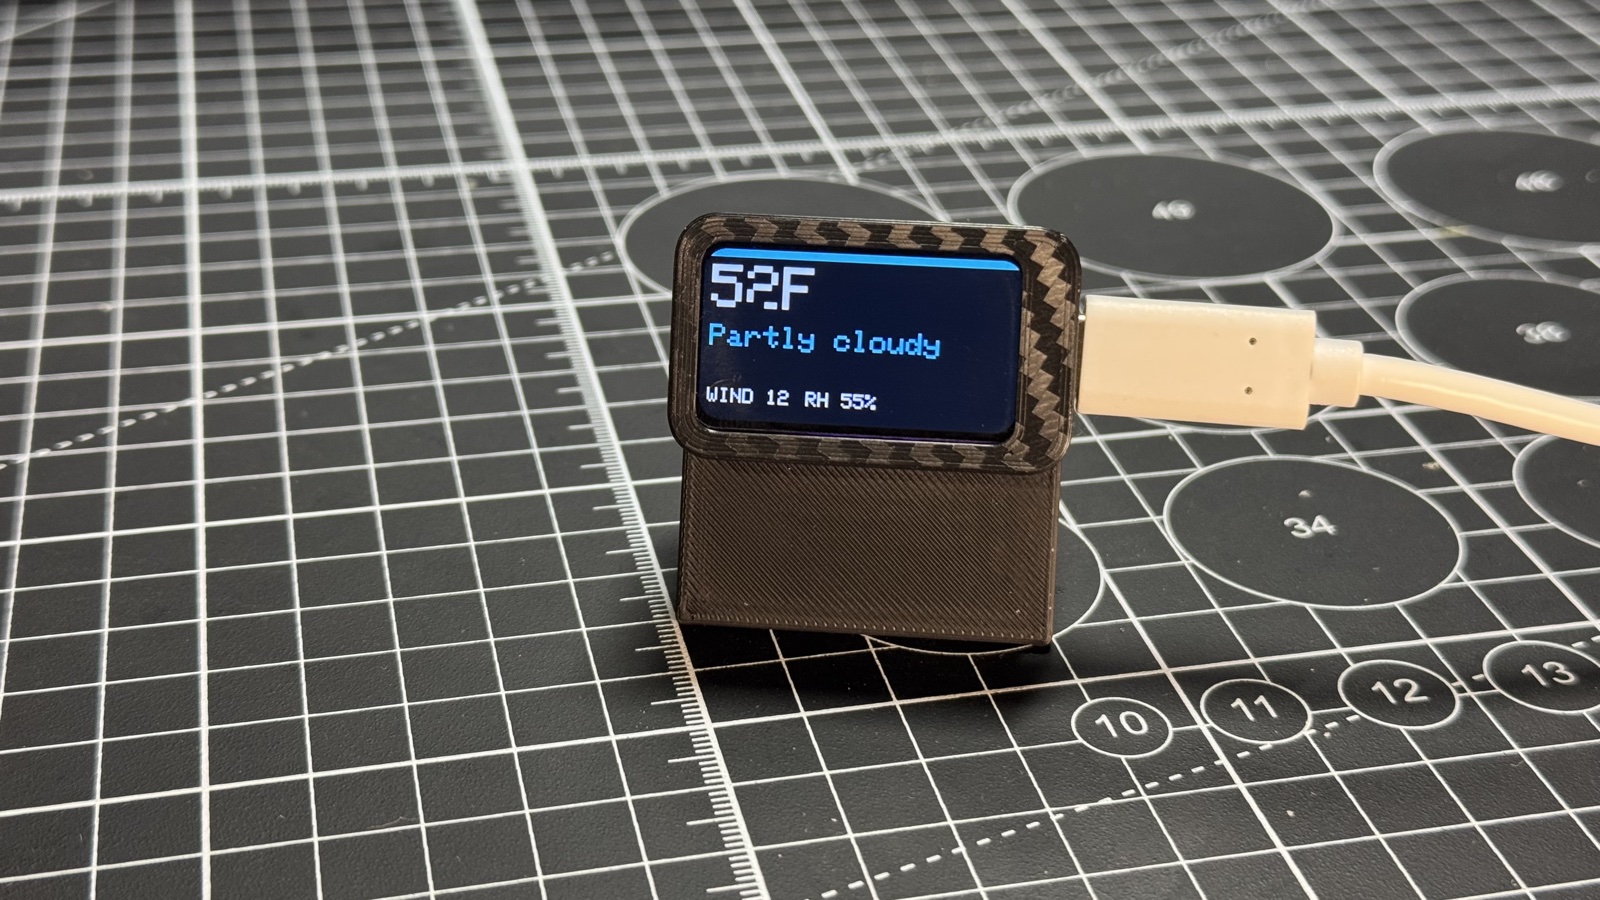
A three-page desk brick: a clock, a weather panel, and a message you can set from a phone browser. A short press of BOOT cycles those pages. Hold BOOT about 0.7 seconds to rotate portrait and landscape.
Leave Wi-Fi empty (the published default) and the slab creates its own network named DeskCommand, with no password. Join it and open the address the serial monitor prints. On this sketch that Soft-AP address is http://192.168.4.1. Or fill in a 2.4 GHz home network if you want live weather and the clock set from the internet.
What you will learn
The difference between joining Wi-Fi and creating a hotspot (Soft-AP).
What a tiny web server is, and GET vs POST.
How a weather API returns JSON you can unpack.
How NTP (network time) sets a clock without a user typing 2:30 PM.
Meet the silhouette slab
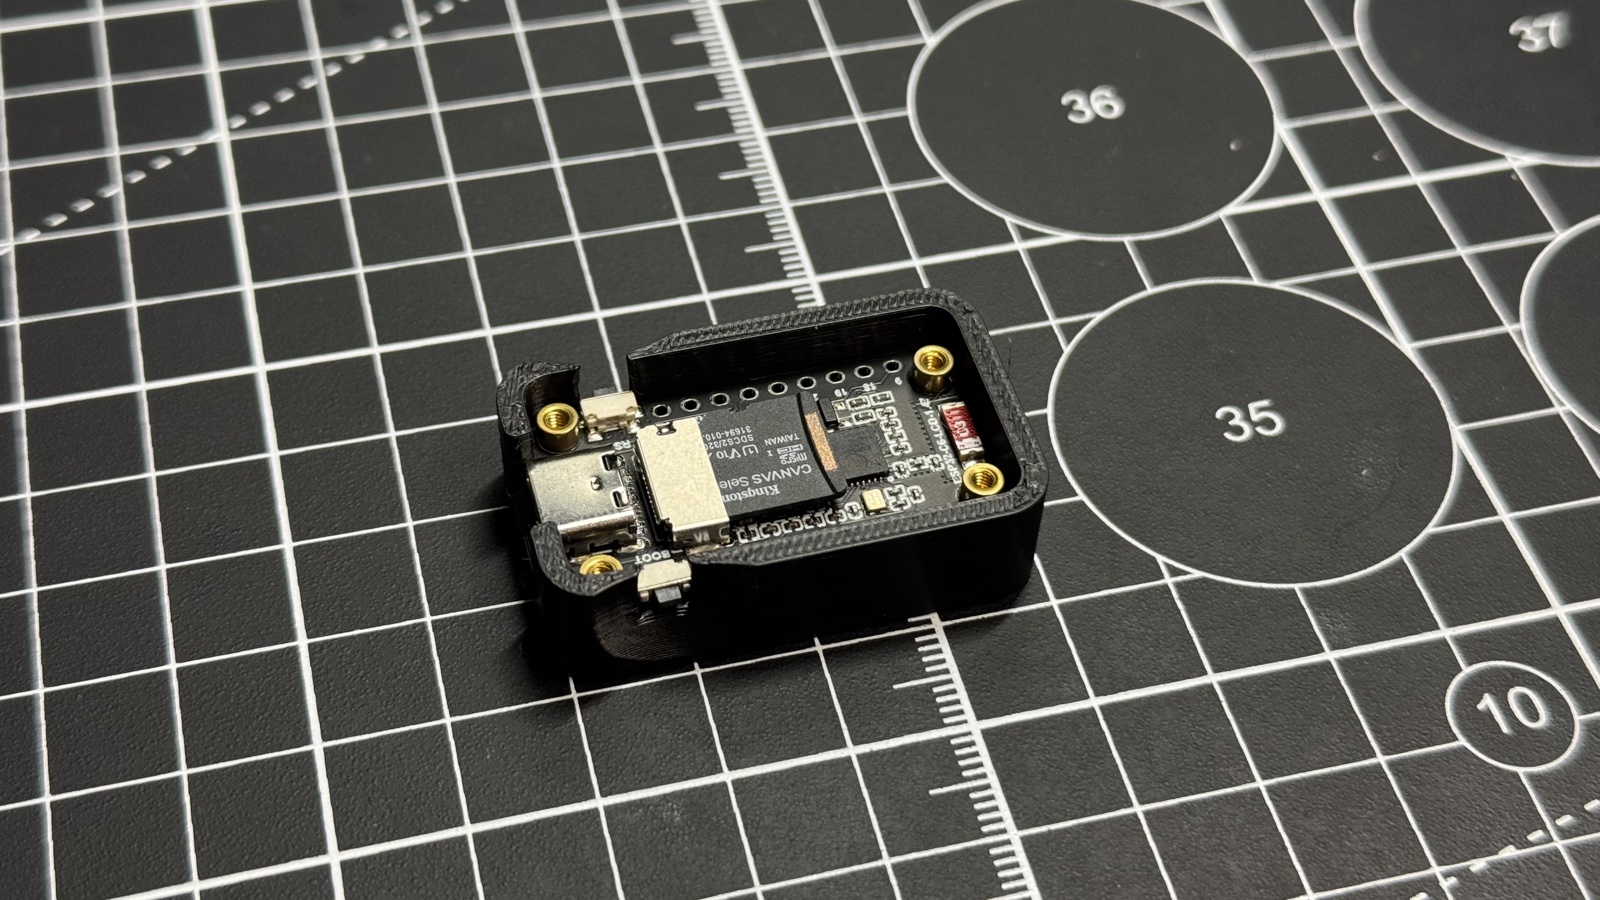
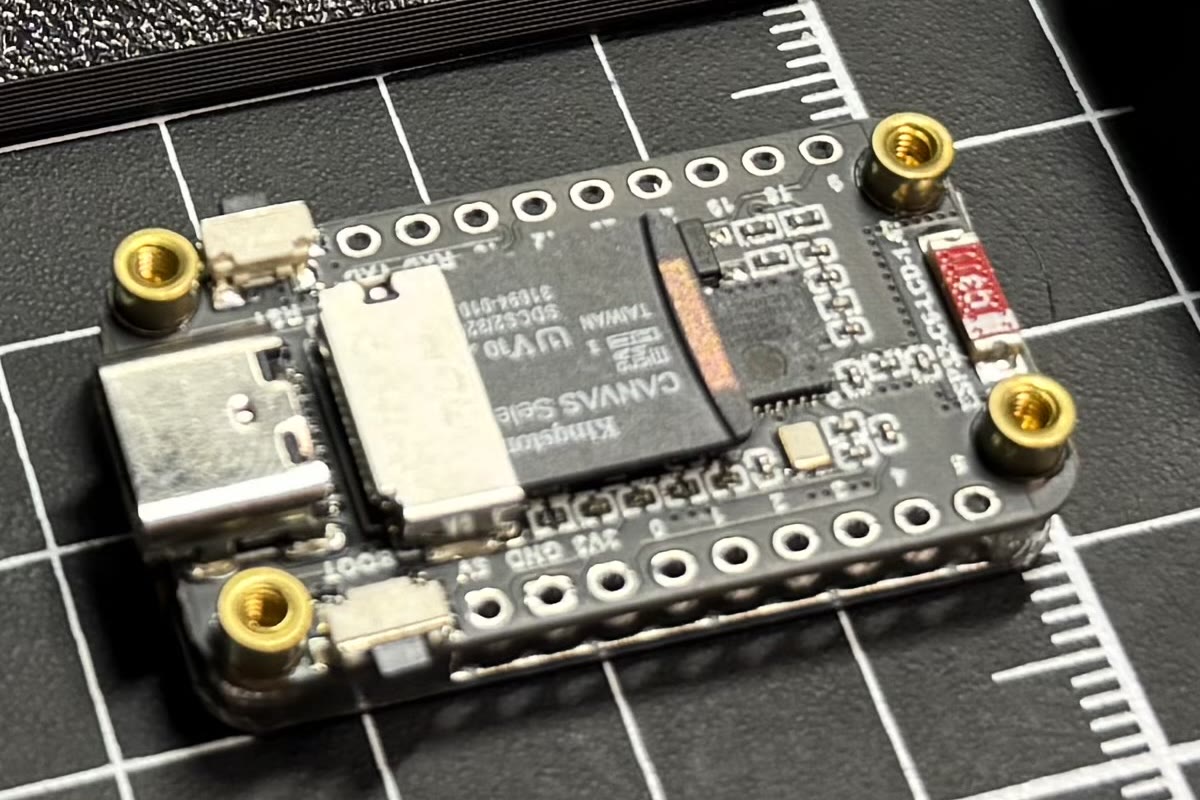
This project uses the Waveshare ESP32-C6-LCD-1.47 — a slim rectangle with a 1.47 inch screen.
A 172×320 color screen. You can turn it portrait or landscape in software.
No touch. No motion sensor. Interaction is the BOOT button (a short press vs a ~0.7 second hold).
A single RGB LED on the board (GPIO8) that can glow any color.
Wi-Fi that is 2.4 GHz only.
Keep the backlight at 50%. Full brightness can leave a heat spot on the panel.
The program is a .ino file (Arduino-style C++). You will not memorize it. You will learn the ideas, then see the small piece of code that does each job.
Note
Word to know — GPIO. It means “general purpose input/output” — a pin the chip can turn on or read. BOOT is GPIO9. The RGB LED is GPIO8. You do not rewire anything; the board already connected those pins.
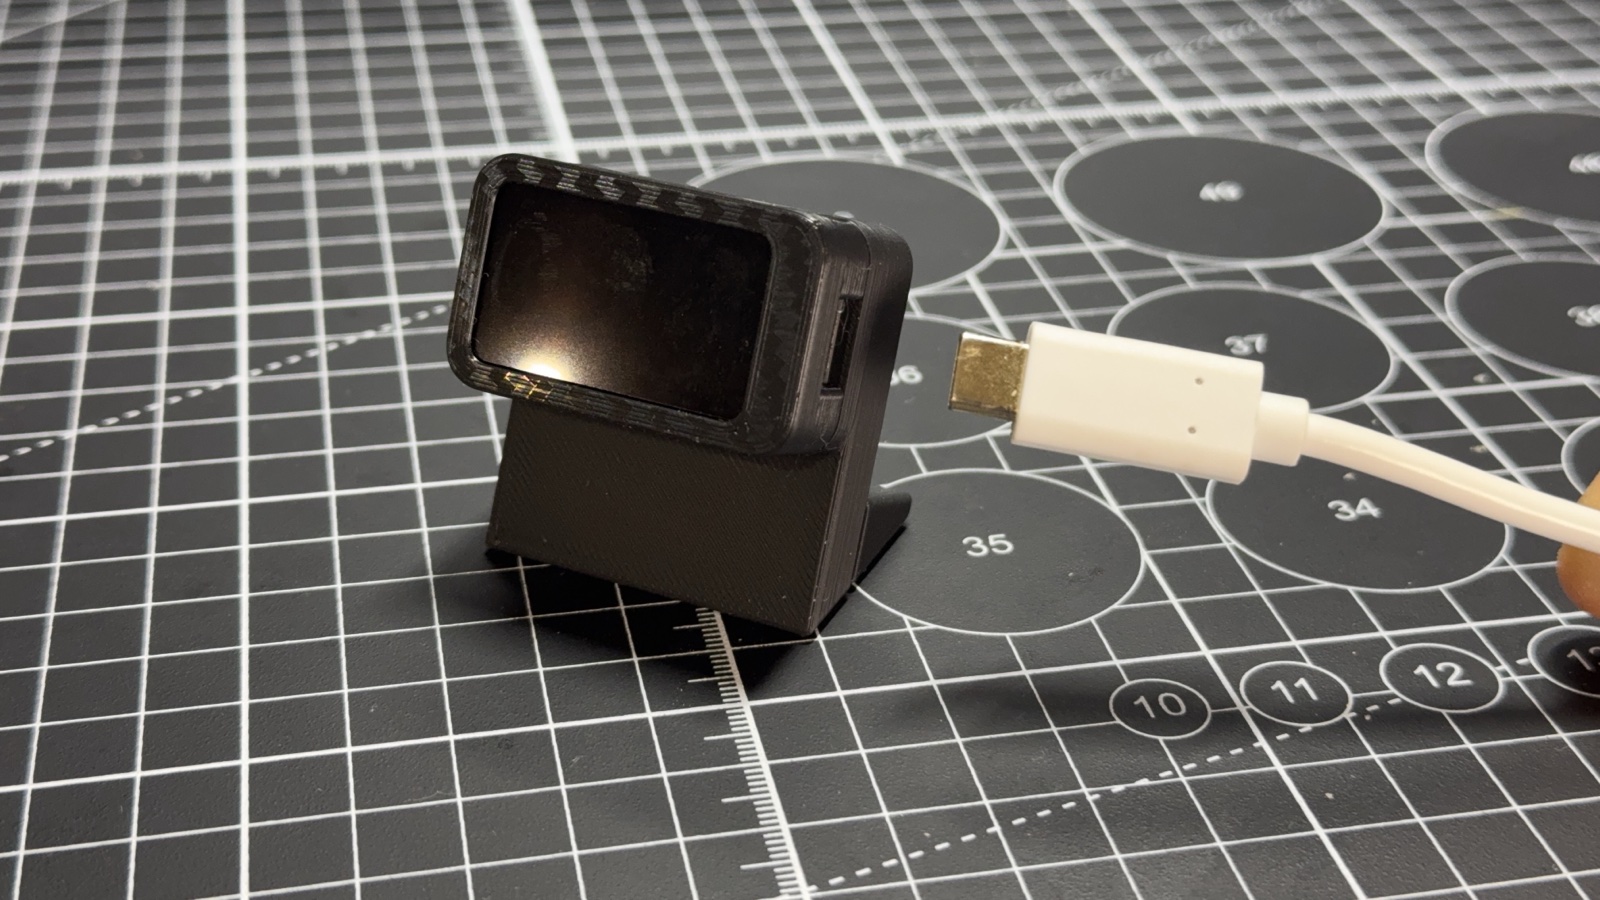
The finished gadget
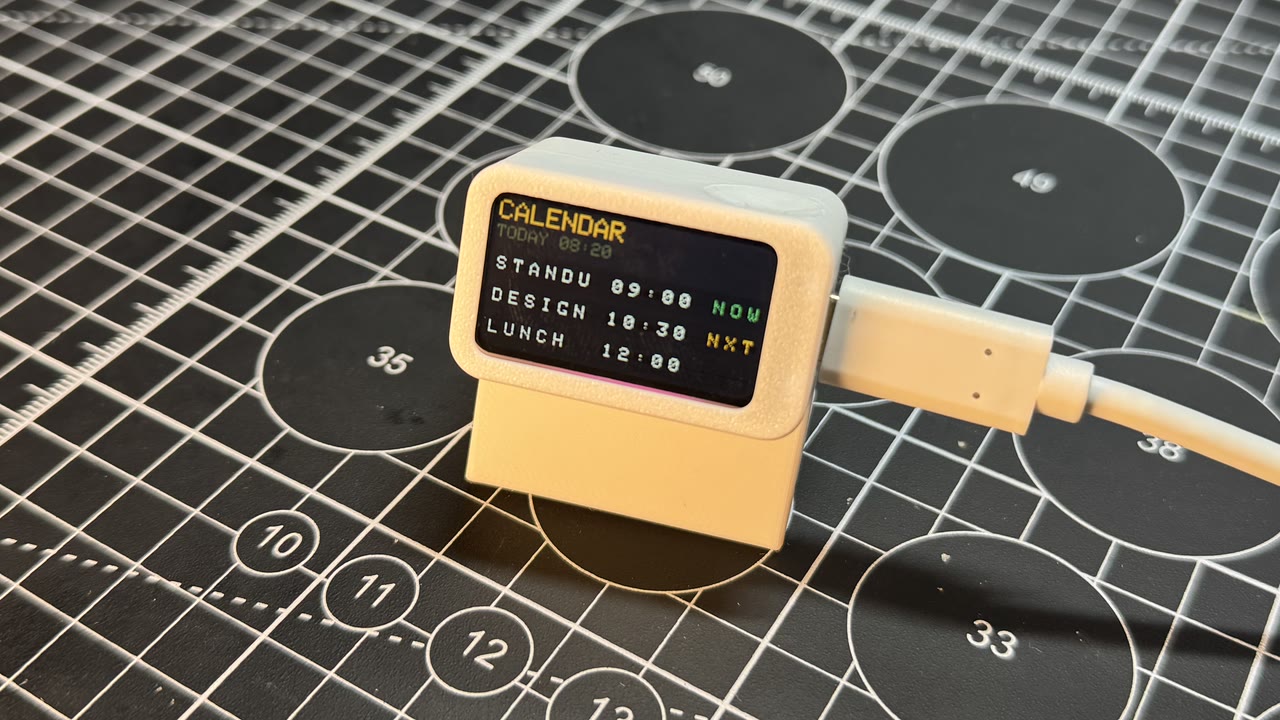
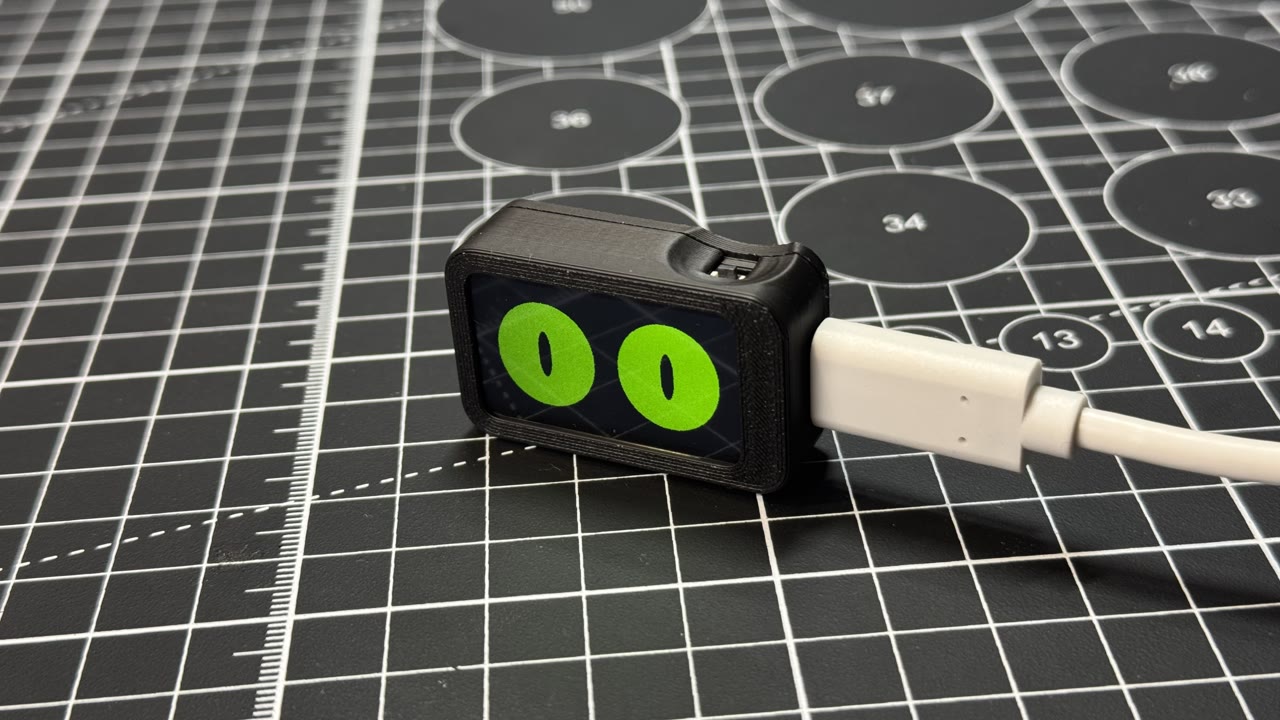
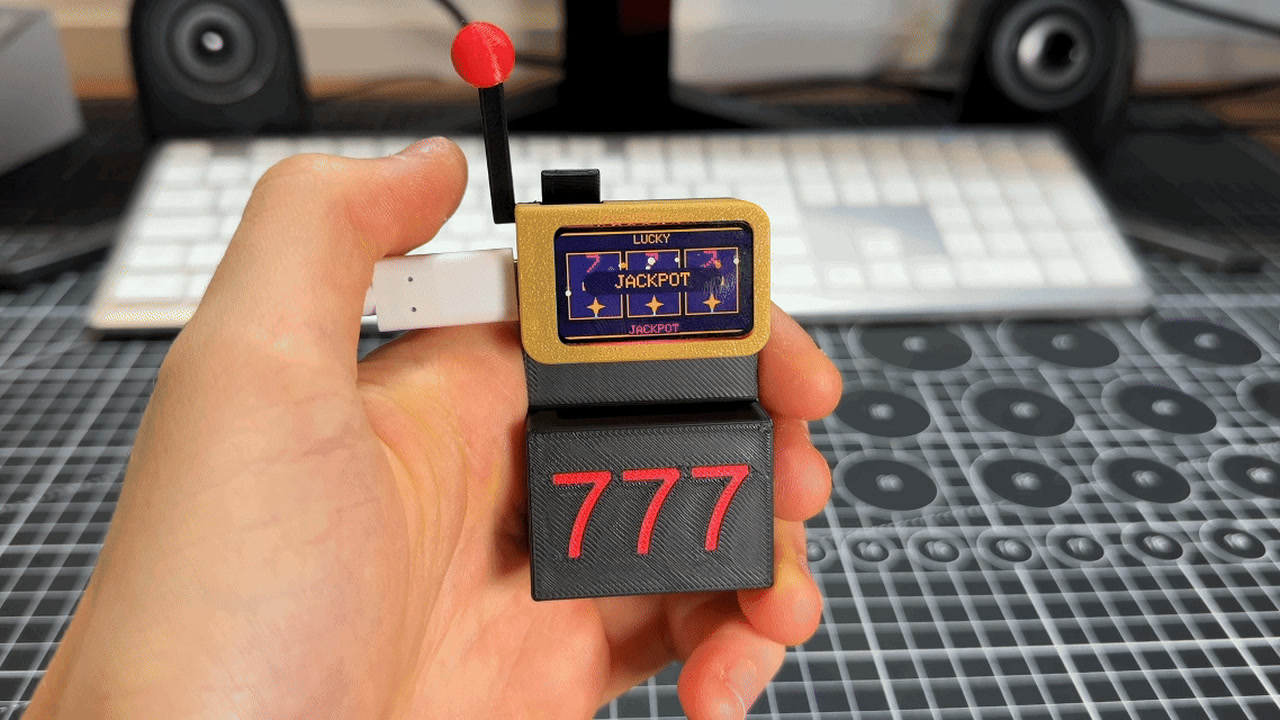
Desk command slab on Silhouette slab (ESP32-C6).
Build it
1
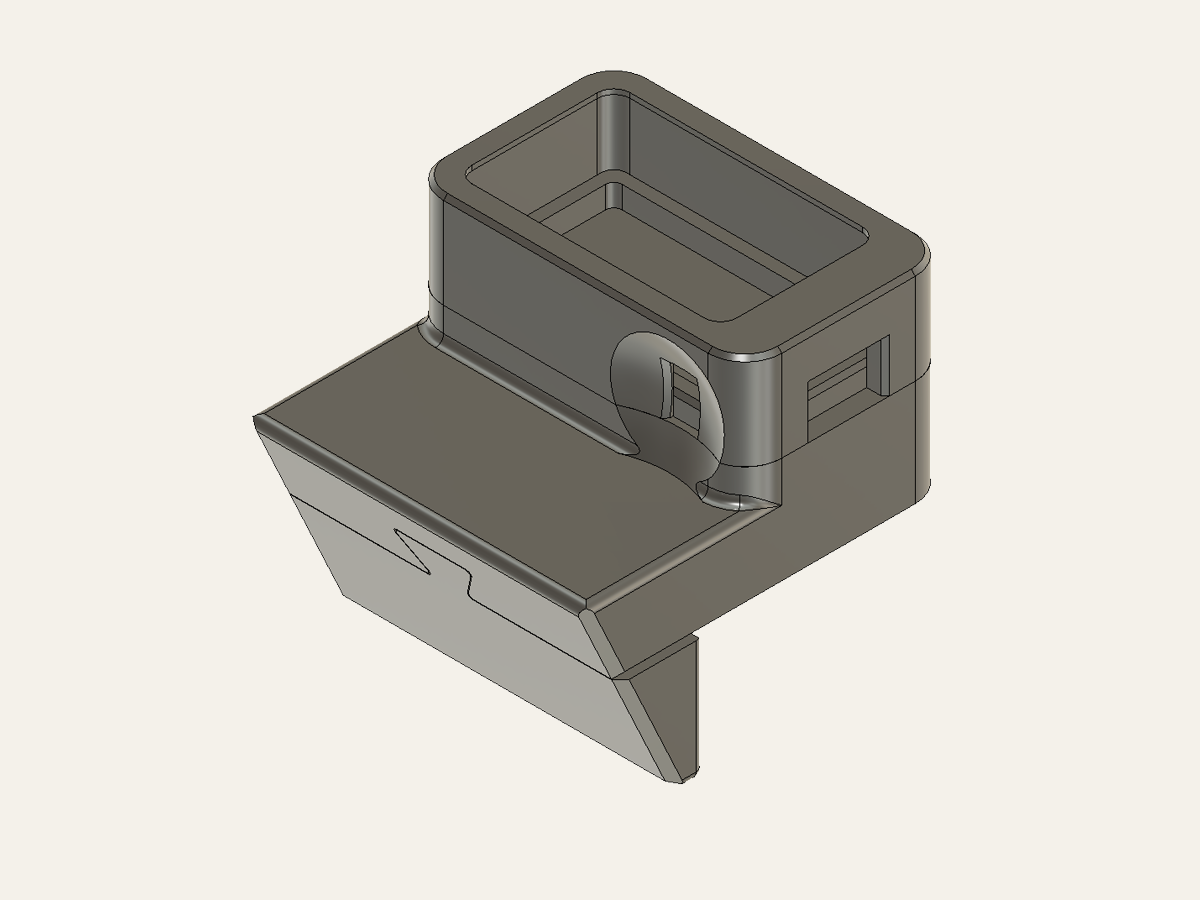
Print the stand
0.2 mm layers, 3 walls. The back is a 26° wedge that sits on the desk, USB-C toward you. The screen starts in portrait. Hold BOOT to turn it landscape.
2
Decide: hotspot or home Wi-Fi
Empty SSID (published) → join Soft-AP DeskCommand and set a message. Filled SSID → station mode, NTP clock, Open-Meteo weather. Set WEATHER_LAT / WEATHER_LON if you go online. Never commit a real password.
3
Flash the slab
Flash means copy the program onto the chip. Easiest path: on this page, click Flash to board (Chrome or Edge, data-capable USB-C). That writes the published image for this project. The downloadable desk-command-slab.bin is the merged file if you would rather use esptool. To change the code later: Arduino IDE → ESP32C6 Dev Module, USB CDC On Boot, 115200 — or unzip platformio.zip next to the .ino and run python3 -m platformio run -t upload. Keep the backlight at 50% (C6_BL_PWM is 128). This slab has no touch screen and no motion sensor. You press BOOT on GPIO9.
4
Page it
Short BOOT (longer than a 40 ms tap, shorter than 0.7 s): clock → weather → message. Hold BOOT about 0.7 seconds: rotate, and the orientation is saved. A browser message stays for 60 seconds, or until the next short BOOT, then the previous page comes back. The onboard RGB LED is blue for the clock, cyan for weather, and amber for the message.
Warning
Soft-AP DeskCommand has no password. Fine on a classroom bench. Do not leave that up on a public network — anyone nearby could POST a message.
Lesson 1 — Station vs hotspot
Two jobs a Wi-Fi chip can do:
Station (STA) — join someone else’s network (your home router), like your phone at home.
Access point (AP / Soft-AP) — be the network. Other devices join you.
This firmware tries STA if you filled in an SSID. If that fails — or the SSID is empty — it becomes DeskCommand. That fallback is good engineering: always have a way in.
The policy in English, then in code
desk-command-slab.ino
#define WIFI_SSID "" // YOUR_WIFI_SSID_HERE (empty = hotspot)
#define WIFI_PASSWORD ""
#define AP_SSID "DeskCommand"
// if WIFI_SSID is not empty: try to join for 8 seconds
// if that fails (or it was empty): WiFi.softAP("DeskCommand")
Lesson 2 — Your first web server
A web server is a program that waits for a browser and answers. You do not need Apache. The slab is enough.
GET / — “show me the form.” The board sends a tiny HTML page.
POST /msg — “here is a message; please display it.” POST means the browser is sending data, not just asking.
That GET/POST pair is how login forms, comments, and search boxes work on the real web. You just ran both ends on a $16 board.
Lesson 3 — Weather is someone else’s JSON
When station mode has joined the internet, the slab asks Open-Meteo for current conditions. The answer is JSON. This sketch reads four fields inside current: temperature_2m, relative_humidity_2m, weather_code, and wind_speed_10m. It asks for Fahrenheit. It does not set a wind unit, so the wind number is Open-Meteo's default, km/h. It asks again about every 15 minutes.
Until that request succeeds, the weather page shows a built-in sample: 52°F, partly cloudy, wind 12, humidity 55. Those numbers are not live.
The sample coordinates are Chicago (41.8781, −87.6298). Change WEATHER_LAT and WEATHER_LON for your desk.
You did not scrape a random website. You used a documented API — a door the owner meant for programs to use. Open-Meteo's docs describe this forecast URL as JSON over plain HTTP. That is the polite way.
NTP (Network Time Protocol) is how almost every computer learns the time. The slab asks pool.ntp.org, then applies your timezone offset. No user typed 7:45. That is why the clock is wrong until STA works — there is no battery clock on this board.
Try this
Join DeskCommand and POST a message from a phone. Watch the amber page.
Type status and read the IP. That number is the board’s address on the network.
Fill in Wi-Fi + lat/lon at home and compare the weather page to your phone.
Talking to the board (serial)
Your computer can talk to the board over the same USB-C cable. That text chat is called serial. In Arduino IDE or PlatformIO, open the Serial Monitor at 115200 baud (that number is the speed — both sides must match).
Type a word, press Enter, and the board answers. Try help first. Then try status.
Commands for this project:help · status · page N · rotate
Tip
If you see nothing, pick the right USB port, set 115200, and press the board’s RESET once. On a Mac the port often looks like /dev/cu.usbmodem….
The complete program (reference)
Everything above taught the ideas. Below is the full sketch so you can search, copy, and tinker. It is long on purpose — that is a real program, not a toy snippet. Scroll inside the box. The downloadable .ino is the same file.
Wi-Fi and API fields are placeholders (YOUR_WIFI_SSID_HERE, YOUR_WIFI_PASSWORD_HERE). Never paste a real password into a public copy.