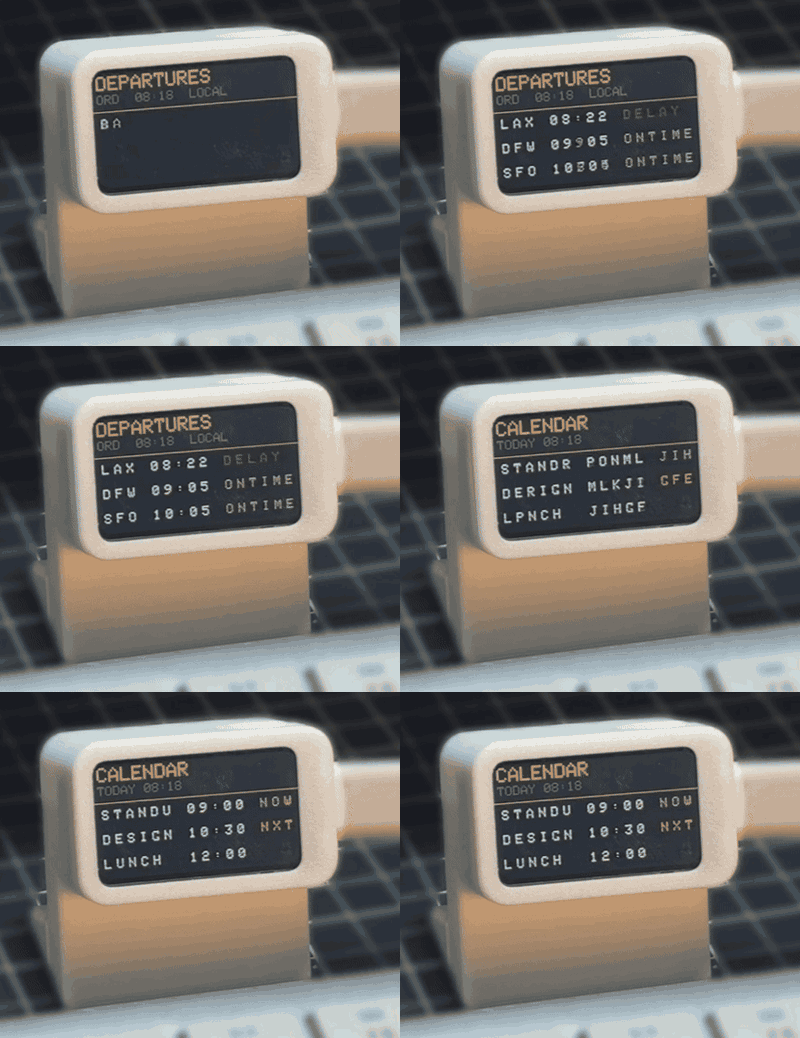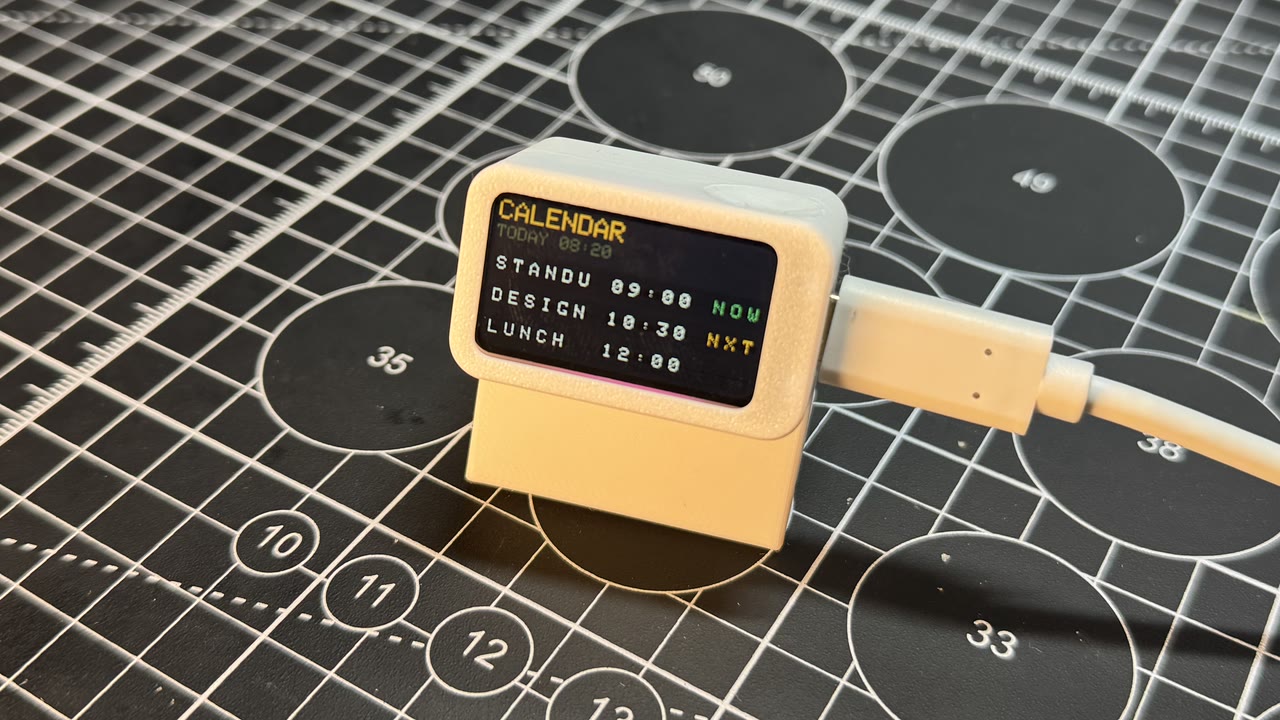
Flash writes a precompiled image over USB-C in Chrome or Edge. The .ino below is the source — you do not need Arduino IDE unless you want to change the sketch.
A miniature airport departure board. Rows click over destination, time, and status like split-flap letters in a real terminal. Short BOOT flips DEPARTURES and CALENDAR. Hold BOOT to rotate portrait (5 rows) vs landscape (3 bigger rows).
It works with no Wi-Fi — a canned Chicago (ORD) schedule lives in the program. Later you can point it at a JSON file on the internet if you want live data.
What you will learn
How a table of data (an array of rows) drives a screen.
How short press vs long press becomes two different buttons.
What JSON looks like for a list of flights.
How a status word (DELAY) can pick a color — on the screen and on an LED.
Meet the silhouette slab
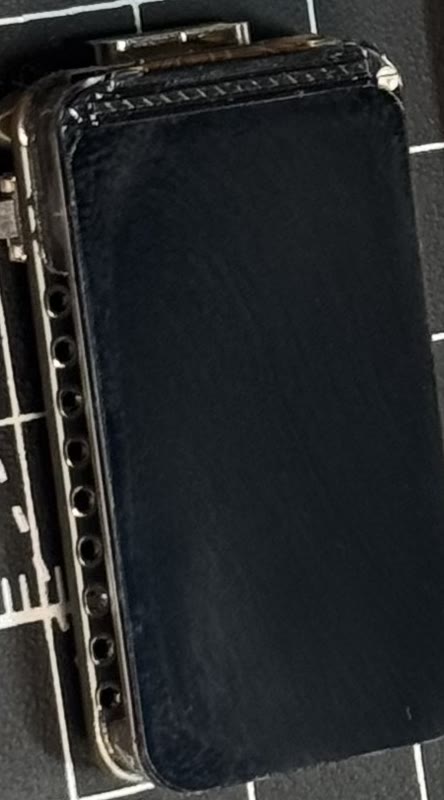
This project uses the Waveshare ESP32-C6-LCD-1.47 — a slim rectangle with a 1.47 inch screen.
A 172×320 color screen. You can turn it portrait or landscape in software.
No touch. No motion sensor. No battery charger. Power comes from USB-C. Interaction is the BOOT button (a short press vs a ~0.7 second hold).
A single RGB LED on the board (GPIO8) that can glow any color.
Wi-Fi that is 2.4 GHz only.
Keep the backlight at 50%. Full brightness can leave a heat spot on the panel.
The program is a .ino file (Arduino-style C++). You will not memorize it. You will learn the ideas, then see the small piece of code that does each job.
Note
Word to know — GPIO. It means “general purpose input/output” — a pin the chip can turn on or read. BOOT is GPIO9, and it reads LOW when you press it (active low). The RGB LED is GPIO8. You do not rewire anything; the board already connected those pins.
The finished gadget
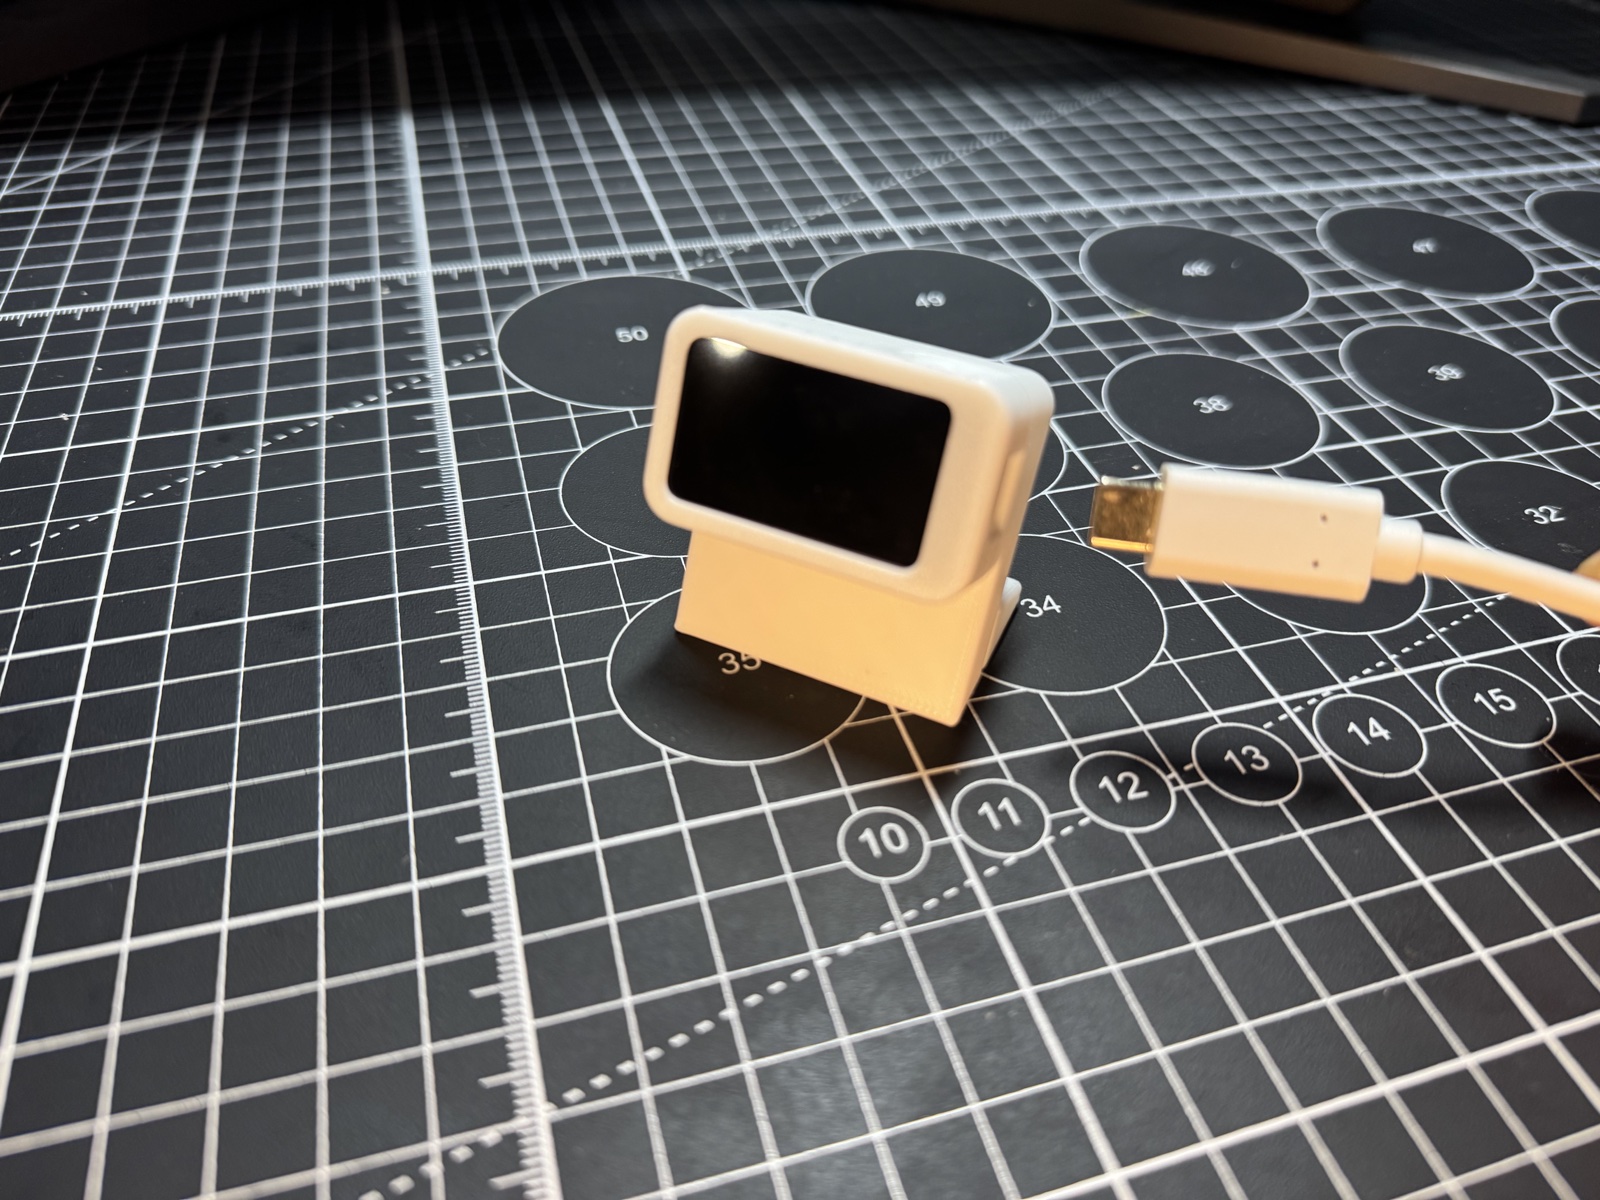
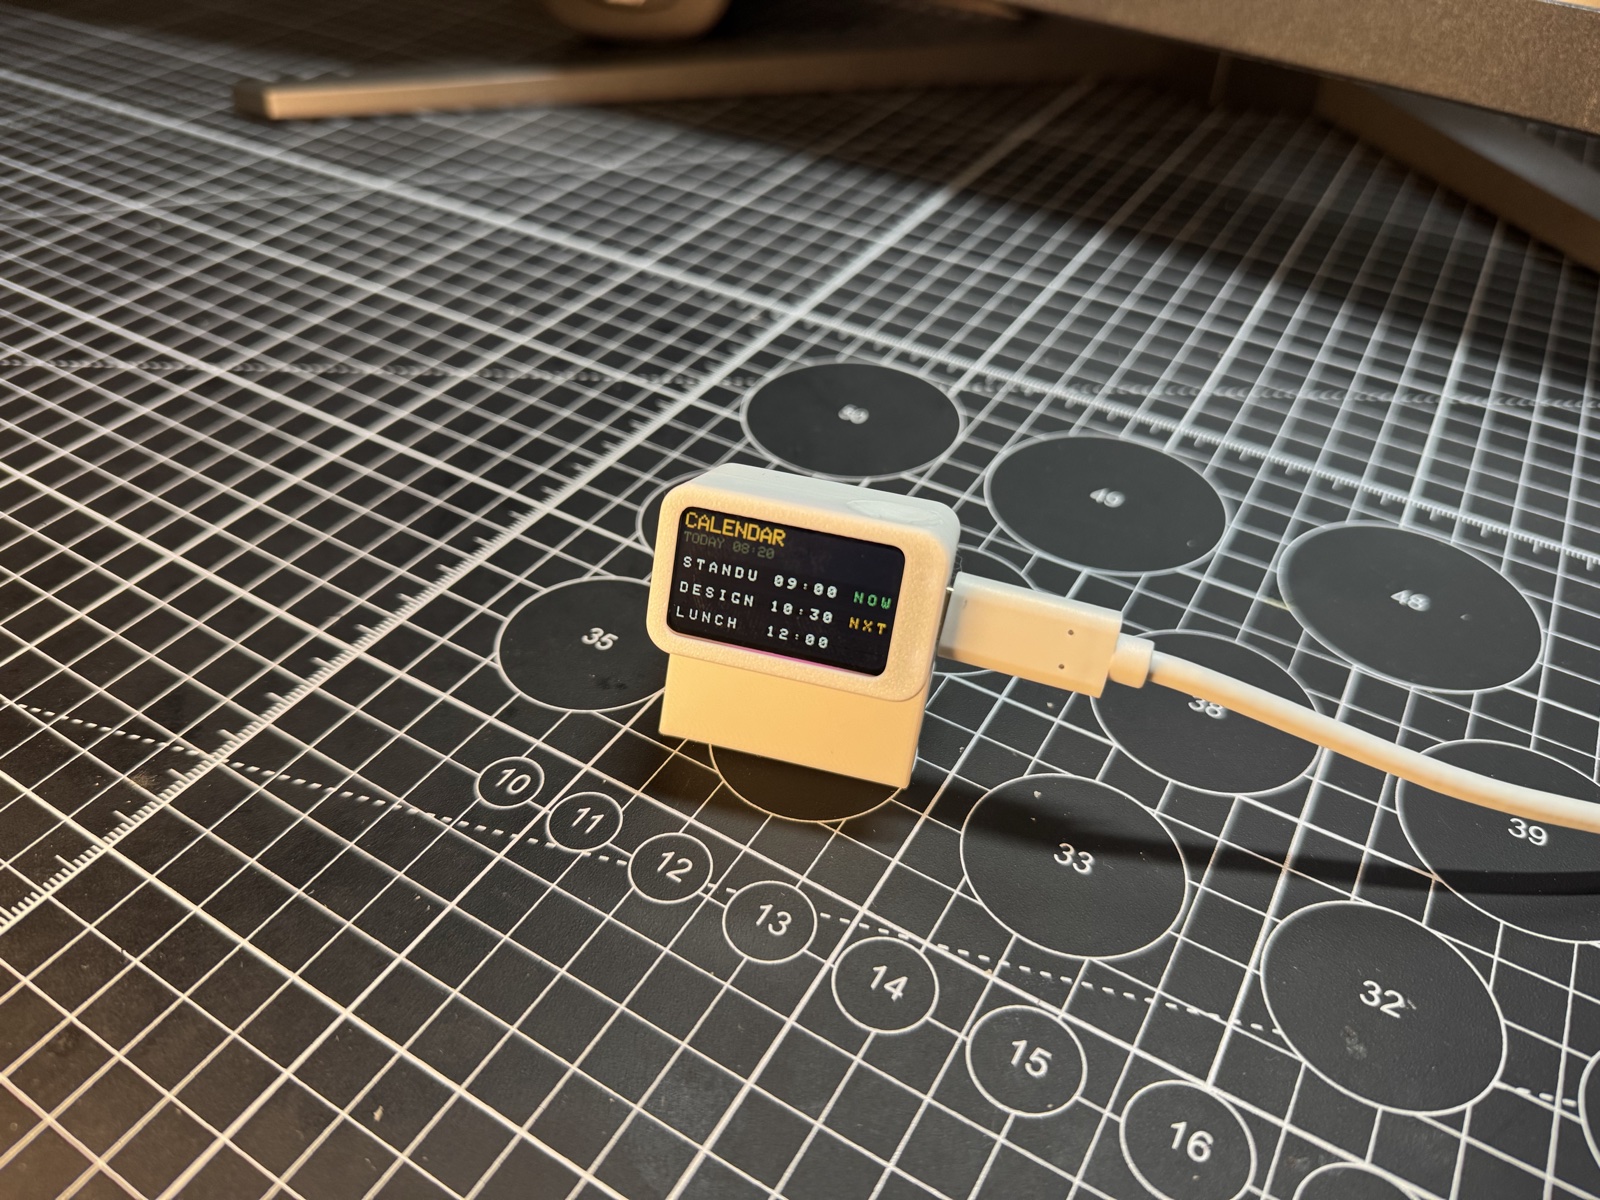
Split-flap departure slab on Silhouette slab (ESP32-C6).
Build it
1
Print the frame
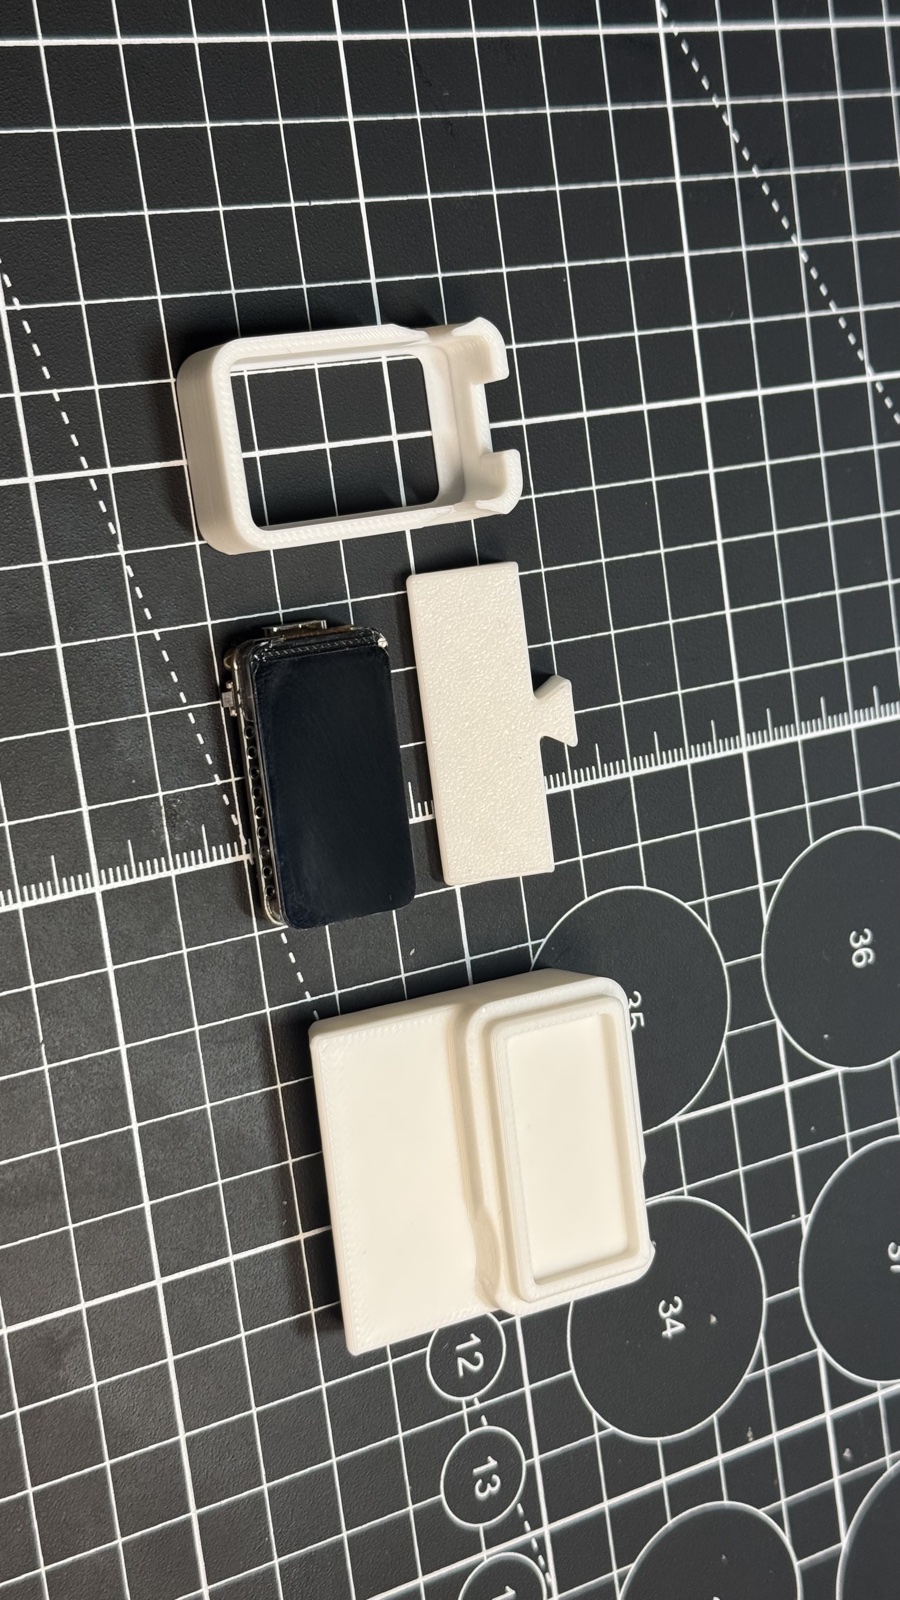
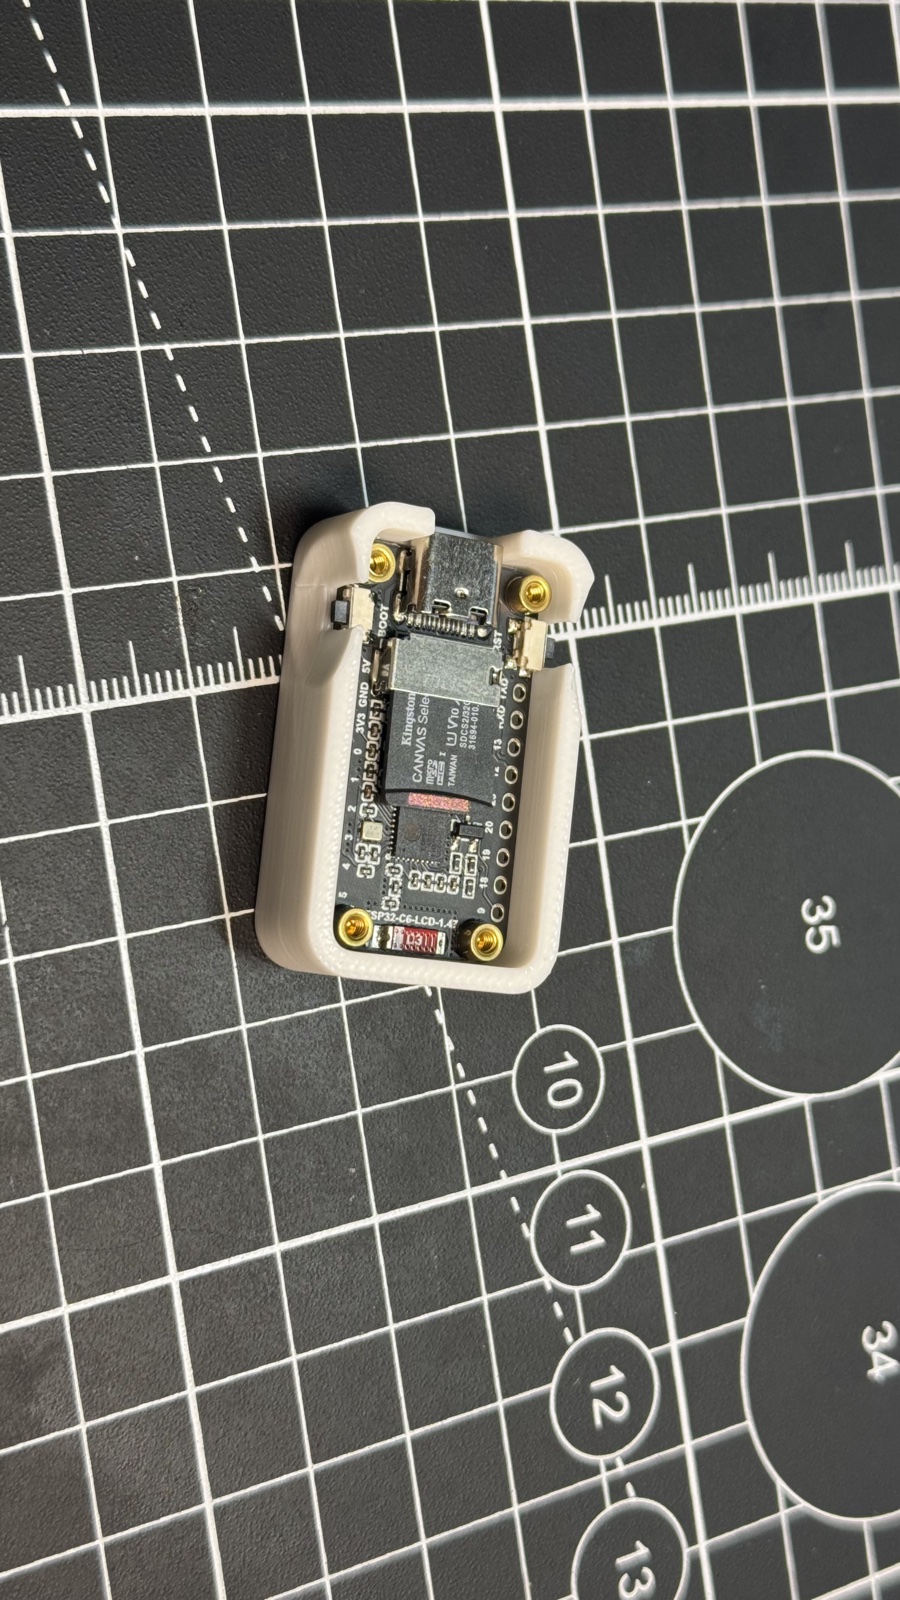
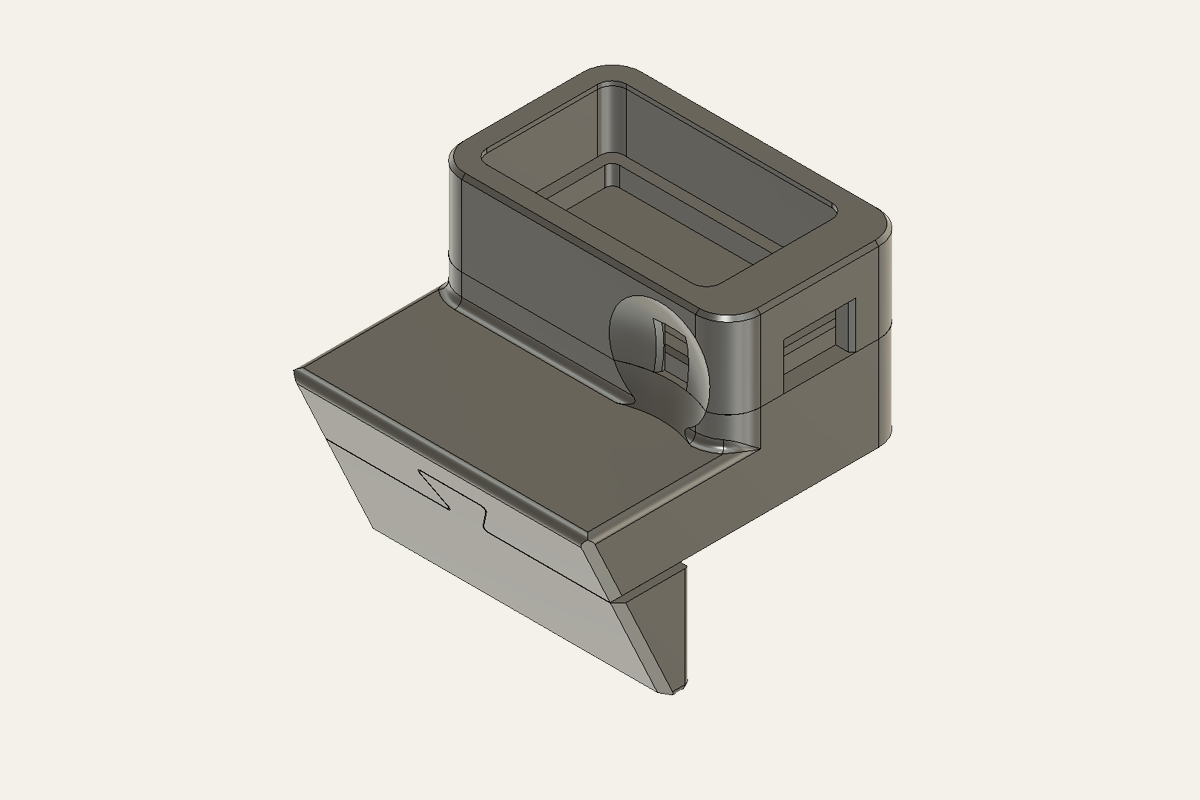
0.2 mm, 3 walls. Print the cradle so the long axis of the screen is horizontal. Slide the slab in from the back, USB-C at the end. The cavity is keyed.
2
Flash the slab
Flash means copy the program onto the chip. Easiest path: use the attached split-flap-board.bin with the on-page Flash to board button (Chrome or Edge, USB-C). To change the code later: Arduino IDE → ESP32C6 Dev Module, USB CDC On Boot, 115200 — or unzip platformio.zip next to the .ino and run python3 -m platformio run -t upload. Keep the backlight at 50%. This slab has no touch screen and no motion sensor — you press BOOT (the button on GPIO9) to interact.
3
Page the board
Short BOOT = Departures / Calendar. Hold BOOT = rotate. Leave Wi-Fi empty unless you have a JSON feed.
Warning
Published firmware has empty WIFI_SSID. That is correct. The board is a classroom demo without your home password in it.
Lesson 1 — A screen is often just a table
Each flight is a row: destination, time, status. The program stores a list of those rows and draws one line per row. Change the list, the board changes. That is how spreadsheets, scoreboards, and apps work — data first, drawing second.
The slab has no touch screen. BOOT is your only button. The firmware times how long you hold it:
Shorter than ~0.7 s → next page (Departures ↔ Calendar).
Longer → rotate the whole layout.
You just learned edge timing. Remote controls and game controllers do this constantly (tap to jump, hold to charge).
Lesson 3 — Status is a word that picks a color
ONTIME paints green. DELAY paints red. GATE paints amber (gold). That is an if on a string — a lookup. The one RGB LED follows the room: amber while letters are still flipping, red if any row says DELAY, green once Departures has settled with no delays. Designers call this “encoding meaning in color.” In an airport, color is a language people can read from across the hall.
Lesson 4 — Optional JSON, same shape
If you later set a 2.4 GHz SSID and a SCHEDULE_URL, the board GETs a file. The file must look like the canned table, just written as JSON. Same labels, same idea as the radar project: the internet sends a packing list, the program unpacks it.
Hold BOOT and watch 5 portrait rows become 3 bigger landscape rows. Same data, new layout.
Type page on serial without touching the board.
Edit one canned destination to your nearest airport and reflash.
Talking to the board (serial)
Your computer can talk to the board over the same USB-C cable. That text chat is called serial. In Arduino IDE or PlatformIO, open the Serial Monitor at 115200 baud (that number is the speed — both sides must match).
Type a word, press Enter, and the board answers. Try help first. Then try status.
Commands for this project:help · status · page · flip · rotate
Tip
If you see nothing, pick the right USB port, set 115200, and press the board’s RESET once. On a Mac the port often looks like /dev/cu.usbmodem….
The complete program (reference)
Everything above taught the ideas. Below is the full sketch so you can search, copy, and tinker. It is long on purpose — that is a real program, not a toy snippet. Scroll inside the box. The downloadable .ino is the same file.
Wi-Fi and API fields are placeholders (YOUR_WIFI_SSID_HERE, YOUR_WIFI_PASSWORD_HERE). Never paste a real password into a public copy.