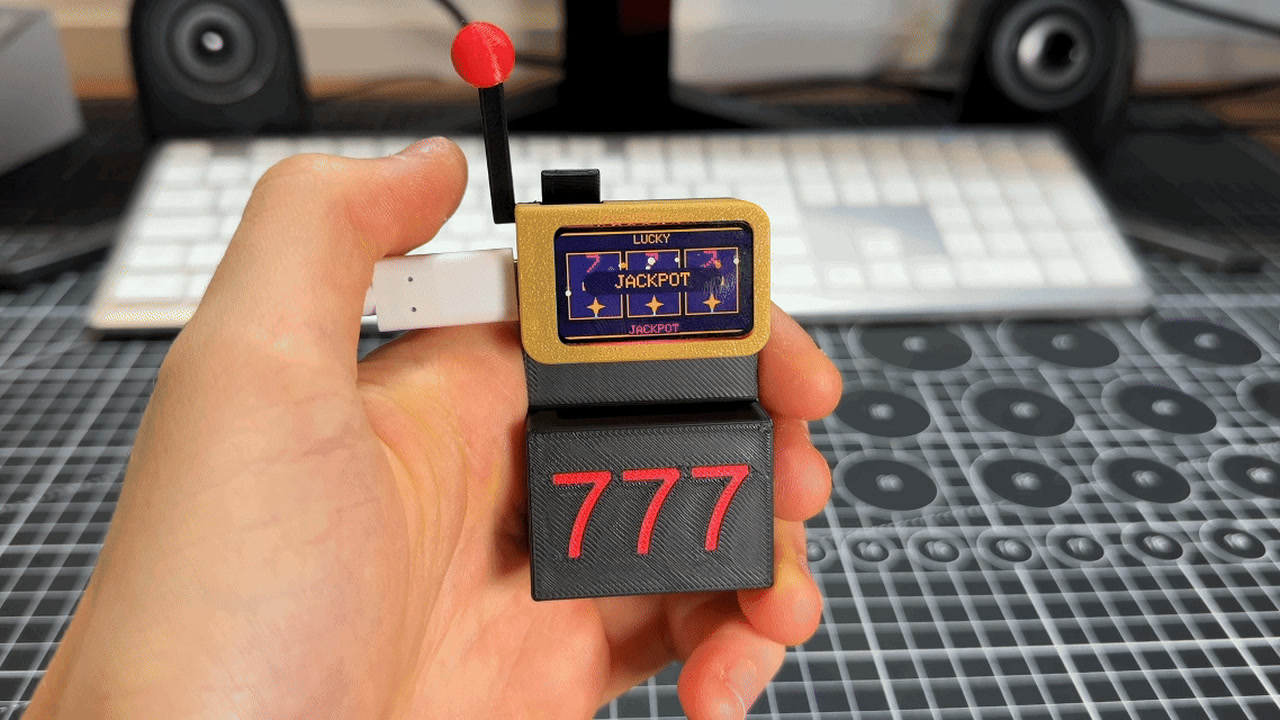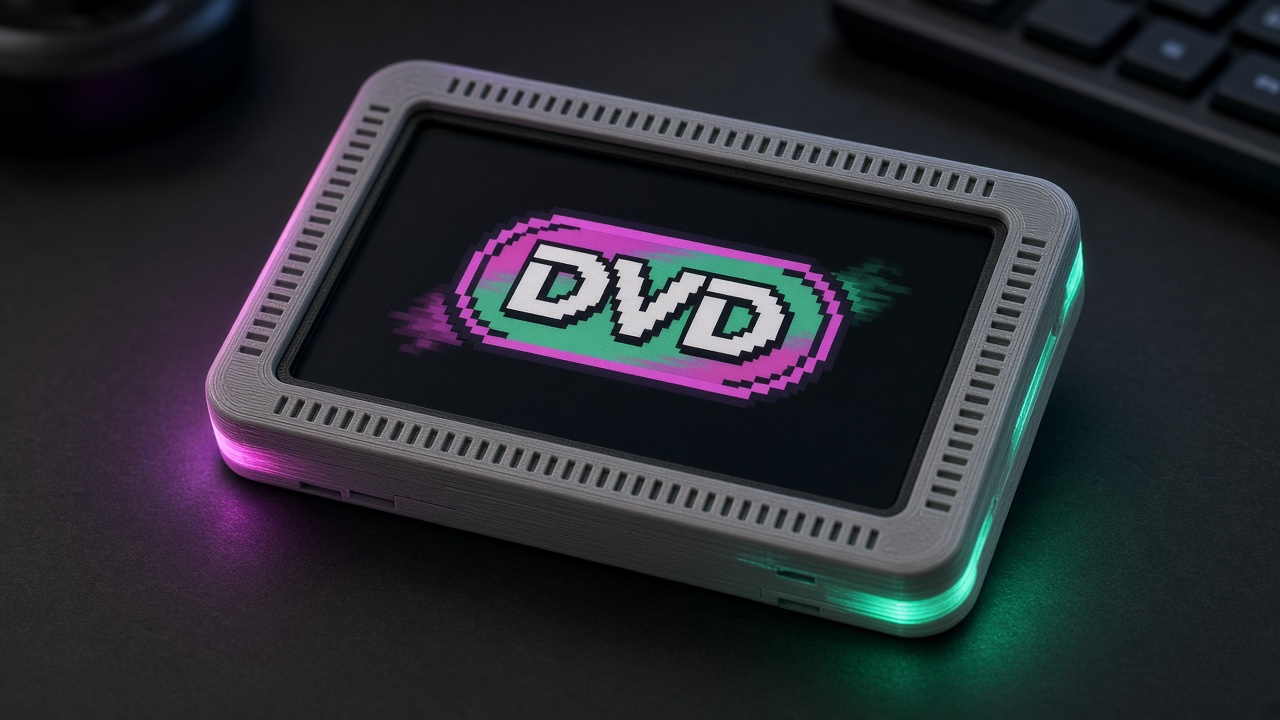
Lucky slab slot machine

A slot machine that fits in your hand. Print five parts, click in an ESP32-C6 screen, and pull a real lever to spin three neon reels. Along the way you learn how a computer picks random numbers and decides who wins.

DifficultyBeginner
Build time45 min
Est. cost$18
Parts4
Files8
Steps15

Things you'll need

QtyPartType
1
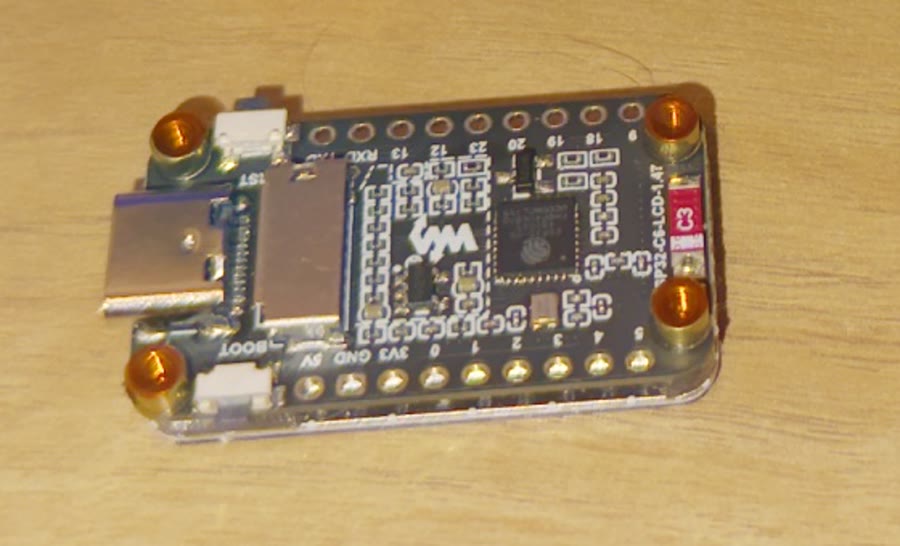
Waveshare ESP32-C6-LCD-1.47 board
Waveshare ESP32-C6-LCD-1.47 board The brain and the screen in one board. 1.47-inch colour LCD, USB-C, and a tiny BOOT button that the lever presses.
electronics
5
Printed parts
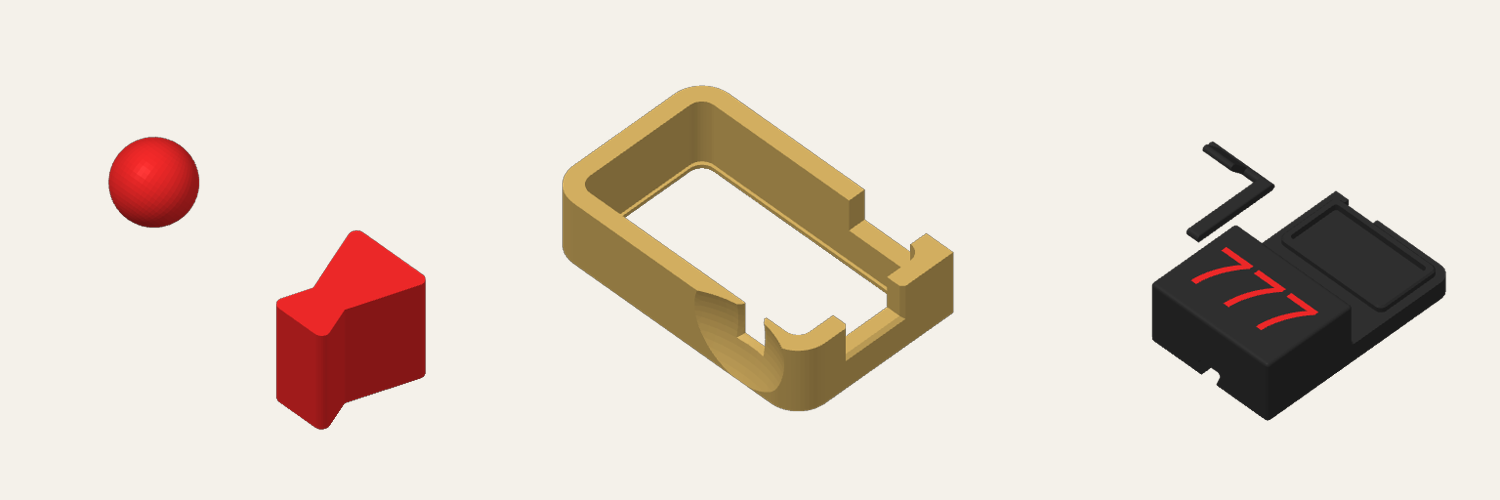
Printed parts Cabinet, bezel, lever arm, ball knob and wedge foot. All five are in the 3MF below, already split onto three colour plates.
printed
1
USB-C data cable Powers the board and loads the program. It must be a data cable, not a charge-only one.
electronics
25 g
PLA filament in three colours Black for the cabinet, gold for the bezel, red (or any fun colour) for the ball and foot. Any PLA works.
consumable

Tools & software

1
Chrome or Edge browser Loads the program onto the board straight from this page. Nothing to install.
1
Arduino IDE (optional) Only needed if you want to change the code later. See 'Level up' at the end.

Files & downloads

Download all

Flash writes a precompiled image over USB-C in Chrome or Edge. The .ino below is the source — you do not need Arduino IDE unless you want to change the sketch.

What you're building

A slot machine that fits in your hand. Pull the lever and three reels spin. Match two and you win a little. Match three and coins rain down the screen.

No soldering. No wires. You print five parts, push them together, plug in one cable, and click one button on this page to load the program.
Note

This is a toy. The credits are just a number the chip remembers. Nobody wins or loses real money. That is exactly what lets us look inside and learn how the maths works.

What you'll learn

  • How a computer picks a random number (and why 7-7-7 is so rare)
  • How five numbers called a pay table decide every prize
  • How an if / else decides win or lose
  • How the chip tells a short pull from a long hold
  • How a program moves between moods: waiting, spinning, winning

Meet the parts

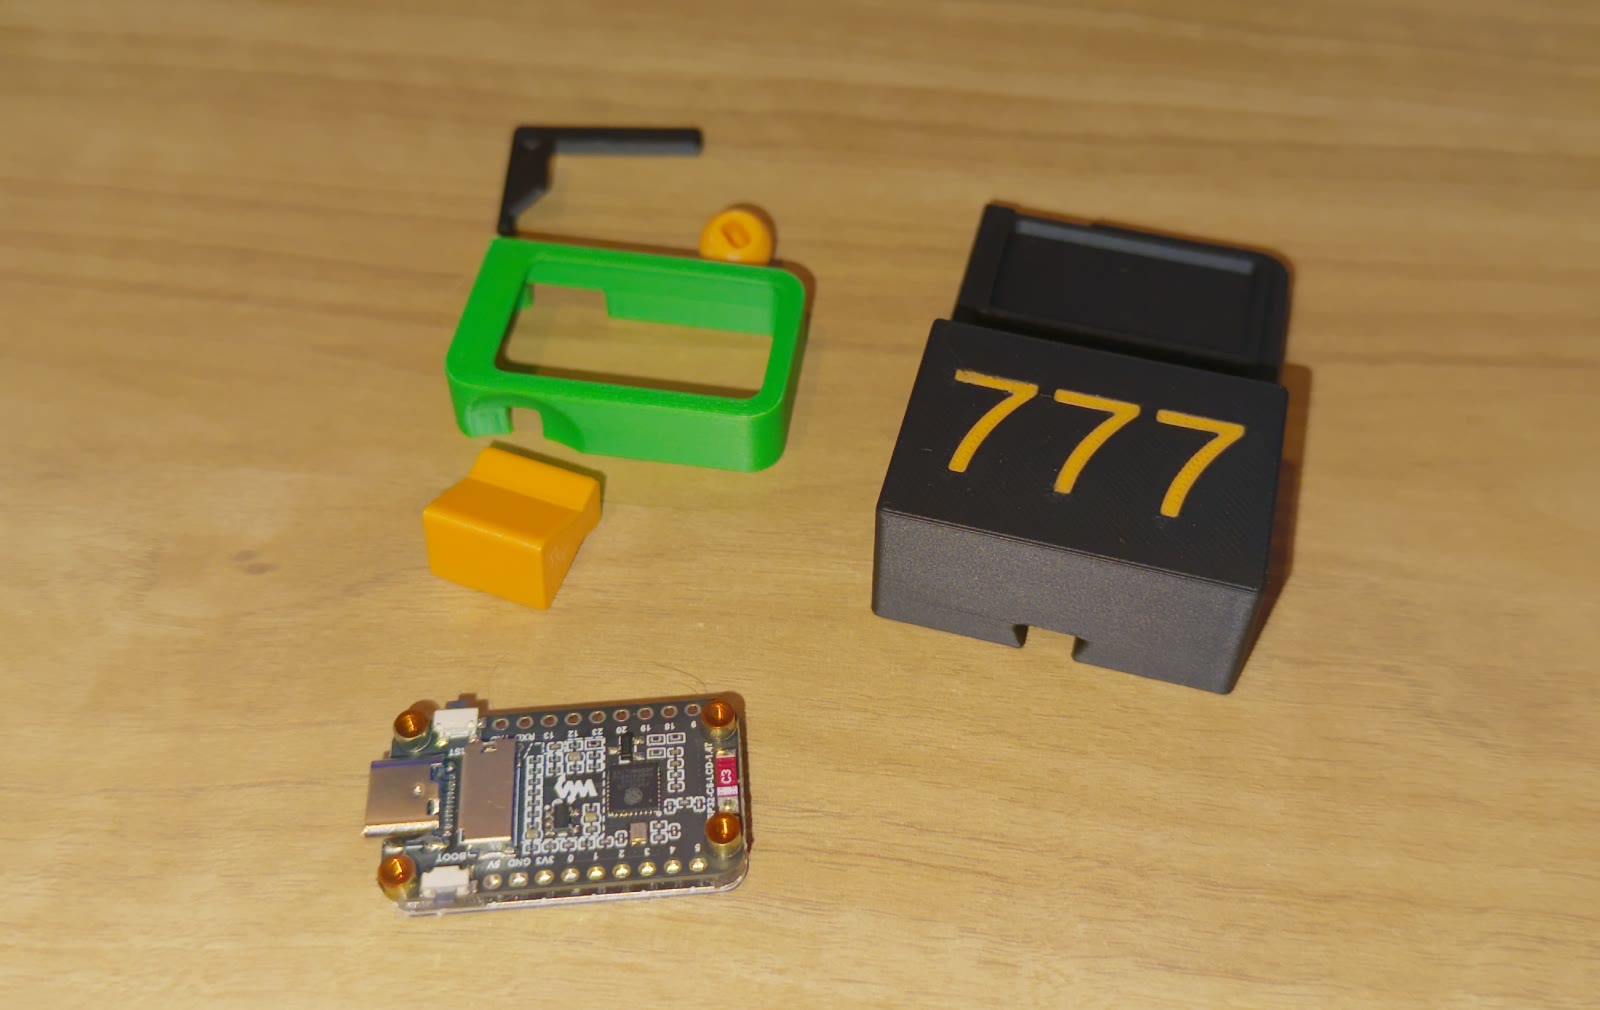
The five printed parts and the ESP32-C6 board laid out on a desk
Everything you need: five printed parts and one board.
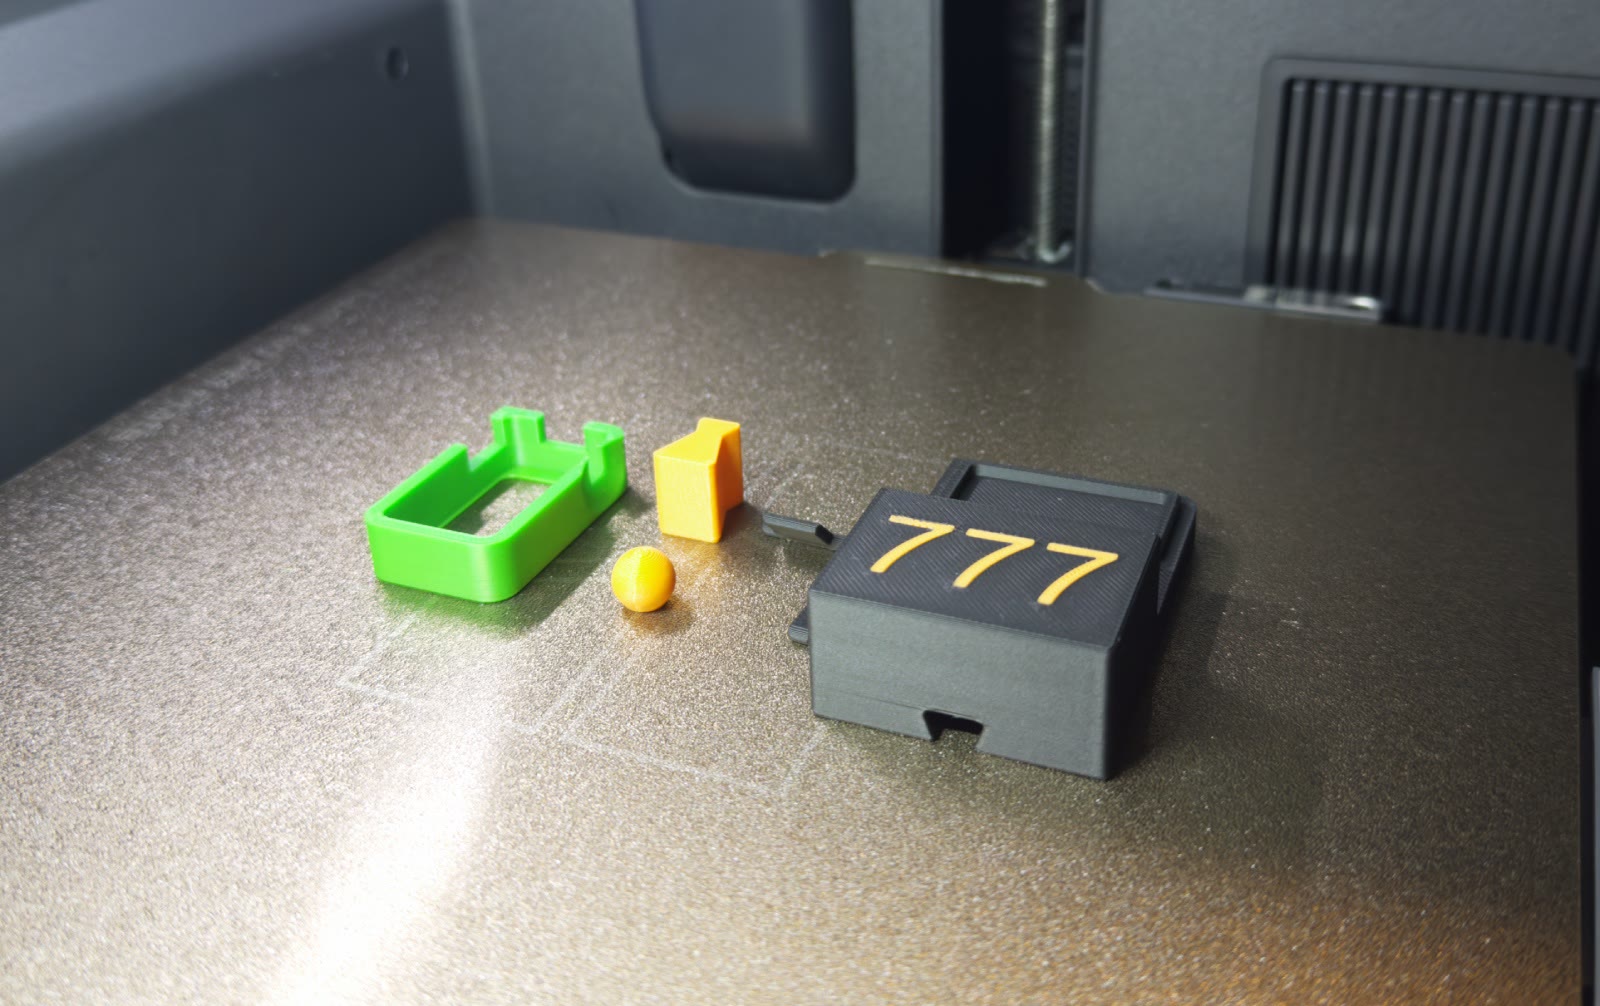
  1. Cabinet: the black box with 777 on the front.
  2. Bezel: the frame the screen board clicks into.
  3. Lever arm: the L-shaped stick.
  4. Ball: the knob on top of the lever.
  5. Wedge foot: slides into the bottom so the cabinet leans back.
  6. The board: a Waveshare ESP32-C6 with a 1.47-inch screen. Brain and display in one.
Tip

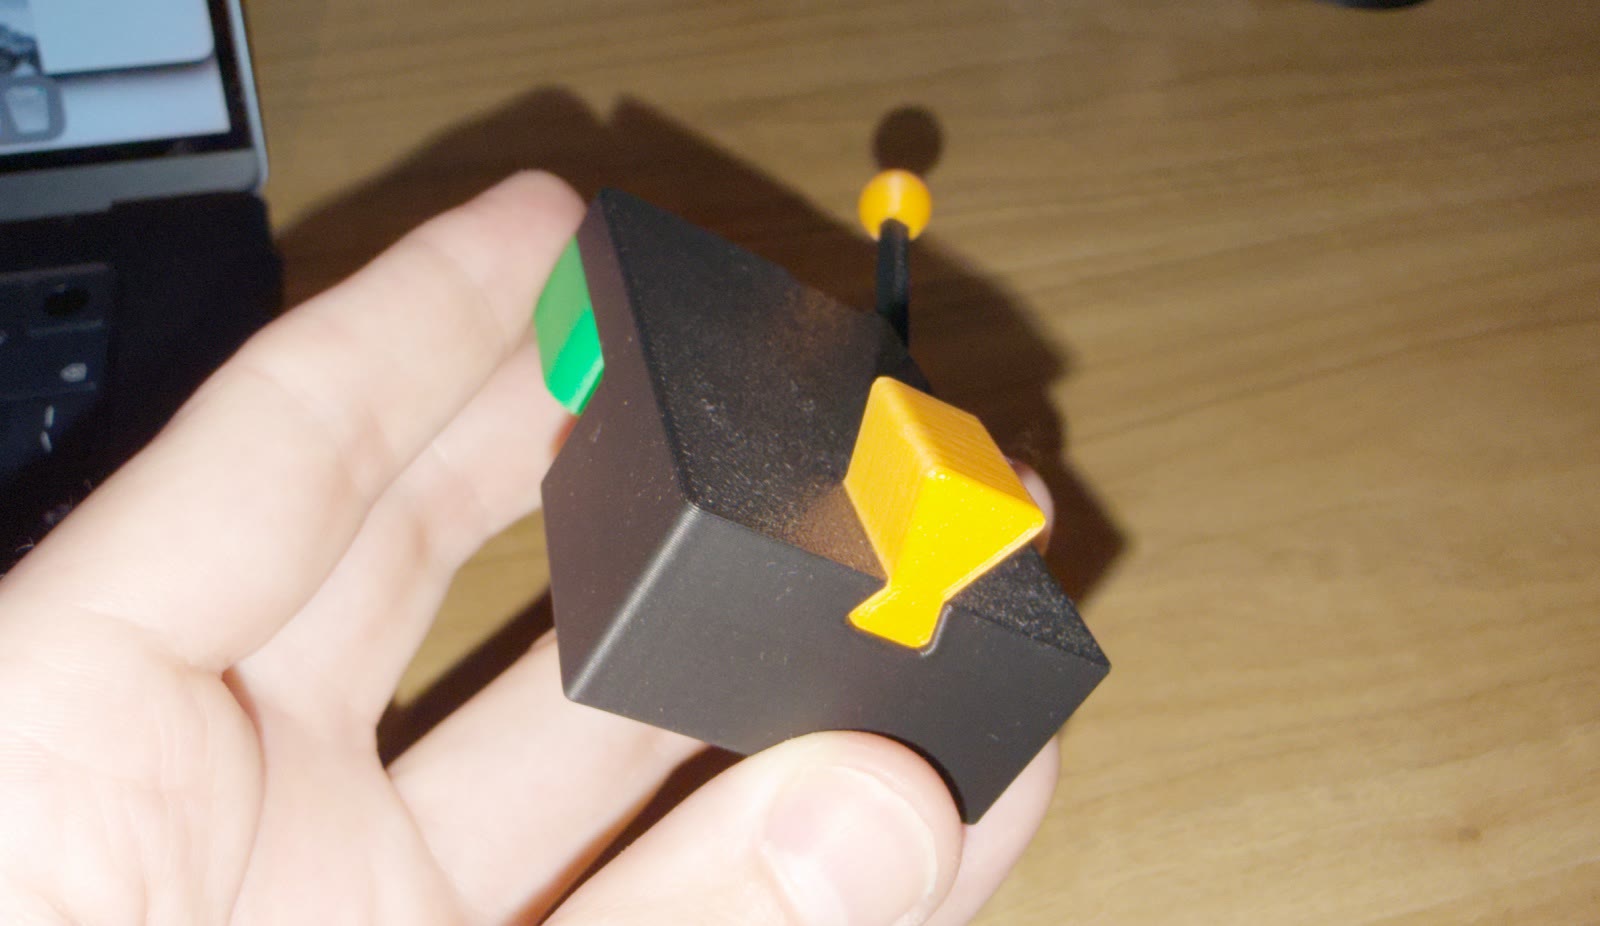
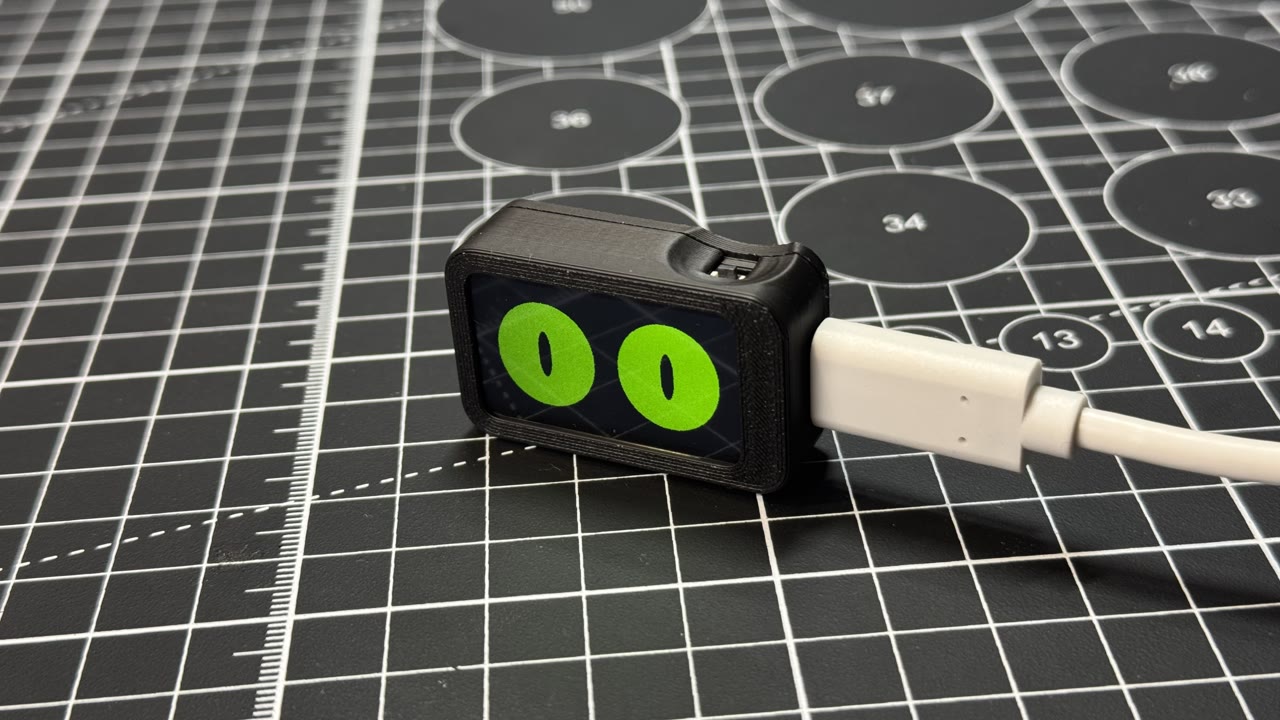
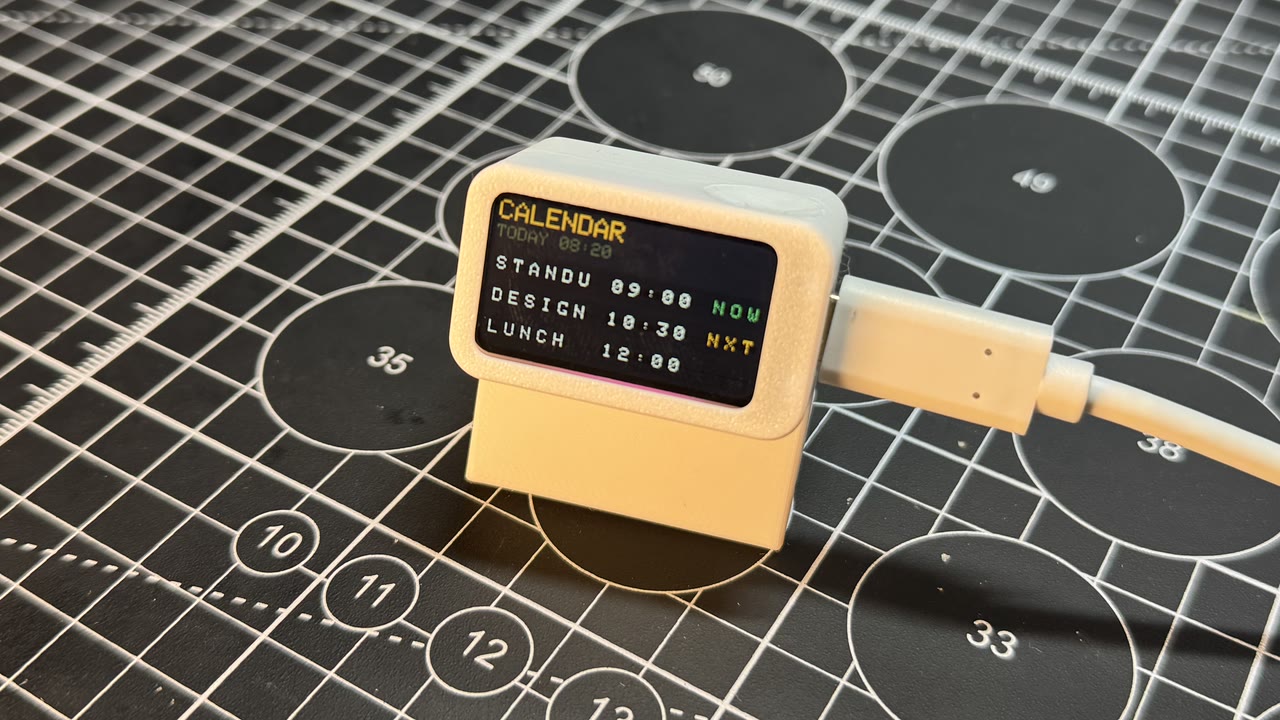
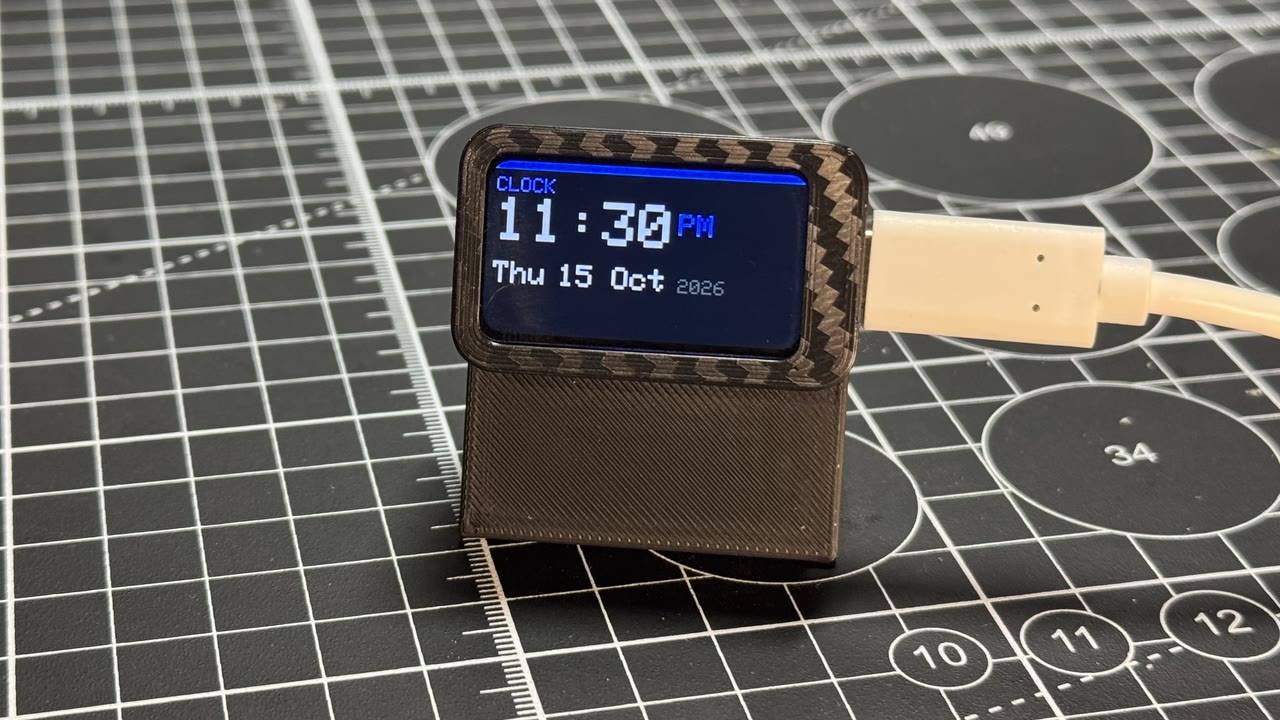
Pick your own colours. The photos on this page show two builds: black + green + gold, and black + gold + red. Any PLA works. The 3MF is set up for three colours but you can print it all in one.

Note

Before you start. The printer does about 2 hours of work on its own. You do about 15 minutes of clicking parts together and 2 minutes of loading the program. No tools needed. If a notch needs cleaning up, a hobby knife helps; ask an adult for that bit.


Part 1: Print

Three plates, three colours. Start the printer, then come back for Part 2 while it works.

1

Download the 3MF

Grab Print-ready 3MF from Files & downloads above and open it in Bambu Studio. Using another slicer? Open the STL instead, use Split to objects, and colour the parts yourself.

Download the 3MF
2

Pick colours and print

Plate 1: ball + foot. Plate 2: bezel. Plate 3: cabinet + lever arm. Settings are already in the file: 0.2 mm layers, 2 walls, 15% infill. The cabinet prints with supports only where it needs them.

Pick colours and print
3

Check the parts

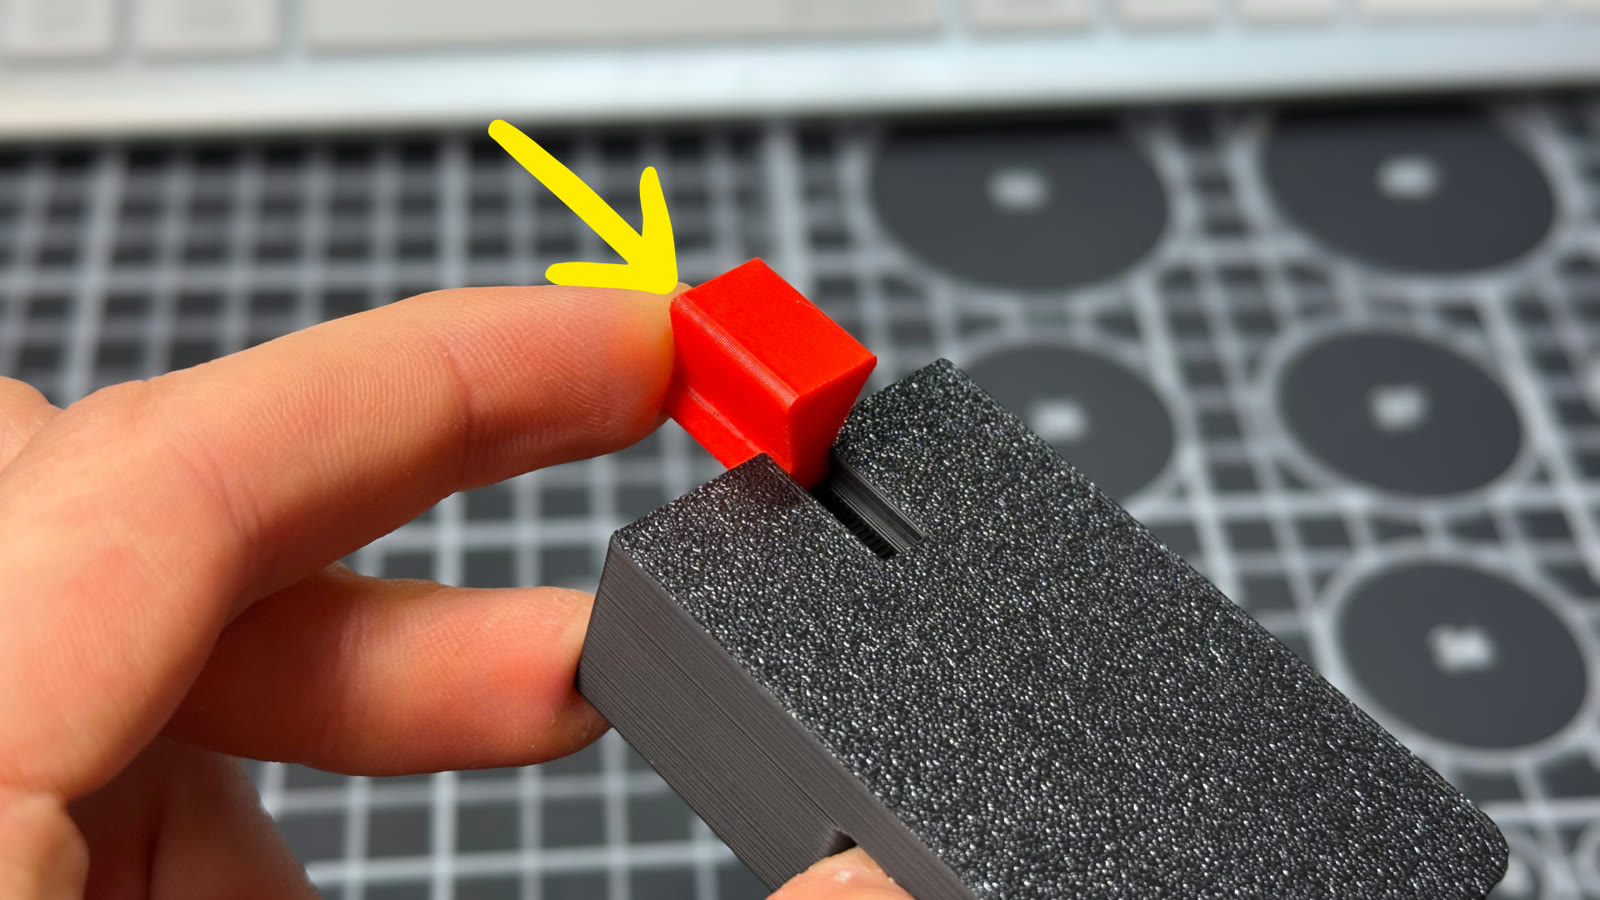
Snap off any support inside the cabinet's top pocket. Look at the corners of the bezel: the little notches must be clear, because the board's buttons and the lever arm go through them.


Part 2: Put it together

No glue, no screws. Everything pushes together. If a part feels tight, wiggle it; never force it.

1

Click the board into the bezel

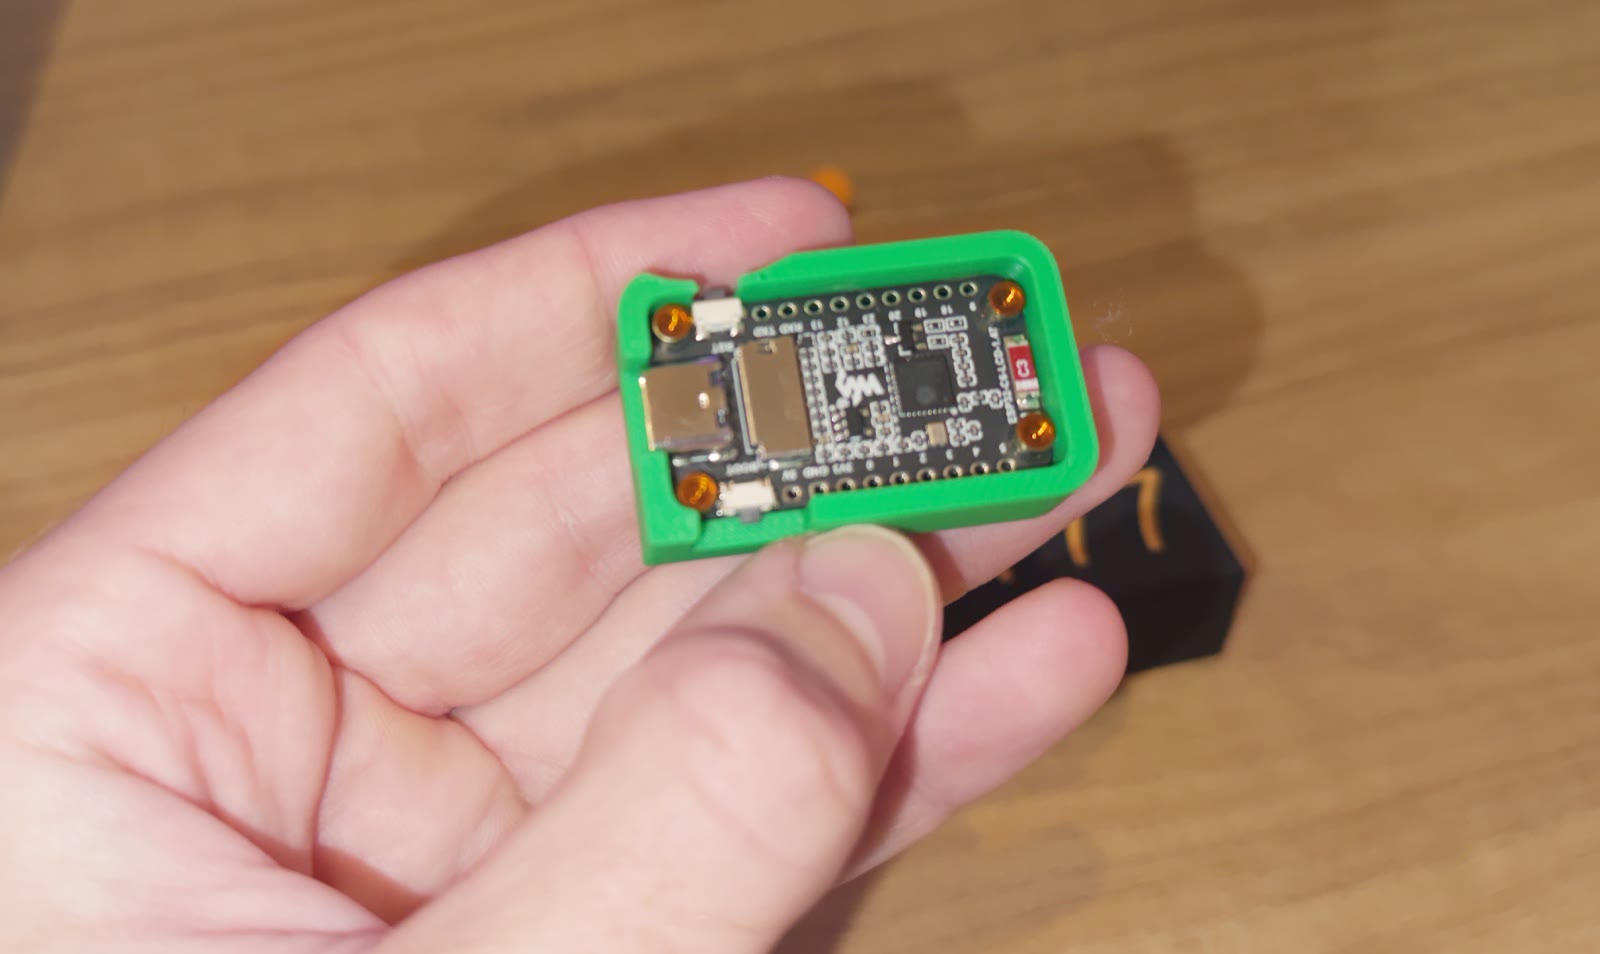
Screen facing out, USB-C port on the side with the gap. Press the edges down until the board sits flat. The two tiny buttons (BOOT and RESET) poke into the notches at the corners.

Click the board into the bezel
2

Plug the bezel into the cabinet

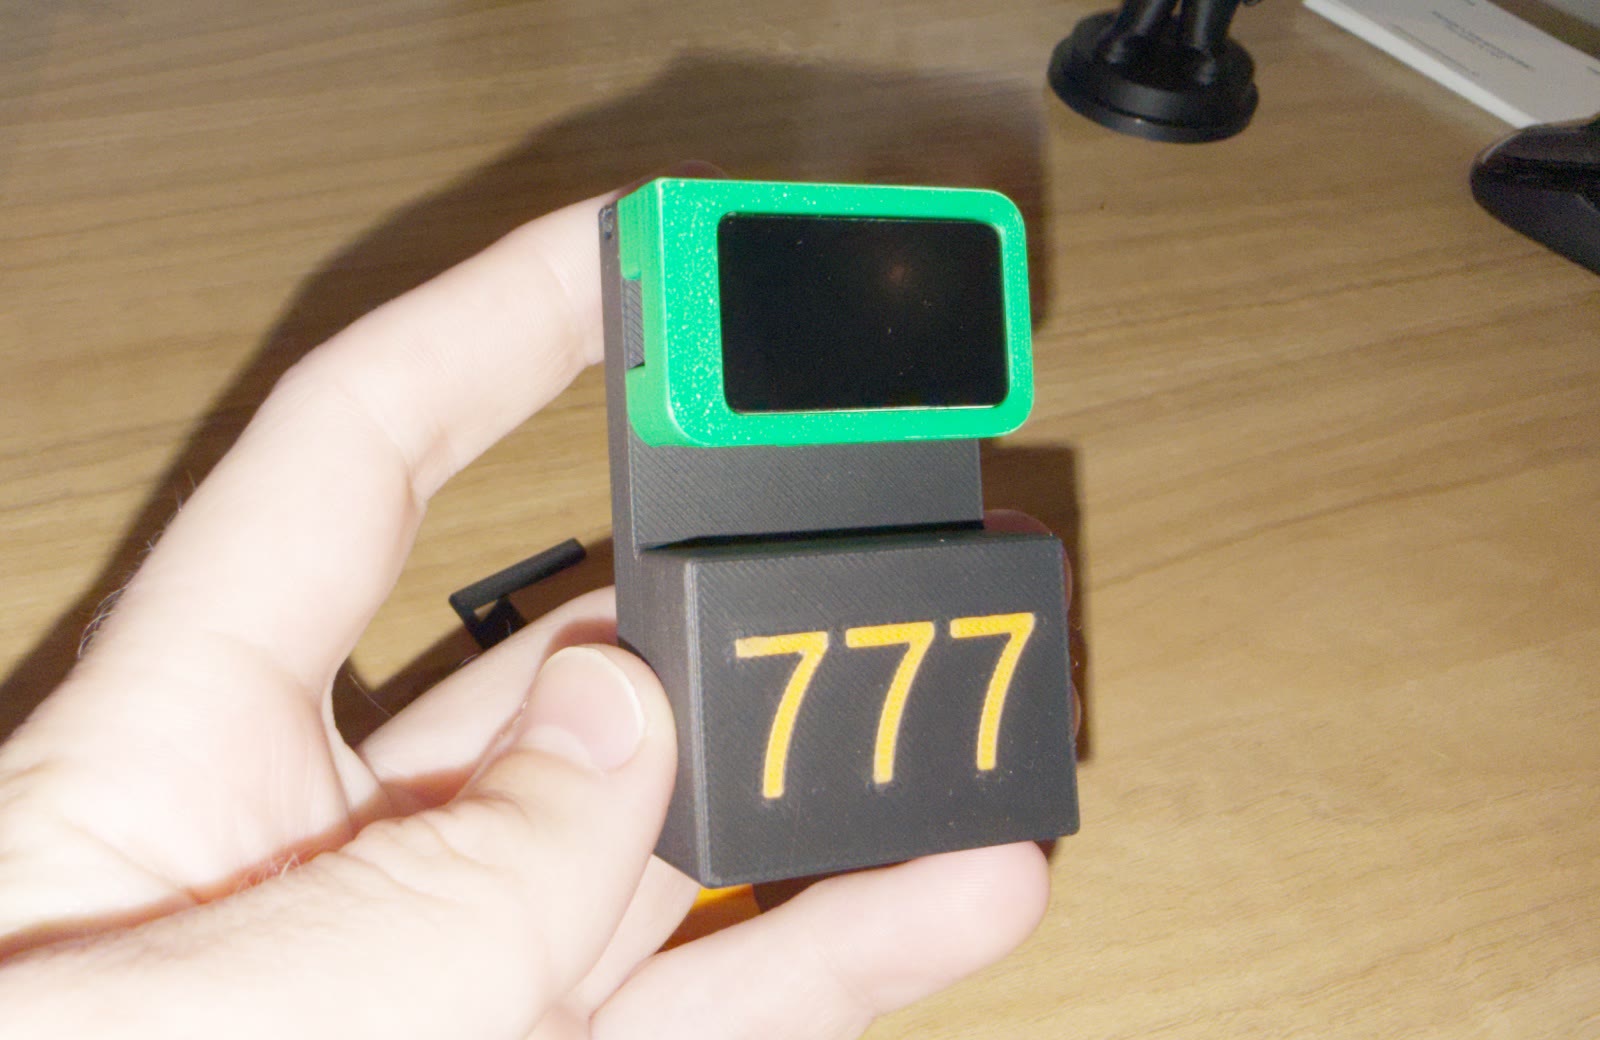
The bezel slides into the pocket on top of the cabinet. The screen faces the same way as the 777.

Plug the bezel into the cabinet
3

Push the lever in

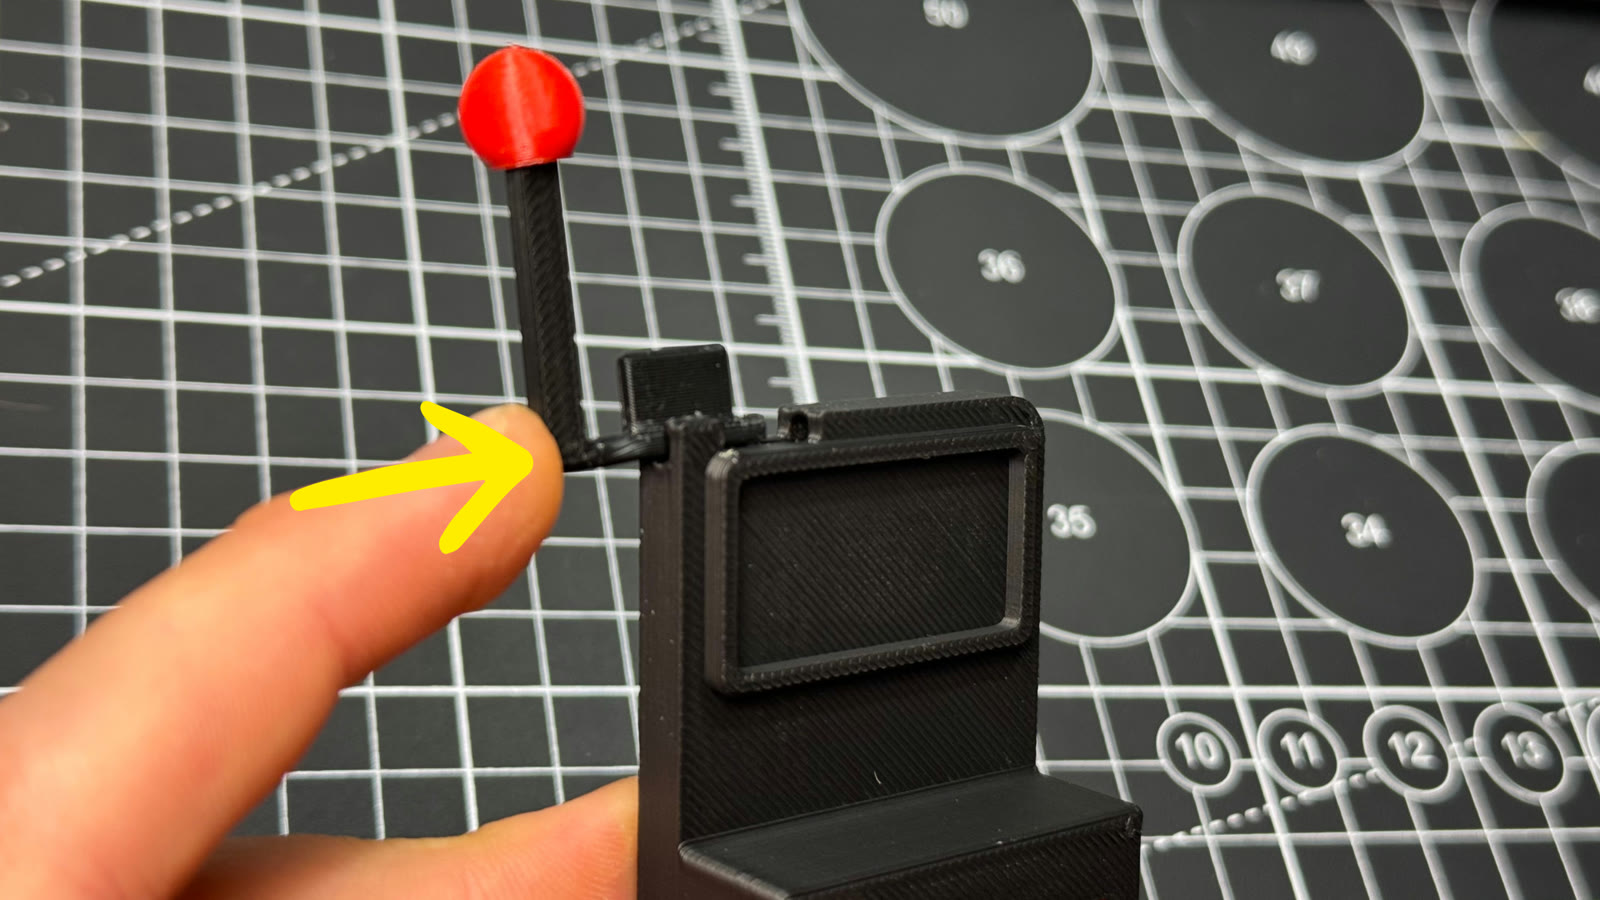
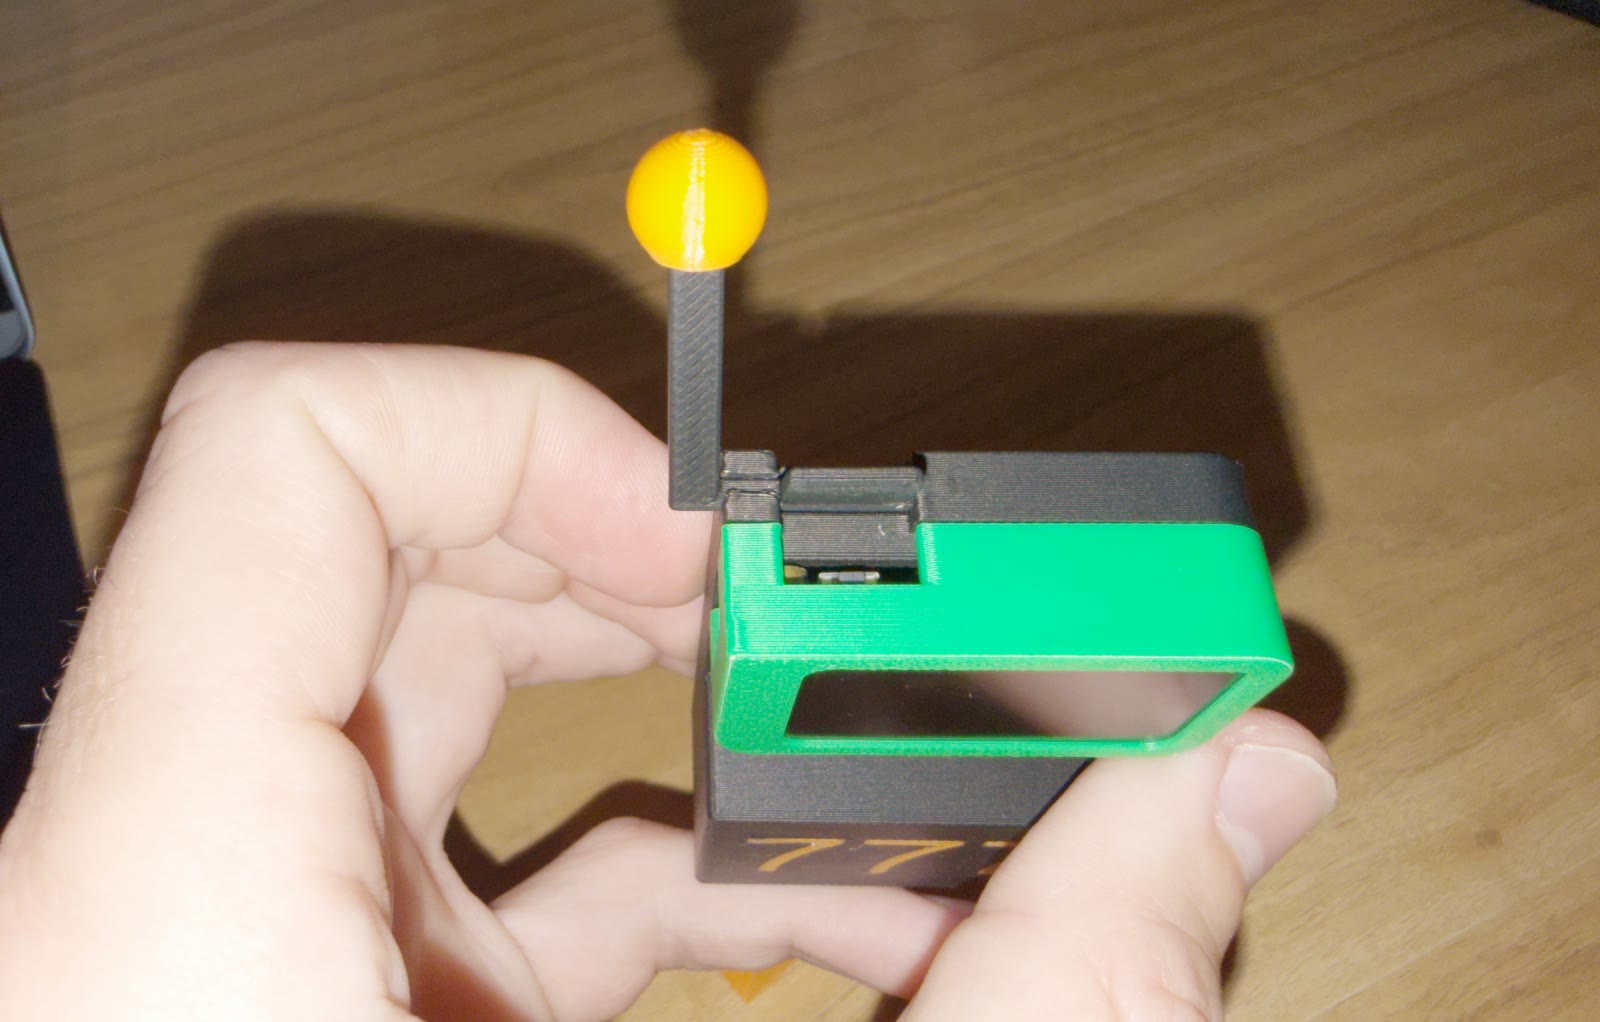
Press the ball onto the long end of the lever arm. Then push the short end into the slot at the top of the bezel, right over the BOOT button. This is the trick: pulling the lever presses BOOT for you.

Push the lever in
4

Test the lever

Give it a gentle pull. You should feel a tiny click from the button underneath. No click? Push the arm in a little further.

Test the lever
5

Slide in the foot

Push the wedge into the slot on the bottom of the cabinet. Now it stands on your desk tilted back, like a real machine.

Slide in the foot
Underside of the cabinet with the wedge foot pushed in
Foot in. The cabinet leans back so the screen faces you.

Part 3: Load the program

The board arrives empty. You are going to copy the slot-machine program onto it from this web page. That takes about a minute.

Note

Word to know: flash. Flashing means copying a program onto a chip. The chip keeps it even when unplugged, like saving a game.

1

Plug in

Connect the USB-C cable from the board to a computer (Windows, Mac, Chromebook or Linux). Remember: a data cable, not a charge-only one.

2

Click Flash to board

Scroll up to Files & downloads and click Flash to board. Use Chrome or Edge. Pick the port that appears, click Install, and wait for the green tick.

3

Watch it wake up

The screen lights up with three reels and CREDITS 24. If it stays black, press the tiny RESET button once.

Tip

No port in the list? Hold BOOT, tap RESET, let go of BOOT, then click Flash again. On a Mac the port is usually called usbmodem. Phones and Safari can't flash; use a computer.


Play it

Four things to try, in order.

1

Pull the lever = spin

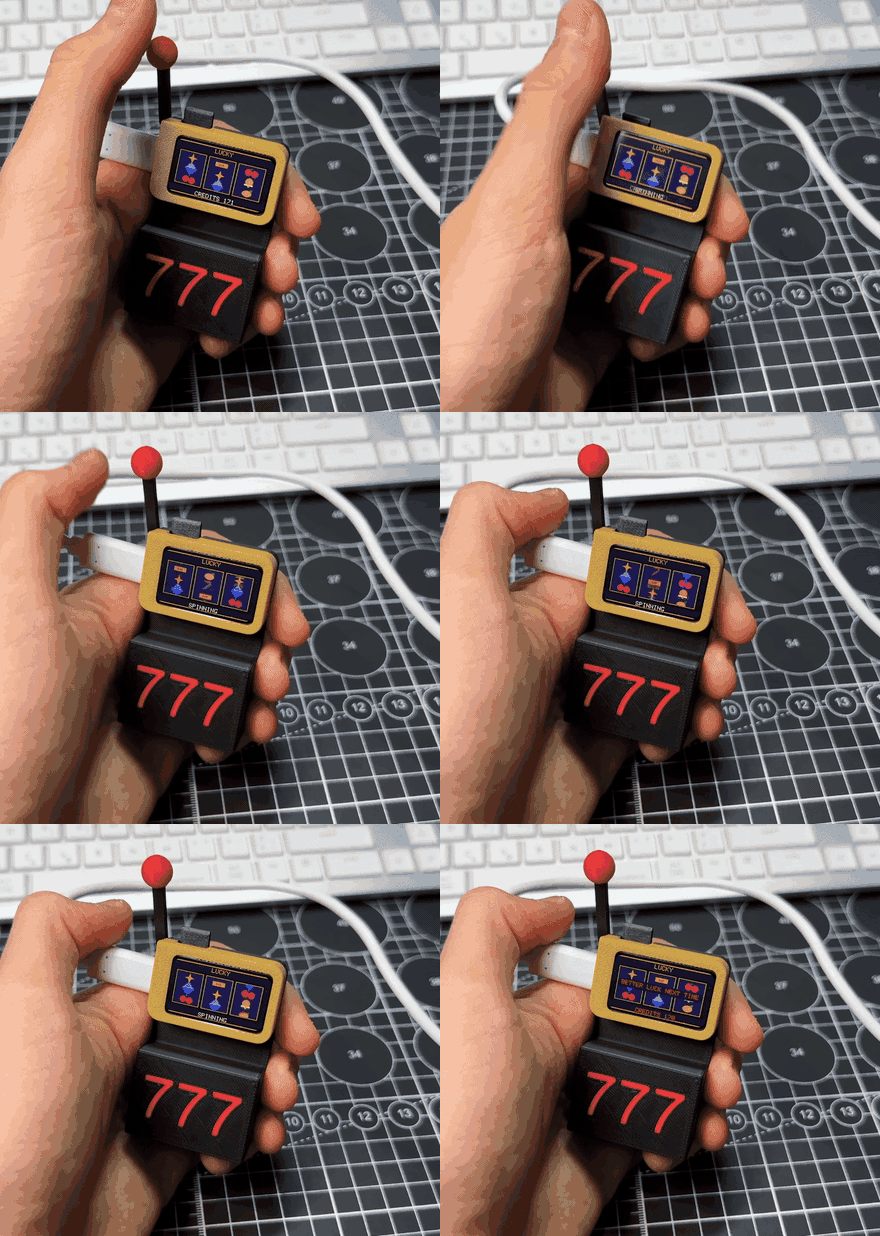
One credit goes in, three reels spin, and they stop one after another. Watch the bottom of the screen: the words tell you what happened.

Pull the lever = spin
2

Hold the lever = new cabinet

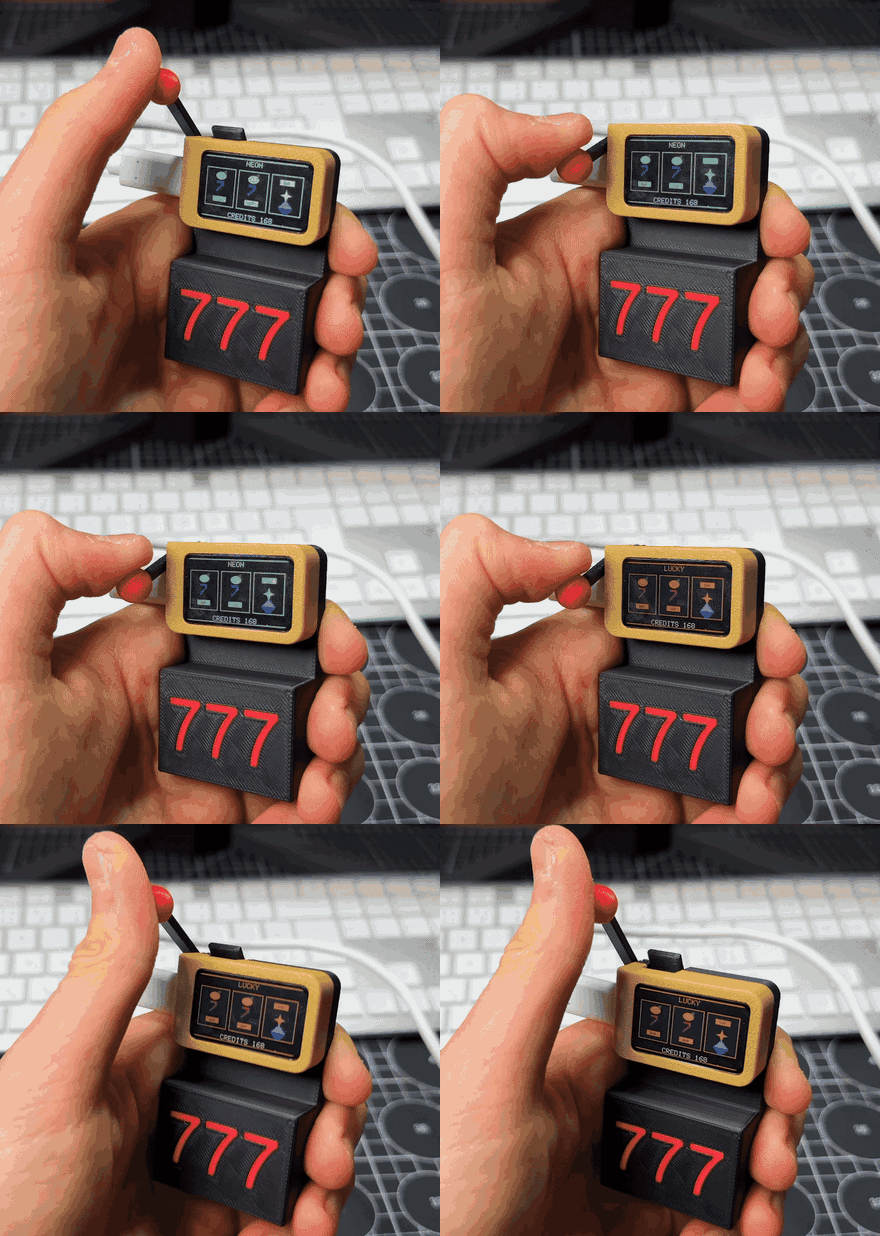
Hold for about one second. The machine changes outfit: Vegas (purple), Diner (red) and Neon (teal). It remembers your pick even after you unplug it.

Hold the lever = new cabinet
3

Match two = small win

+3 credits. A green banner shouts something like CHA-CHING or LADY LUCK. Miss, and a red one says SO CLOSE.

4

Match three = JACKPOT

+24 credits, or +77 for 7-7-7. Coins rain down the screen and the tiny light on the back of the board goes rainbow.

Match three = JACKPOT

Three sevens. Coins. Rainbow light.

The pay table

What you hit Prize
Every pull costs 1 credit
Any two the same +3
Any three the same +24
7 · 7 · 7 +77

You start with 24 credits. The chip remembers your score when you unplug it.


How it works: five tiny lessons

You don't need to read the whole program (it's in Files & downloads if you're curious). Each lesson below shows the one small piece of code that does the job, and gives you something to try.

Lesson 1: Picking a random symbol

Each reel has 7 symbols: 7, BAR, STAR, GEM, CHERRY, BELL, LEMON. When you pull, the chip asks for a random number from 0 to 6 for each reel. That number is the symbol.

How many different results are there? 7 × 7 × 7 = 343. Only one of them is 7-7-7. So on a fair machine you'd expect the big one about once every 343 pulls.

lucky-slab.ino
// One line per reel. random(0, 7) gives 0, 1, 2, 3, 4, 5 or 6.
for (int i = 0; i < N_REEL; i++) {
  g_stop[i] = random(0, N_SYM);   // N_SYM is 7
}

From pull(). The three numbers in g_stop are where the reels will land.

Tip

Try it: pull 20 times and count how often any two reels match. About 7 or 8 out of 20 is normal. That's roughly 39%, and you can work it out: 133 of the 343 results have a match.

Lesson 2: The pay table is just numbers

Every prize in the game comes from five numbers at the top of the program. Change one, flash again, and the whole game changes. That's what #define does: it gives a number a name, so you only have to change it in one place.

lucky-slab.ino
#define START_CREDITS 24   // what you begin with
#define SPIN_COST      1   // every pull costs this
#define PAIR_PAY       3   // two matching
#define TRIPLE_PAY    24   // three matching
#define SEVEN_PAY     77   // 7-7-7
Note

Maths corner. This machine is generous on purpose. On average each pull gives back about 1.75 credits for the 1 it costs, so your pile grows. Set PAIR_PAY to 1 and it becomes almost exactly fair: about 1.01 back per pull. Real casinos pay back less than 1. That gap is called the house edge.

Lesson 3: Deciding who wins

When the reels stop, the program has three numbers: a, b and c. It asks two questions, in order. That's an if / else, the most useful idea in all of programming.

lucky-slab.ino
bool triple = (a == b && b == c);           // all three the same?
bool pair   = (a == b || b == c || a == c);  // any two the same?

if (triple) {
  win = (a == SYM_SEVEN) ? SEVEN_PAY : TRIPLE_PAY;
} else if (pair) {
  win = PAIR_PAY;
} else {
  win = 0;                                   // better luck next time
}

Simplified from finishSpin(). && means AND, || means OR, == means 'is equal to'.

Tip

Try it on paper: the reels show BELL, BELL, LEMON. Is triple true or false? Is pair? What's the prize? (False, true, +3.)

Lesson 4: Short pull or long hold?

The lever only presses one button. So how does the machine know a pull from a hold? It uses a stopwatch. When BOOT goes down, the program writes down the time. If the button is still down 700 milliseconds later, that's a hold: change the cabinet. If it comes back up sooner, that's a pull: spin.

lucky-slab.ino
#define BOOT_LONG_MS 700   // 0.7 seconds

if (down && !g_bootDown) g_bootDownAt = now;            // button just went down

if (down && (now - g_bootDownAt) >= BOOT_LONG_MS)       // still down after 0.7 s?
  cycleTheme();                                          //   that's a hold

if (!down && g_bootDown && !g_bootLong) pull();          // let go early? that's a pull

Simplified from pollBoot(). millis() is the stopwatch: milliseconds since the board turned on.

Tip

Try it: change 700 to 300, flash again, and feel how twitchy the lever gets. Then try 1500. Which feels right to you?

Lesson 5: The machine has moods

A program that animates can't just stop and wait. Instead it remembers what mood it's in and checks it 30 times a second. Programmers call this a state machine.

IDLE → pull → SPIN → reels stop → WIN, LOSE or JACKPOT → a moment later → back to IDLE.

Every mood draws different words at the bottom of the screen and picks a different colour for the light.

lucky-slab.ino
enum Phase { PH_IDLE, PH_SPIN, PH_WIN, PH_JACKPOT, PH_LOSE, PH_BROKE };

if (g_phase == PH_SPIN)         setLed(220, 220, 220);  // white while spinning
else if (g_phase == PH_JACKPOT) rainbow();              // party
else if (g_phase == PH_WIN)     setLed(40, 220, 88);    // green
else if (g_phase == PH_LOSE)    setLed(90, 16, 16);     // dim red

Simplified from pulseLed(). setLed takes red, green and blue from 0 to 255.

Note

Why doesn't it flicker? The program draws the whole picture into memory first, then copies it to the screen in one go, like finishing a drawing before you hold it up. Each reel is drawn inside its own little box, so symbols can't spill over the edges of the window.


Secret commands

Your computer can chat with the board through the same USB-C cable. That chat is called serial. Open the Serial Monitor in Arduino IDE (or any serial app) at 115200, type a word, press Enter.

Type this What happens
help lists every command
status shows credits, theme and what the reels say
spin pulls the lever for you
theme cyber jumps straight to a cabinet: vegas, diner or cyber
credits 24 sets your credits
jackpot forces 7-7-7 (great for filming)
Warning

Out of credits? The screen says INSERT COIN. Type credits 24 in the Serial Monitor and you're back in business. The machine is random, so there is no trick to winning; that's the whole point of Lesson 1.


Level up: change the code

Ready to make it yours? Download lucky-slab.ino and c6_slab_pins.h, put them in a folder called lucky-slab, and open the .ino in Arduino IDE. Change the include line near the top to #include "c6_slab_pins.h". Board: ESP32C6 Dev Module, USB CDC On Boot: Enabled. Libraries: GFX Library for Arduino and Adafruit NeoPixel.

Ideas, easiest first:

  • Change PAIR_PAY and watch how fast your credits grow.
  • Rewrite the words in WIN_LINES and LOSE_LINES to your own.
  • Change N_COIN from 14 to 40 for a bigger coin storm.
  • Add a fourth cabinet: copy one line of THEMES, pick six colours, and add a name before TH_COUNT in the ThemeId list.
lucky-slab.ino
// id,     title,   background,  panel,       gold,            ink,             accent,         dim
{"vegas", "LUCKY", {18, 6, 28}, {42, 12, 58}, {255, 196, 64}, {255, 236, 190}, {255, 64, 160}, {90, 40, 110}},

One cabinet is one line. Every colour is {red, green, blue} from 0 to 255.


If something goes wrong

  • Screen stays black after flashing. Press RESET once. Still black? Try a different USB-C cable; many are charge-only.
  • No port shows up. Hold BOOT, tap RESET, release BOOT, click Flash again.
  • Lever wiggles but nothing spins. Push the lever arm further into its slot so it sits over BOOT. Test by pressing BOOT with a fingernail.
  • Board won't sit flat in the bezel. Look for a blob of plastic in a corner notch and trim it.
  • Screen looks a bit dim. On purpose. 50% brightness keeps the panel from getting a hot spot.
  • INSERT COIN. You're out of credits. Type credits 24 in the Serial Monitor.

Build photos

Licensed under CC BY-SA 4.0. Check with the author before commercial use.