About this video
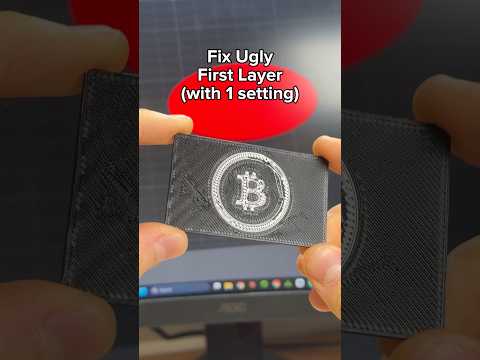
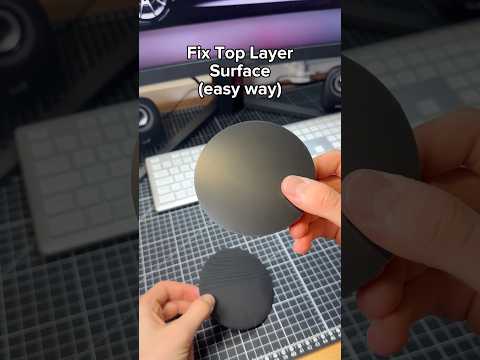
Why Your 3D Printed Top Layers Look Rough
If your 3D prints keep showing ugly top layers with gaps, holes, or uneven surfaces, the culprit is almost always an incorrect flow rate. When your extruder pushes too much or too little filament, the top layer cannot close properly, leaving visible gaps between lines. Calibrating flow rate is one of the fastest ways to dramatically improve print quality.
The One-Setting Fix: Flow Rate Calibration
Most modern slicers (like Cura, PrusaSlicer, OrcaSlicer, and Bambu Studio) include a built-in calibration tool that removes the guesswork. Here is the full process:
- Open your slicer and navigate to the Calibration menu
- Select Flow Rate from the available calibration options
- Pick the filament you want to tune (this matters because different brands and colors flow differently)
- Start the print — the slicer will generate a test pattern with multiple flow rate values side by side
- Inspect the finished test and find the section where the top surface looks smoothest and most consistent
- Note the number printed above that best section
- Return to your slicer settings, enter that number in the flow rate field, and click Next
Once saved, this flow rate value applies to every future print with that filament profile, giving you consistently beautiful top layers.
Pro Tips for Best Results
- Re-calibrate per spool — filament diameter tolerances vary between brands and even between batches from the same manufacturer
- Check your nozzle temperature before calibrating, since extrusion rate depends heavily on temperature
- Run the test on the same nozzle size you plan to print with
- Store multiple filament profiles so you can switch materials without losing your tuned settings
Frequently Asked Questions
How often should I recalibrate flow rate?
Every time you switch to a new filament brand, spool, or significantly change your printing temperature. Some makers recalibrate monthly for their most-used materials.
Does flow rate calibration affect print strength?
Yes — over-extrusion creates blobs and weak layer adhesion, while under-extrusion causes gaps. A properly calibrated flow rate improves both surface finish and structural integrity.
Can I skip calibration if my prints look okay?
Even prints that look acceptable often have hidden flow issues. Calibration is quick and can reveal improvements you did not know were possible.
Tools and Materials Mentioned
- Slicer software with calibration mode (Cura, PrusaSlicer, OrcaSlicer, Bambu Studio)
- Any FDM 3D printer
- The filament you intend to tune
Save this flow rate trick — it is the single fastest upgrade you can make to your print quality and it takes less than ten minutes.