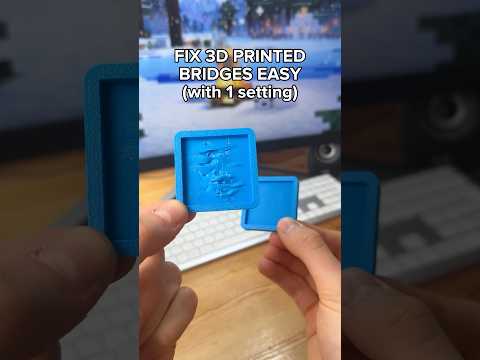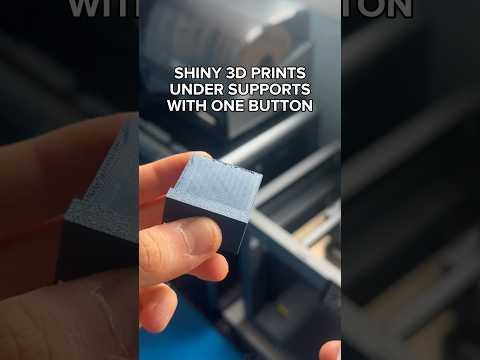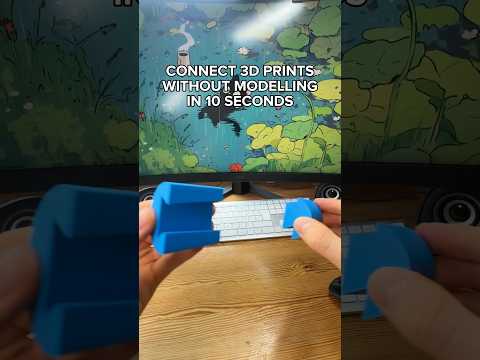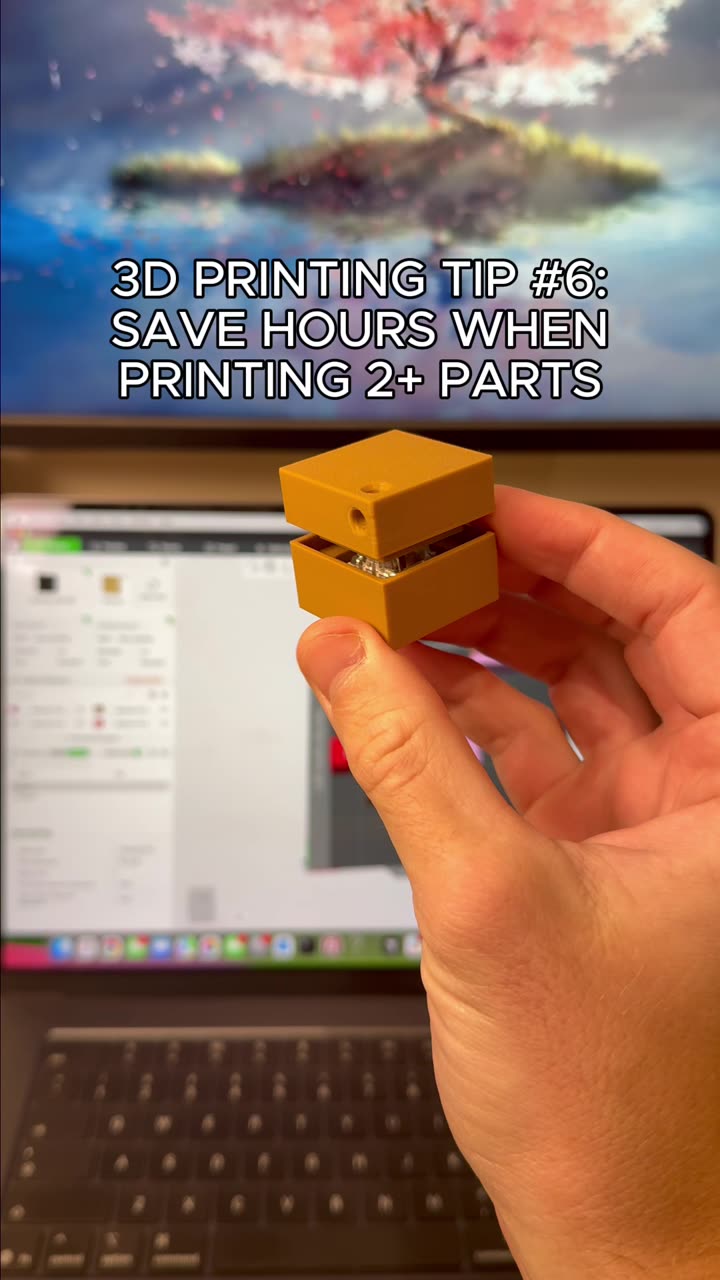
About this video
Why Normal Brims Are a Problem
Most 3D printers rely on a standard brim to fight warping and bed adhesion issues, especially on materials like ABS, ASA, and PETG. The problem? Traditional brims spread across the entire footprint of the model, which makes them tough to peel away and often leaves rough, ugly corners on your finished print. If you have ever spent ten minutes trimming a brim with flush cutters and still seen white stress marks on your part, you already know the frustration.
The 10-Second Fix: Painted Brim Type
Open your slicer (this workflow works in OrcaSlicer, Bambu Studio, and other modern forks) and head into the Others settings. Under Brim type, switch from the default option to Painted. Instead of generating a uniform brim around the whole base, a painted brim only places material exactly where the slicer detects the part is at risk of lifting — typically sharp corners, narrow protrusions, and overhangs. You get the adhesion benefit without the wasted plastic.
Add Brim Ears for Effortless Removal
Once the painted brim is enabled, jump to the Top menu and select Brim Ears, then click Auto Generate. Brim ears are small, extended tabs that connect the brim to the model with a thin bridge. After printing, you simply grab the ear, twist, and snap the brim clean off. No flush cutters, no nicked corners, no leftover scarring.
Step-by-Step Recap
- Open your slicer and load your model.
- Go to Others → Brim type → select Painted.
- Open the Top menu → Brim Ears → click Auto Generate.
- Slice and send to your printer.
Why This Combo Works So Well
The painted brim reduces material usage and print time compared to a full brim, while brim ears give you a built-in handle. Together they are ideal for:
- Functional parts where corner accuracy matters
- Cosmetic prints where surface finish cannot be sanded
- Warp-prone filaments like ABS, ASA, and nylon blends
- Quick prototypes that need fast post-processing
Pro Tips for Best Results
- Keep your bed temperature and first-layer speed dialed in — a painted brim has less surface area, so adhesion needs to count where it lands.
- If ears snap too easily, increase the Brim ear width slightly; if they are stubborn, lower it.
- Combine with an enclosure for ABS and ASA to minimize warping in the first place.
- Always orient the ear away from any critical feature on the model.
FAQ
Does painted brim work on every printer?
Yes — it is a slicer-side feature, so any FDM printer supported by the software benefits.
Will brim ears leave marks?
When sized correctly, the ear snaps at the bridge and leaves a clean break point that is easy to sand or hide on a functional face.
Can I still use a raft with this setup?
You can, but it is usually unnecessary. Painted brim plus ears handles most adhesion problems without the extra material of a raft.