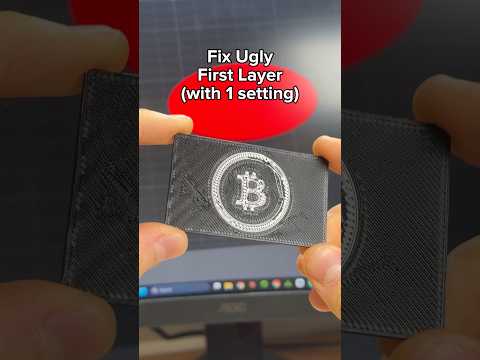
About this video
Why Your Top Layer Looks Rough
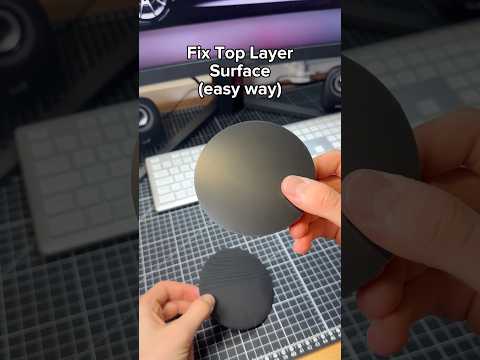
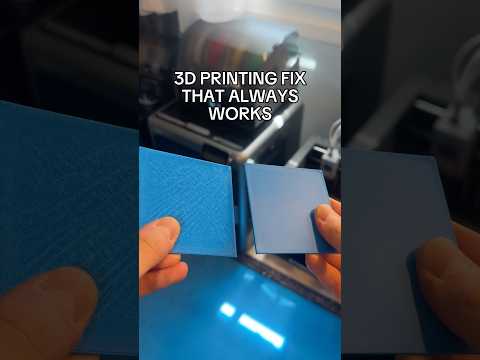
Even with a perfectly tuned first layer, most FDM 3D prints end with visible gaps, blobs, or seams on the very top surface. Standard layer lines run perpendicular to the part, and the last few layers stack unevenly because each new pass leaves a small ridge where the nozzle starts and stops. Ironing is the slicer feature that fixes this. It re-traces the top surface one extra time at a very low flow rate, melting the high spots flat without adding real height.
The Guesswork Problem With Ironing
Most users turn ironing on and either accept the default values or tweak one slider at a time. That is slow and unreliable. Flow that is too low leaves rough patches, while flow that is too high smears material and clogs the nozzle. Speed that is too fast skips ridges; speed that is too slow overheats and warps corners. The exact right numbers depend on your hot end, nozzle diameter, filament brand, and even ambient temperature, so a setting that works on one printer will fail on another.
A Free Calibration Model From MakerWorld
The video points to a community-published "Ultimate Ironing Test" on MakerWorld. Print it once and the model lays out dozens of small patches, each printed with a different combination of ironing flow and ironing speed. You literally read the best-looking square off the build plate and type those two numbers into your slicer.
Step-By-Step Workflow
- Download the ironing test model from MakerWorld and slice it with ironing enabled in Cura, PrusaSlicer, OrcaSlicer, or your slicer of choice.
- Print the test on the filament you plan to use most. PLA, PETG, and ABS all need different numbers.
- Inspect the top surface under good light and find the patch that looks the smoothest and most uniform.
- Note the flow value printed on the left of that patch, then note the speed value printed on the bottom.
- Open your slicer's ironing settings, paste the flow into the Ironing Flow field and the speed into the Ironing Speed field, then save the profile.
- Reprint your real model and confirm the top surface is glossy and gap-free.
Pro Tips for Even Better Results
- Use the same nozzle you print with daily, since a 0.2 mm and a 0.6 mm nozzle want very different flow numbers.
- Keep the ironing pattern set to concentric for round parts and rectilinear for flat plates.
- Print the test at the same temperature and speed as your production models; ironing inherits everything else.
- Re-run the test whenever you switch filament brands, because additives change how the plastic flows.
FAQ
Does ironing work on every filament?
It works best on PLA and PETG. TPU is too soft and ABS can scorch if ironing is too slow.
How long does the test take?
About 20 to 40 minutes depending on the patch count and your printer speed.
Can I skip the test and just use defaults?
You can, but you will be guessing. The test takes one print and gives you printer-specific numbers that usually beat any generic profile.