About this video
Why Use a Smooth and Textured Build Plate?
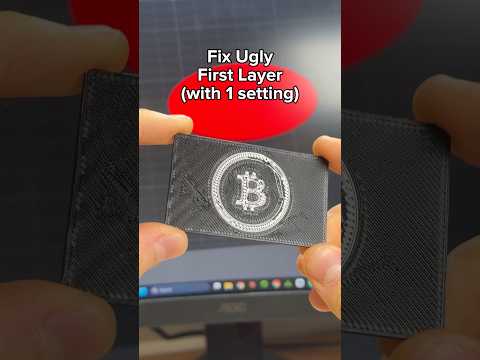
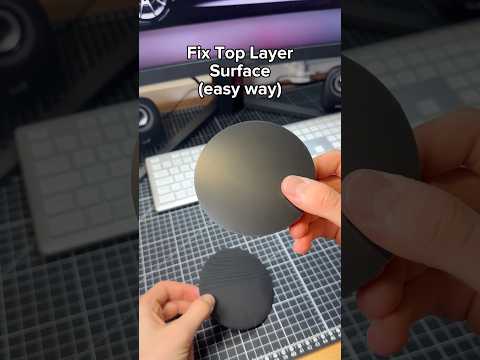
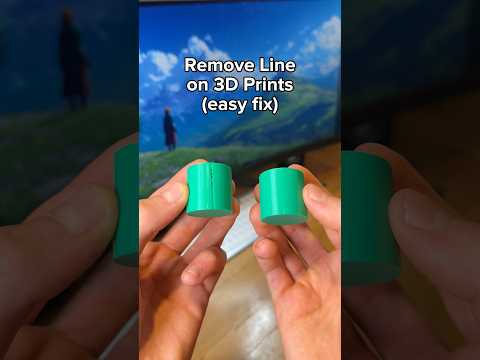
A dual-sided build plate is one of the simplest upgrades that instantly elevates the look and feel of your 3D prints. One side delivers a glassy, smooth first layer — perfect for aesthetic models, vases, and display pieces — while the other side adds a subtle textured finish that hides layer lines and gives parts a professional, almost injection-molded appearance.
Step 1: Order the Right Plate
Before anything else, make sure you grab the smooth and textured plate designed specifically for your printer model. These plates are typically magnetic and flexible, making print removal a breeze once the bed cools. Swapping it in for your old sheet takes only a few seconds — no tools required.
Step 2: Match the Plate in Your Slicer
This is the step most people forget. After physically installing the plate, open your slicer (whether that's Cura, PrusaSlicer, Bambu Studio, or another) and update the build plate profile:
- Select the correct plate type — smooth PEI, textured PEI, or cool plate — depending on which side faces your model.
- Adjust the Z-offset if needed; textured surfaces sit slightly higher, so your first-layer squish may need a small tweak.
- Set the bed temperature to match the manufacturer's recommendation for that plate material.
Step 3: Orient Your Model Correctly
Decide which side of your print deserves the premium finish. The textured side of the plate will transfer its pattern to whichever face is touching it, so plan your orientation before slicing. For parts that need both smooth and textured aesthetics, you can split the model in your CAD software and print in stages.
Pro Tips for Best Results
- Clean the plate with isopropyl alcohol before every print to maintain adhesion.
- Avoid touching the print surface with bare fingers — oils reduce bed grip.
- Use a glue stick sparingly on the smooth side if you print in PETG, as it can bond too well.
- Store plates flat and away from dust to prevent warping or surface damage.
Frequently Asked Questions
Can I switch sides mid-print? No — the plate must stay fixed throughout the print. Decide your finish before starting.
Does the textured side affect dimensional accuracy? Slightly. The texture adds a thin layer of pattern, so tight-tolerance mating surfaces should face the smooth side.
With the right plate and a quick slicer tweak, every print can look like it came off a professional production line.