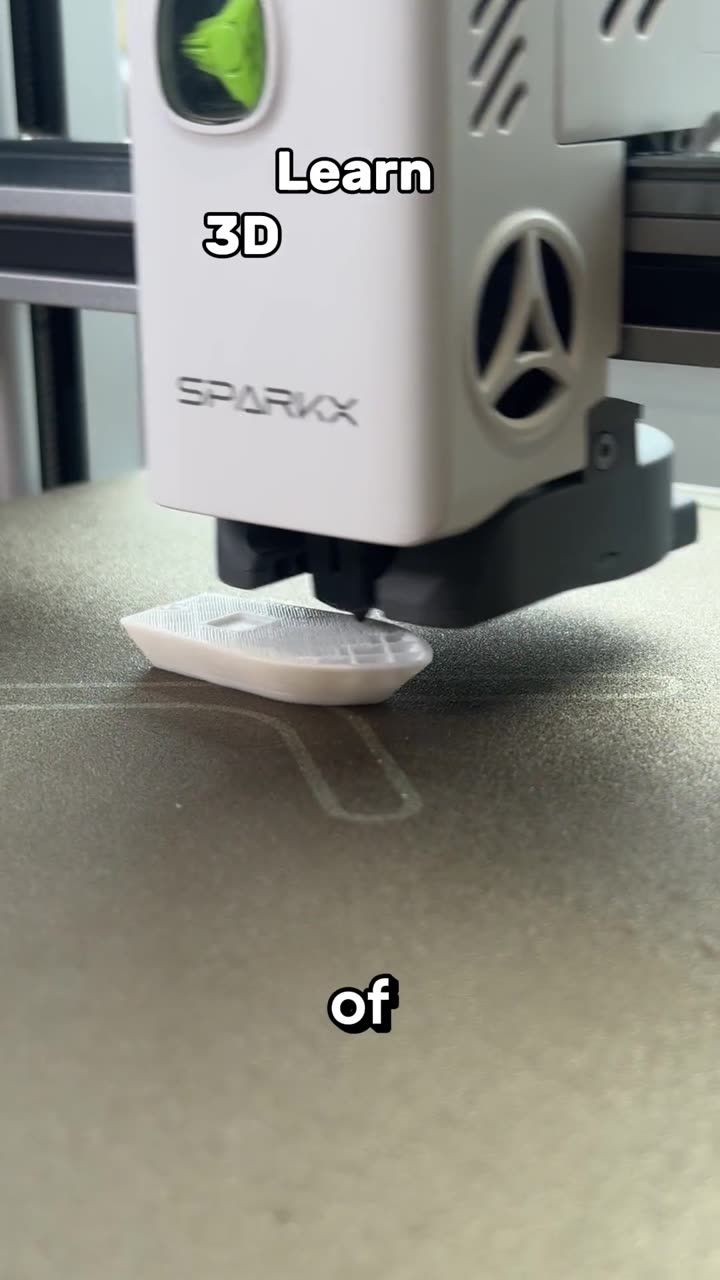
About this video
Day 3: make your 3D prints stronger
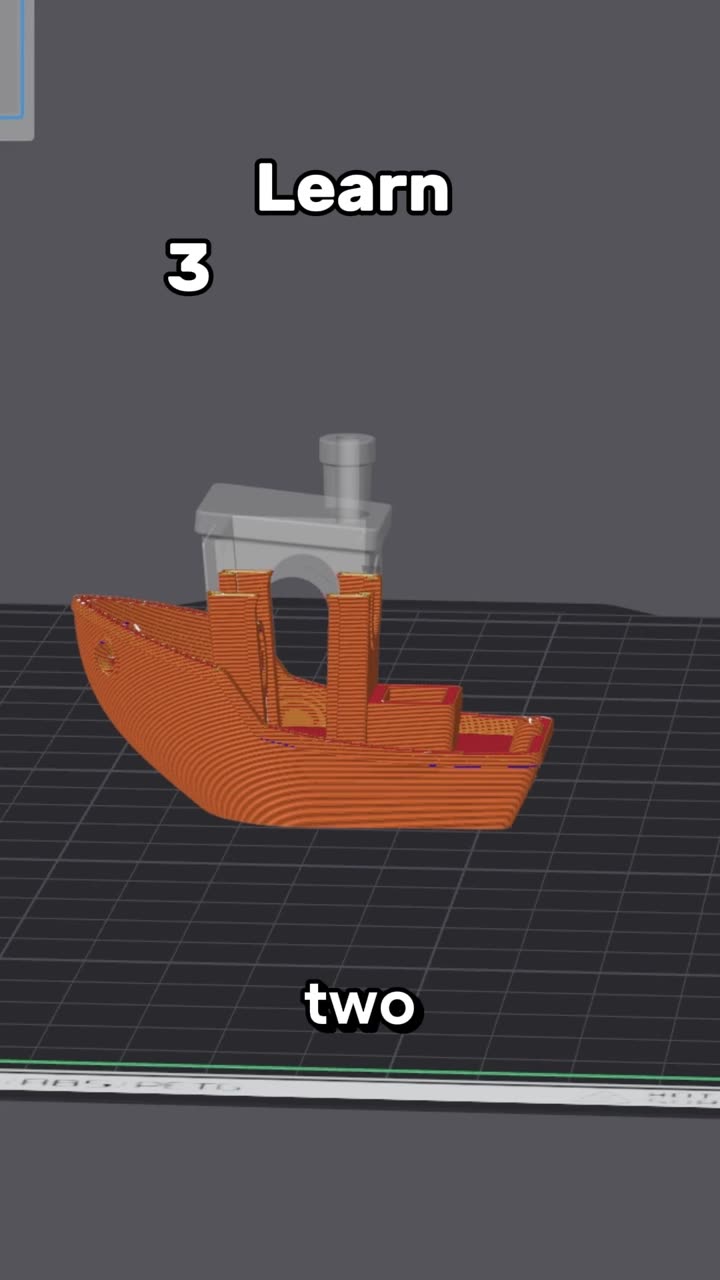
This is day 3, part 1 of PrintPal's learn 3D printing in 7 days series. On day 2 you saw that the slicer prints the outline of your model and fills the inside with infill. Today covers the strength settings that decide how tough that part is.
The four strength settings
| Setting | What it controls | Turning it up means |
|---|---|---|
| Walls (wall loops, perimeters) | How many lines make up the outer shell | Much stronger parts, more time and filament |
| Top and bottom shell layers | How many solid layers close the top and bottom | A cleaner top surface and a stiffer part |
| Infill density | How much of the inside is filled, from 0% (hollow) to 100% (solid) | Some extra strength, a lot more time and filament |
| Infill pattern | The shape used to fill the inside | Different strength, speed and material use |
Walls do the most
When a part needs to be stronger, add walls first. Most of a print's strength comes from its outer shell, so going from 2 to 4 walls usually helps more than doubling the infill, and it uses less filament. Infill mostly holds the outer shell and the top layers up from the inside.
Top and bottom shell layers
The top and bottom of every print are closed with several solid layers. With too few top layers the surface sags or shows gaps over the infill. About 1 mm of top shell (5 layers at a 0.2 mm layer height) is a safe starting point. The bottom can use a few less, because it prints straight onto the bed.
Infill patterns compared
| Pattern | Best for | Trade-off |
|---|---|---|
| Grid | Everyday prints. Simple, and the default in Bambu Studio | Lines cross on the same layer, so the nozzle can catch on tall prints |
| Gyroid | Functional parts. Strong in every direction | Slightly slower to print |
| Lightning | Decorative prints. Fastest, least filament | Only supports the top surfaces, so it adds almost no strength |
For more patterns, see the infill pattern cheat sheet and when to use gyroid infill.
Starting values
| Print type | Walls | Infill | Pattern |
|---|---|---|---|
| Decorative, figurines | 2 | 10–15% | Lightning or grid |
| Everyday household parts | 3 | 15–20% | Grid or gyroid |
| Functional, load-bearing | 4–6 | 25–40% | Gyroid |
One more strength tip
Layers bond to each other less strongly than a single line holds together, so a part is weakest along its layer lines. When you can, orient the part so the load runs along the layers instead of pulling them apart. More ideas in how to make 3D prints stronger in the slicer.
What's next
Day 3 continues with speed settings. Catch up on day 1, how a 3D printer works and day 2.
FAQ
Does 100% infill make the strongest part?
It makes a solid part, but it's slow and heavy. Adding walls usually gives more strength for the same amount of filament.
What is the strongest infill pattern?
Gyroid is a popular choice for functional parts because it's strong in every direction. Grid is fine for most everyday prints.
What infill percentage should I use?
15–20% for most prints. For parts that carry weight, add walls first, then raise the infill.