About this video
Day 3, part 2: the speed settings that matter
This is day 3, part 2 of PrintPal's learn 3D printing in 7 days series. Part 1 covered strength. Speed settings decide whether a print stays on the plate and how clean it looks. In Bambu Studio and OrcaSlicer they're all in the Speed tab.
| Setting | What it controls | Rule of thumb |
|---|---|---|
| First layer speed | How fast the first layer goes down | Keep it slow. If the first layer fails, lower this first |
| Outer wall speed | The visible outside surface | Slower than the inner walls. Too fast gives rough, uneven walls |
| Travel speed | Non-printing moves between separate parts | Fast, but too fast can knock thin parts over and too slow adds stringing |
| Overhang speed | Areas that stick out past the layer below | Slow, with the part-cooling fan high |
| Bridge speed | Flat spans printed across open air | Slow, with the part-cooling fan high |
First layer first
Nothing above the first layer matters if it fails. A slow first layer gives the plastic time to press into the build plate and stick. If prints come loose or the first layer looks patchy, lowering the first layer speed is one of the quickest fixes. More in how to fix the first layer with one setting.
Outer walls are what people see
The outer wall is the surface of the finished part. Printing it too fast leaves ripples and uneven lines, which is why most slicer profiles already run the outer wall slower than the inner walls. If your walls look rough, slow the outer wall further before changing anything else.
Travel speed and stringing
When the plate has separate parts, or a model has separate islands, the nozzle travels between them without printing. Too fast and the nozzle can catch a tall, thin part and knock it over. Too slow and the hot nozzle has more time to ooze on the way, which leaves strings. More fixes in how to fix stringing.
Overhangs and bridges
An overhang is any part that sticks out past the layer below it. A bridge is a flat span the printer draws across open air between two supports. Both need slow speeds so each line has time to cool and hold its shape. See how to fix 3D printed overhangs and fix bridges with a single test.
How fast can your printer actually go?
Your hotend can only melt so much plastic per second, which is called volumetric flow. Multiply layer height × line width × speed: 0.2 mm × 0.4 mm × 200 mm/s = 16 mm³/s. If that number is more than your hotend can melt, walls come out thin and weak (under-extrusion). Check your settings with the volumetric flow calculator.
What's next
Next up is supports. Catch up on day 1, how a 3D printer works, day 2 and day 3, part 1.
FAQ
What is a good first layer speed?
Slower than the rest of the print. Many profiles use around 20–50 mm/s. If your first layer struggles, go slower.
Why are my outer walls rough?
Usually the outer wall speed is too high. Slow it down first, then check flow and temperature.
Does a faster travel speed cause stringing?
Usually the opposite. Faster travel gives the nozzle less time to ooze over open space. Very high travel speeds can knock over thin parts, though.
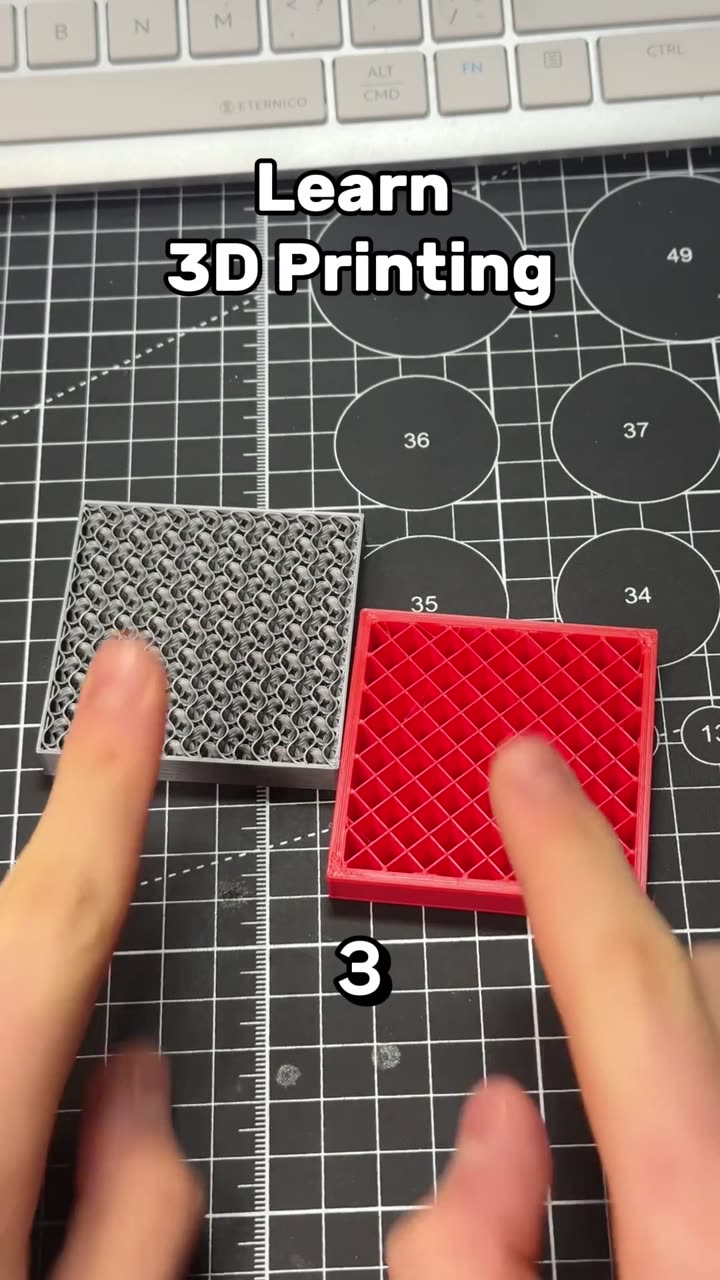
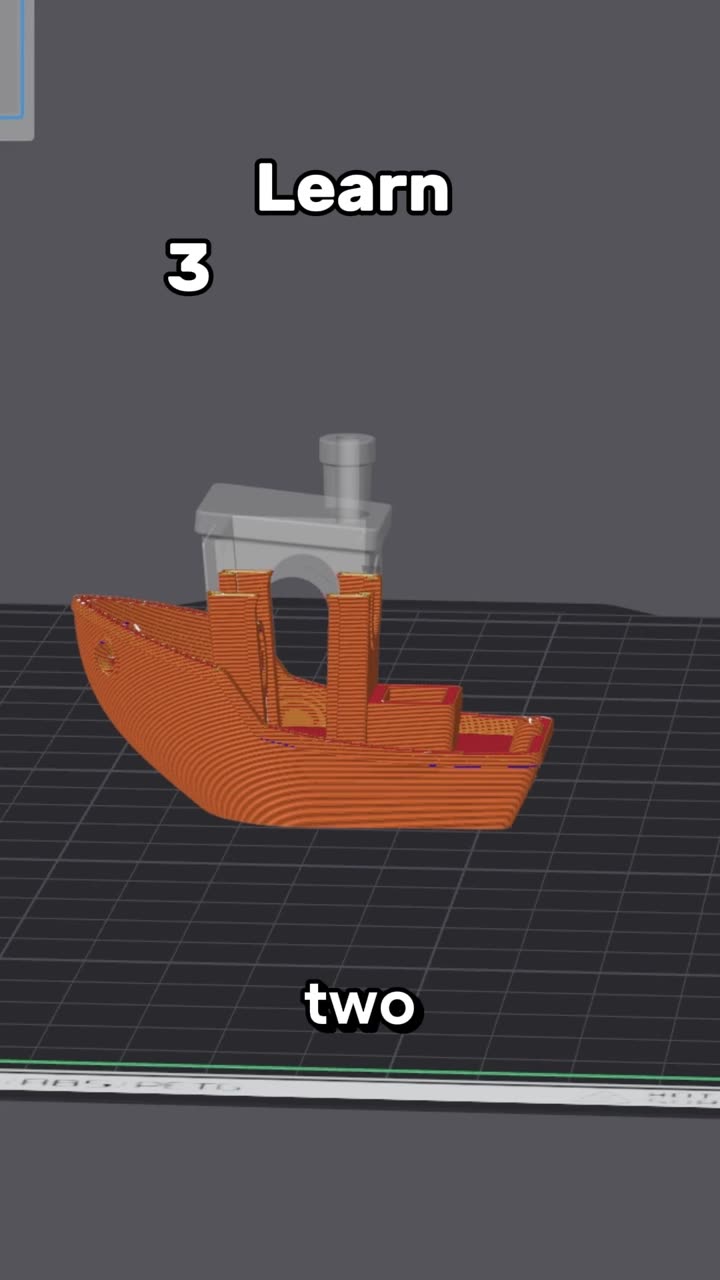
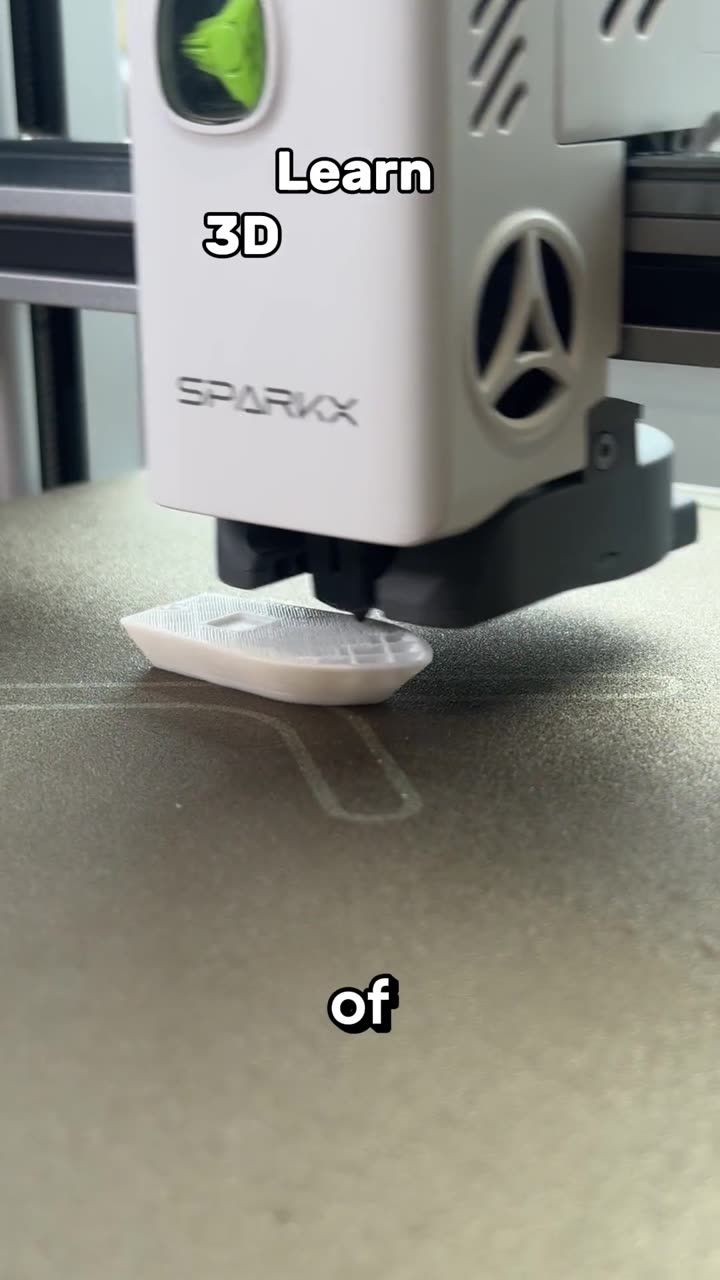
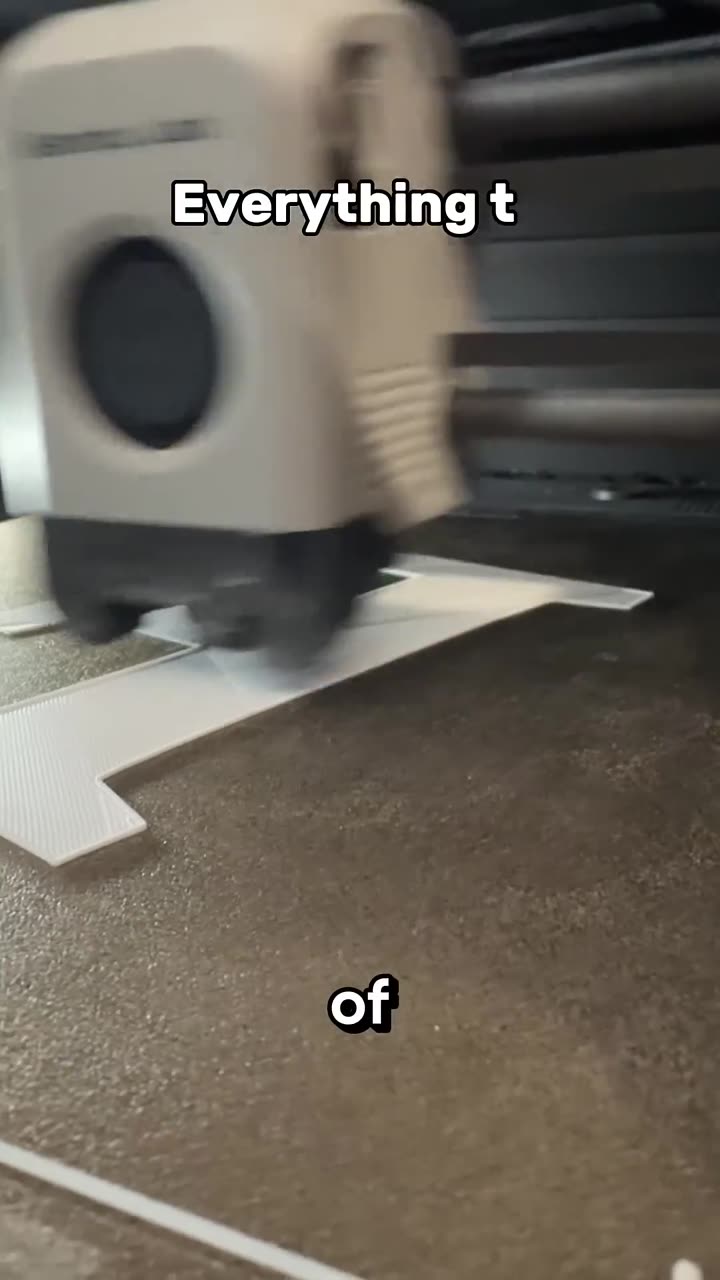



Learn 3D printing in 7 days, day 3: strength, walls and infill
Autoplay paused while you read — scroll back up to continue
Learn 3D printing in 7 days, day 3, part 2: print speed settings
Day 3, part 2 of learning 3D printing in 7 days: the speed settings that keep a print on the plate and looking clean, from first layer and outer wall speed to travel speed, overhangs and bridges.
Featured in this video