About this video
Why Scale in Your Slicer Instead of Re-Modeling?
Re-opening a CAD file just to nudge a dimension by a millimeter is one of the most common time-wasters in 3D printing. Modern slicers ship with built-in measure and scale tools that let you dial in an exact fit without ever leaving the print preparation workflow. Whether you are designing a snap-fit enclosure, a bearing housing, or a replacement knob for a vintage radio, slicer-level scaling keeps your workflow fast and your filament budget intact.
Step-by-Step: Measure and Scale for an Exact Fit
Follow this workflow the next time a printed part needs to mate with a real-world object:
- Measure the real-world target. Use calipers or a ruler to capture the exact dimension you need the print to match — diameter, width, or distance between two points.
- Select your model in the slicer. Click the part on the build plate so the manipulation handles appear.
- Open the Measure tool. Most slicers (Cura, PrusaSlicer, OrcaSlicer, Bambu Studio) expose a measure icon in the toolbar.
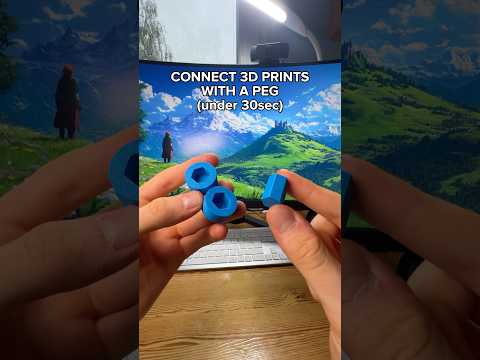
- Pick the right measurement type. For a circular hole or peg, use the radius tool. For flat surfaces or slots, use the point-to-point distance tool.
- Hit Edit and enter your measured value. The slicer will automatically rescale the model so that dimension matches reality.
- Add a small tolerance for sliding fits. Increase the value by 0.1–0.3 mm depending on your printer and material so the part can actually slide into place rather than press-fit or jam.
Pro Tips for a Reliable Fit Every Time
- Tolerance depends on material. PLA usually needs around 0.2 mm of clearance; PETG and ABS shrink slightly less and may need 0.15 mm. Flexible filaments like TPU benefit from 0.3 mm or more.
- Account for elephant's foot. The first layer of a print is often squished wider than the rest. Enable elephant's foot compensation in your slicer if your printer does not already do this automatically.
- Print a single test layer first. If you are unsure about tolerance, slice the part at 0.2 mm height and inspect the fit before committing to a full print.
- Lock the scale axis. When you only need to change one dimension, use the uniform scaling lock icon so the other axes stay untouched.
- Save as a project file. Instead of rescaling the original STL every time, export the adjusted version as a new file so you keep both versions for future prints.
Frequently Asked Questions
Which slicers have a built-in measure tool?
Cura, PrusaSlicer, OrcaSlicer, and Bambu Studio all include measure tools. The exact icon location varies, but it is usually found in the left toolbar or under the Prepare panel.
How much tolerance should I add for a sliding fit?
A safe starting point is 0.2 mm for PLA on a well-calibrated printer. Increase to 0.3 mm if the printer is overextruding or the part has long, continuous mating surfaces.
Can I scale only one axis in my slicer?
Yes. Most slicers let you enter individual X, Y, and Z scale factors. Disable uniform scale and adjust only the axis that needs correction.
Does scaling change print time and filament usage?
Yes — scaling up increases both. Use the slicer's preview or time/filament estimate panel to confirm the new print cost before sending it to the printer.