About this video
A 3D printing timelapse without printing
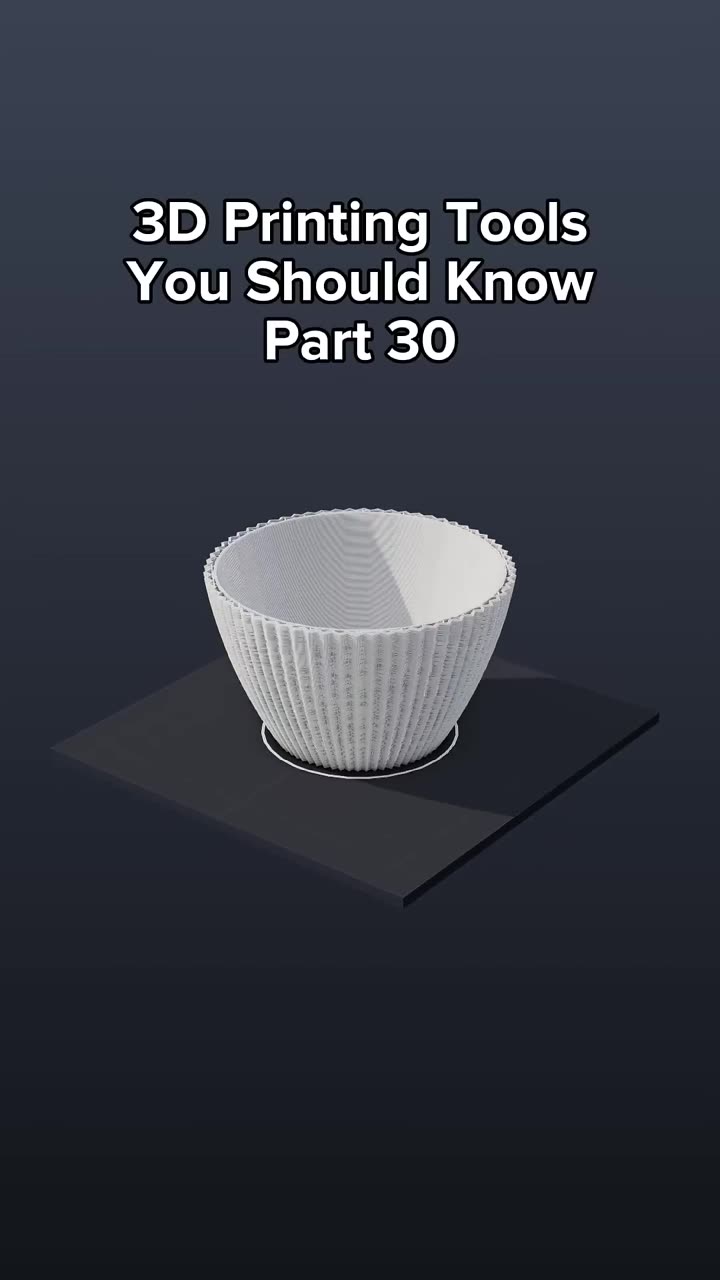
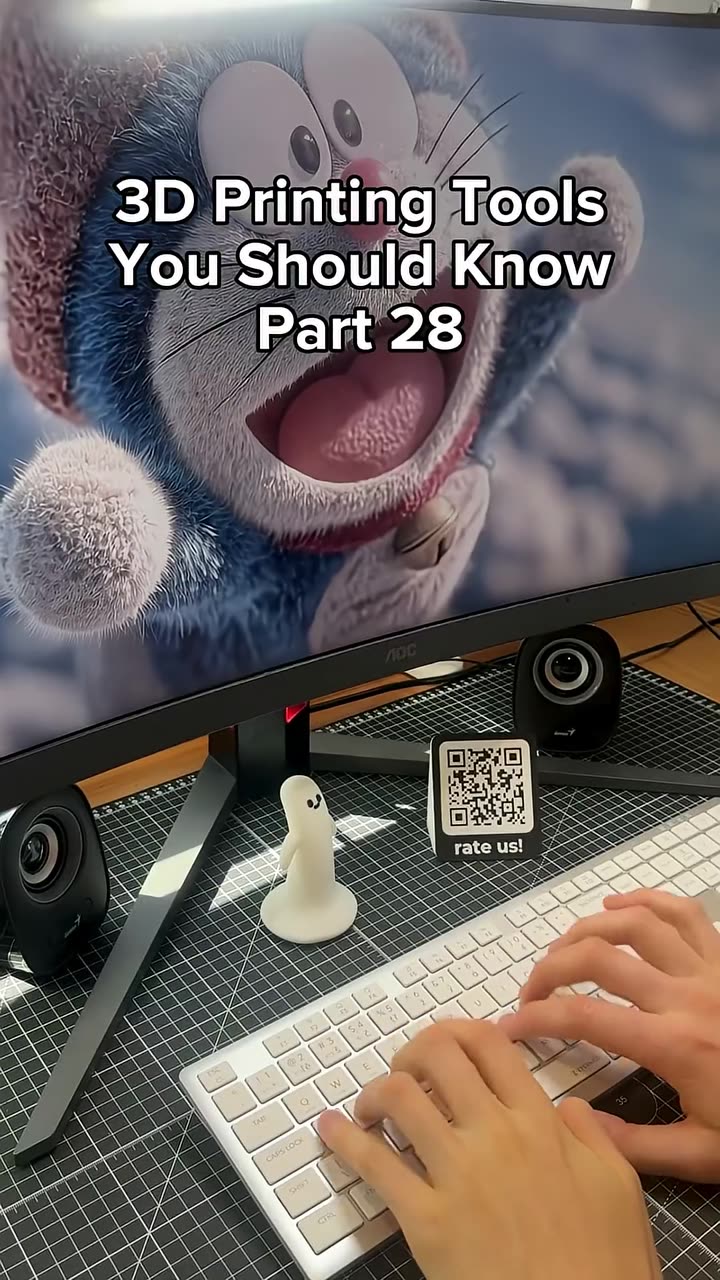
Part 29 of the 3D printing tools you should know series. PrintPal's 3D Print Animator turns a 3D model into a realistic animation of it being printed layer by layer. You don't need a camera or a finished print.
How to do it
- Go to PrintPal → Tools and open the 3D Print Animator.
- Upload your model: STL, OBJ or 3MF. You can also drop in sliced G-code to animate your slicer's exact toolpaths.
- Adjust the sliders: colors, speed, camera angle and lighting.
- Render and export the video.
What it's useful for
- Selling prints: show buyers how a product is made in your Etsy or shop listing.
- Social media: vertical 9:16 animations for Reels, Shorts and TikTok.
- Previewing a print: watch the layers build before you commit filament.
- Teaching: show students how additive manufacturing builds an object.
Features
- Slices your model in the browser with real walls, infill and layer heights
- Moving print head, studio lighting and soft shadows
- Multi-color filaments and color changes by height
- MP4 or WebM export in 16:9, 9:16 or 1:1, up to 4K
- Files stay on your computer. Nothing is uploaded.
FAQ
Do I need G-code?
No. Upload a plain STL and it's sliced in your browser. G-code is optional if you want your own slicer's toolpaths.
Which slicers does it support for G-code?
Bambu Studio, OrcaSlicer, PrusaSlicer, SuperSlicer and Cura.