About this video
Why Add Texture to 3D Prints?
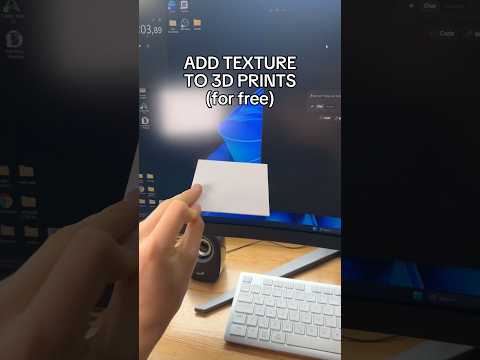
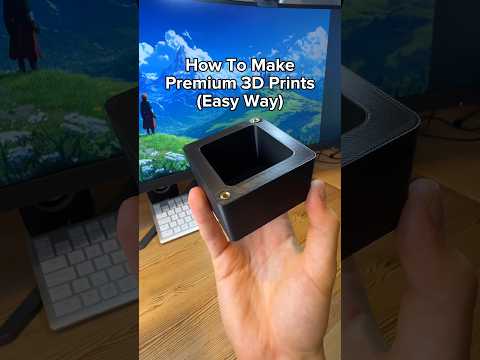
Textured 3D prints instantly look more professional and tactile. Whether you are designing a phone stand, a figurine, or a functional part, surface texture hides layer lines, adds grip, and gives plain models a premium finish. The challenge has always been applying texture to curved or round surfaces without distorting the geometry. Tools like Bumpmesh solve that problem in seconds.
Step-by-Step: Adding Texture with Bumpmesh
- Upload your model – Head to bumpmesh.com and drag-and-drop your STL or OBJ file directly into the browser. No installation is required, making it one of the fastest ways to texture 3D prints online.
- Pick or upload a texture – Choose from a library of ready-made patterns (leather, wood grain, knurl, noise) or upload your own heightmap image for a fully custom look.
- Adjust the settings – Fine-tune the texture scale, depth, and orientation. Use the face-selection tools to include or exclude specific areas, which is perfect for leaving logos smooth while texturing the rest of the surface.
- Download the modified file – Export the new mesh and import it into your favorite slicer (Cura, PrusaSlicer, OrcaSlicer, Bambu Studio).
- Slice and print – No special G-code is needed. Just slice normally and print as usual.
Tips for Best Results
- Use a smaller layer height (0.12 mm or less) so the texture detail is captured cleanly.
- Print at a slight angle for curved parts to keep the texture crisp across the surface.
- Test on a calibration model first to dial in texture depth before committing to a long print.
- Combine with matte PLA or PETG for a more realistic tactile feel.
- Watch print time – textured models can take 10–30% longer because of the added geometry.
Frequently Asked Questions
Does Bumpmesh work on round or curved surfaces?
Yes. Unlike flat UV mapping, Bumpmesh projects texture directly onto the 3D geometry, so spheres, cylinders, and organic shapes all receive even coverage.
Is Bumpmesh free?
The basic workflow shown in the video is free to use, with optional paid features for higher resolution exports.
Will texturing affect slicer settings?
No. You can keep your existing speed, temperature, and retraction profiles. Just expect slightly longer print times.
Can I use my own texture image?
Absolutely. Upload any black-and-white heightmap and Bumpmesh will convert it into printable surface geometry.