About this video
Turn your slicer into a toolbox
OrcaSlicer 2.5 added plugins, small add-ons that put new tabs and tools right inside the slicer. You manage them under File → Plugins. This video picks three that save the most time: one finds models, one finds filament settings and one makes models for you.
| Plugin | What it does | Where it shows up |
|---|---|---|
| ModelFinder | Searches model libraries such as Printables and MakerWorld so you can bring a model straight into the slicer | A Models tab next to Calibration |
| FilamentHub | A searchable list of filaments with the settings for each one | A FilamentHub tab |
| PrintPal | Vase, bin and nameplate generators, calculators, timelapses and AI 3D generation | A PrintPal tab |
1. ModelFinder: search model libraries from the slicer
ModelFinder adds a Models tab next to Calibration. Type what you want, like "cat", and it shows results from libraries such as Printables and MakerWorld in one place, so you can pick a model and get it into the slicer without hunting through browser tabs.
2. FilamentHub: settings for your filament
FilamentHub adds a tab with a searchable list of filaments. Search by name, brand, material, color, composition or property, filter by type, color and brand, and open a filament to see its settings. It's a quick starting point for a spool you haven't printed with before. Then tune it to your printer with the calibration series: temperature, flow rate and pressure advance. To choose a filament for a project in the first place, try PrintPal's filament finder.
3. PrintPal: generators and AI in the slicer
The PrintPal plugin adds a PrintPal tab with Models, Generate, Timelapse, CAD, Tools, Learn and Settings sections. Under Tools → Generators you can make vases, bins and grid storage, nameplates and name signs with a live preview. Under Generate, you can turn a text prompt or a photo into a 3D model with AI. The generators, calculators and timelapses are free, and AI generation uses PrintPal credits. Install steps and every feature are in OrcaSlicer plugins you should know.
The same generators also run in your browser: the vase generator, the bin generator and the name plate generator.
How to install a plugin
- Update OrcaSlicer to version 2.5 or newer.
- Sign in to Orca Cloud with the account button at the top right of OrcaSlicer.
- Open the Plugins Hub, search for the plugin and click Subscribe.
- In OrcaSlicer, open File → Plugins, click Refresh if the plugin isn't listed, and tick Activate.
More slicer tricks
- 9 slicer hacks you wish you knew sooner
- Hidden slicer features, from day 7 of learn 3D printing in 7 days
- The slicer's right-click menu, from day 7, part 2
FAQ
How do I add plugins to OrcaSlicer?
Update to OrcaSlicer 2.5 or newer, subscribe to the plugin in the Orca Cloud Plugins Hub, then activate it under File → Plugins.
Can OrcaSlicer search for 3D models?
Yes, with a plugin. ModelFinder searches libraries such as Printables and MakerWorld from a Models tab, and the PrintPal plugin has its own model search.
Where can I find print settings for a specific filament?
The FilamentHub plugin lists filaments with their settings. Use them as a starting point, then run the temperature, flow rate and pressure advance calibrations for your printer.
Is the PrintPal plugin free?
Yes. Only AI generation uses PrintPal credits.
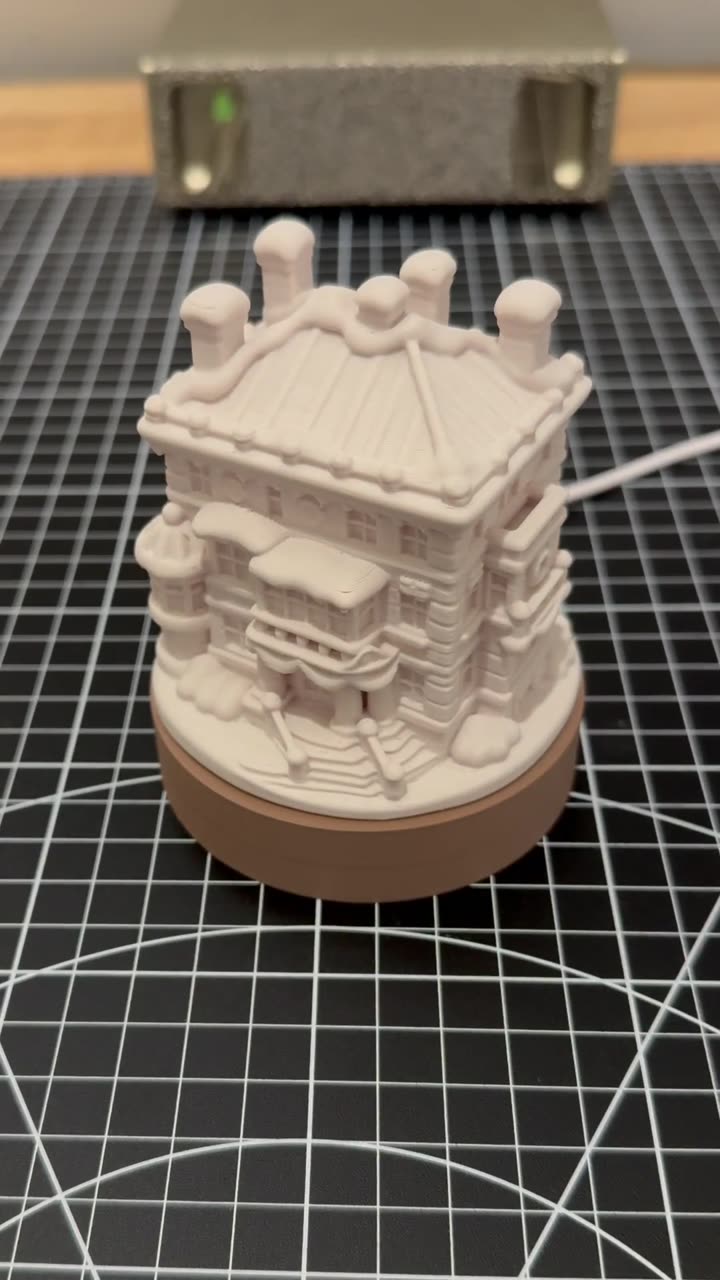

3D print a custom Christmas village house that lights up
Autoplay paused while you read — scroll back up to continue
3 best slicer hacks you should know: OrcaSlicer plugins
Three OrcaSlicer plugins that do more inside your slicer: ModelFinder searches model libraries, FilamentHub finds settings for your filament, and PrintPal adds vase, nameplate and bin generators plus AI 3D generation.
Featured in this video