About this video
Day 7, part 2: the slicer's right-click menu
This is the last episode of PrintPal's learn 3D printing in 7 days series. Right-clicking in the slicer opens a menu that does almost anything faster than the sidebar, from filling the plate with copies to changing settings in one small area of a model. The slicer in the video is Bambu Studio, and OrcaSlicer's right-click menu has nearly the same items.
| Menu item | What it does | Example |
|---|---|---|
| Add Primitive (empty plate) | Drops in a simple shape or a test model | A cube or a 3DBenchy for a quick test print |
| Fill bed with copies | Fills the plate with as many copies as fit | A full plate of keychains in one click |
| Add negative part | Cuts a shape out of the model | A hole for a screw or a magnet |
| Add modifier | Changes settings only inside a shape | Full infill only around a screw hole |
| Add support blocker | Keeps supports out of a shape | No supports inside a hole |
| Add support enforcer | Forces supports inside a shape | Support under an overhang the slicer missed |
| Height range Modifier | Changes settings between two heights | Slower printing just at the top |
| Edit Process Settings | Changes settings for this one model | More walls on a part that needs to be strong |
| Fix model | Repairs a broken mesh | Holes or non-manifold edges in a download |
| Change Filament | Assigns the model to another filament | One model in a different color |
| Export as one STL | Saves the model as a single STL file | Share your edited version |
Start on an empty plate
The menu even works on an empty plate. Right-click an empty spot and choose Add Primitive to drop in a simple shape like a cube or a test model like the 3DBenchy, which is handy for a quick test with a new filament. Once a model is on the plate, right-click it and choose Fill bed with copies to fill the whole plate in one click. It's the fastest way to batch small parts, and day 5 covers placing models by hand.
Cut a hole with a negative part
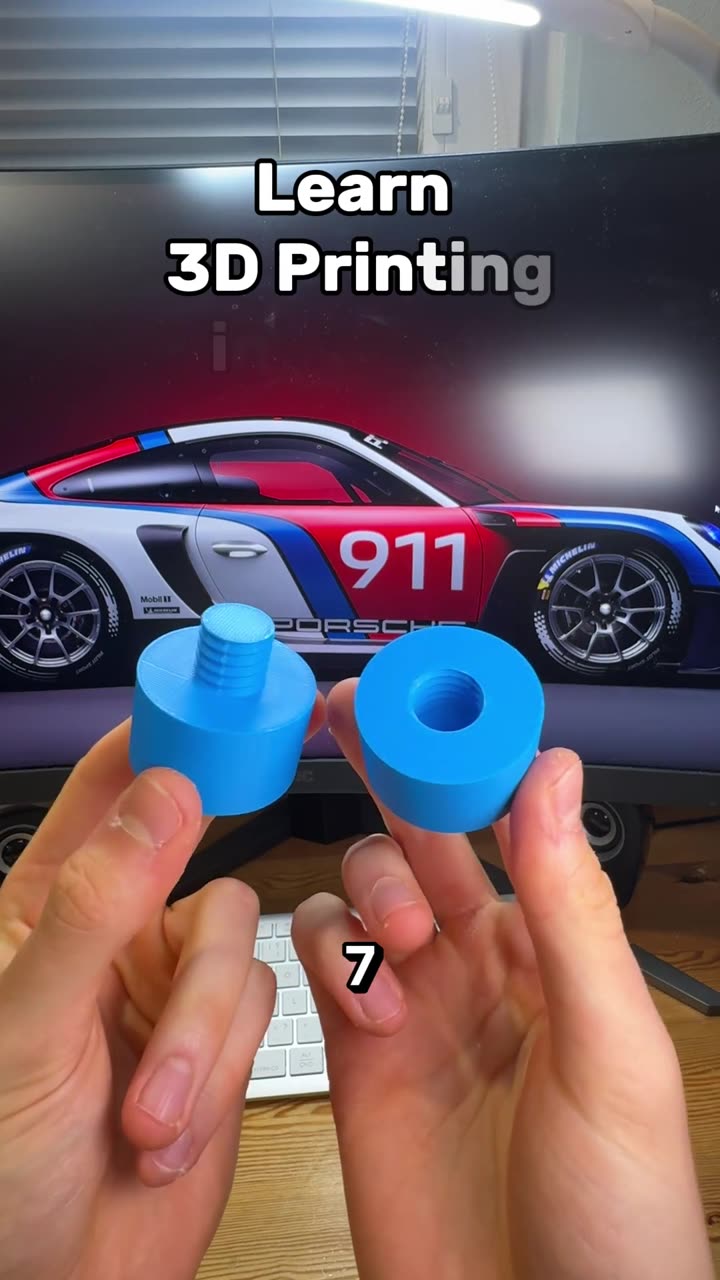
The menu can also change the model itself. Add negative part places a shape, such as a cylinder, and cuts it out of the model when you slice, like a hole for a screw. Move and resize it like any other object. The submenu offers shapes like a cube, cylinder, sphere and cone, or Load... to use your own STL. For heat-set inserts, make the hole about 0.4 mm smaller than the insert's outer diameter (see how to make premium 3D prints with heat-set inserts), and see 5 connectors you can make in the slicer for more ways to join parts.
Make one area stronger with a modifier
To make that screw hole stronger, Add modifier places a shape where the settings change only inside it. Put a modifier around the hole, select it under the object in the sidebar and set its infill to 100%, while the rest of the model keeps its normal infill. That's the trick in how to make 3D prints stronger in specific spots, and day 3 explains how walls and infill set the strength.
Control where supports go
Add support blocker and Add support enforcer work the same way. A blocker is a shape where supports can't go, like inside a hole or against a face you want clean. An enforcer is a shape where supports must go, like under an overhang the slicer missed. To paint supports by hand instead, see day 5, part 2, and day 4 compares tree and normal supports.
Different settings at different heights
Height range Modifier changes settings only between two heights you choose, like printing slower just at the top of a model, where small layers have less time to cool. Day 3, part 2 covers the speed settings.
Settings for one model
Edit Process Settings changes the settings for that one model only, like more walls on a part that needs to be strong, while the other models on the plate keep the main profile. Copy Process Settings and Paste Process Settings move those settings to another model.
Fix, recolor and export
When something goes wrong, the bottom of the menu has the fixes. Fix model repairs a broken mesh, such as holes or non-manifold edges. If the slicer's repair is slow or doesn't solve it, PrintPal's free mesh repair tool fixes the model, simplifies it if it's too big and smooths it (see it in action). Change Filament assigns the model to another filament, and Export as one STL saves it as a single file to share. To switch to another format, use the 3D model converter.
The same menu also has Clone (Ctrl+K) to copy a model, Scale to print volume to fit it to the plate, Simplify Model to cut the triangle count and Convert from inch for a model that imports tiny because it was designed in inches.
The whole series
That's the end of learn 3D printing in 7 days. Here is every episode in order.
| Day | Episode |
|---|---|
| Day 1 | How to start 3D printing |
| Day 1, part 2 | How a 3D printer actually works |
| Day 2 | Slicing, infill and PLA vs PETG |
| Day 3 | Strength, walls and infill |
| Day 3, part 2 | Print speed settings |
| Day 4 | Tree vs normal supports |
| Day 4, part 2 | Brims and vase mode |
| Day 5 | Slicer tools to place your model |
| Day 5, part 2 | Support, seam and color painting |
| Day 6 | Filament settings explained |
| Day 6, part 2 | PLA, PETG, TPU, ABS and ASA |
| Day 7 | Hidden slicer features |
| Day 7, part 2 | The right-click menu (this episode) |
Next, run the calibrations you should run on your 3D printer and pick up more tricks in 9 slicer hacks you wish you knew sooner.
FAQ
How do I make a hole in a 3D model in the slicer?
Right-click the model, choose Add negative part and pick a cylinder. Move and resize it where the hole should go, and the slicer cuts it out when you slice.
How do I add more infill to only one part of a model?
Right-click the model and choose Add modifier. Place the modifier over that area, select it in the sidebar and raise its infill. Only the inside of the modifier changes.
How do I stop supports in one area?
Right-click the model, choose Add support blocker and cover the area with it. The slicer won't put supports inside the blocker.
What does fill bed with copies do?
It fills the plate with as many copies of the selected model as fit, arranged automatically.
Learn 3D printing in 7 days, day 7: hidden slicer features
Autoplay paused while you read — scroll back up to continue
Learn 3D printing in 7 days, day 7, part 2: the right-click menu
The last episode of learning 3D printing in 7 days: the slicer right-click menu, from fill bed and negative parts for screw holes to modifiers, support blockers, height range modifiers and per-object settings.
Featured in this video