About this video
Day 5, part 2: the tools that change how your model prints
This is day 5, part 2 of PrintPal's learn 3D printing in 7 days series. Part 1 covered the buttons that place your model. Once it's placed, the next set of buttons changes how it prints. Each one takes a few seconds and can save you a whole failed print.
| Tool | Shortcut in the video | What it does | Use it when |
|---|---|---|---|
| Support painting | L | Paint where supports must go and where they must not | Supports land where they're hard to clean off |
| Seam painting | P | Paint where each layer's seam goes | You want the seam on the back or on a sharp corner |
| Color painting | N | Paint areas in different filaments, with a brush or one click per area | Your printer has more than one filament |
| Variable layer height | Thin layers on curves, thick layers on straight walls | Round parts look stepped, or you want to save time | |
| Text shape | T | Adds raised or cut-in text to the model | Names, labels and part numbers |
| Measure | U | Shows the distance between any two points | Checking that a part will fit |
The shortcut letters are the ones the slicer in the video shows. Hover over a button in your slicer to see its own shortcut.
Support painting
The slicer places supports automatically (day 4 covers the types). Support painting lets you take over: paint the faces that must get support and block the ones that must stay clear, so supports don't end up inside holes or on detailed faces where they're hard to clean. To get the gap right too, see how to get perfect supports and stop supports from ruining your prints.
Seam painting
Every layer starts and ends at one point, and those points stack up into a visible line called the seam. Seam painting lets you choose where it goes. The back of the model or a sharp corner hides it best. If you don't want to paint it, see how to hide the seam with the random seam setting, or remove the seam with a single setting using scarf seams.
Color painting
If your printer can switch filaments, color painting lets you paint the model in different colors, either face by face with a brush or a whole area in one click. For models made of separate parts, it's quicker to set the color per object. Every color change adds purge, so check the prime tower settings from day 4, part 2.
You can also paint before you open the slicer. PrintPal's free 3D model painter paints STL, OBJ and 3MF files with up to 16 filament colors in your browser and exports a 3MF that Bambu Studio and OrcaSlicer open with every region already assigned.
Variable layer height
Layer lines show most on curves and domes, and least on straight vertical walls. Variable layer height uses thin layers where the model curves, so it looks smooth, and thick layers on the straight parts to save time. The result looks close to a fine-layer print and finishes much sooner. See hide layer lines and speed up a print in 10 seconds and how to hide layer lines for the smoothest prints.
Text
The text tool writes on the model, either sticking out or cut in, which is perfect for names, labels and part numbers. Small raised text is where prints usually go wrong, so read 3 ways to fix your text in 3D prints. To print text on its own, the 3D text generator makes a printable STL from any font.
Measure
Measure shows the size between any two points on the model. Use it before you print to check that a part fits whatever it's meant for, then scale it if it doesn't.
What's next
Day 6 covers filament. Catch up on day 1, how a 3D printer works, day 2, day 3, day 3, part 2, day 4, day 4, part 2 and day 5, part 1.
FAQ
What is support painting?
A slicer tool that lets you paint where supports must go and where they're blocked, instead of leaving every decision to automatic supports.
Where should the seam go on a 3D print?
On the back of the model or along a sharp corner, where the start and end of each layer is hardest to see.
Does variable layer height make prints slower?
It's faster than printing the whole model at a thin layer height, because only the curved areas get thin layers.
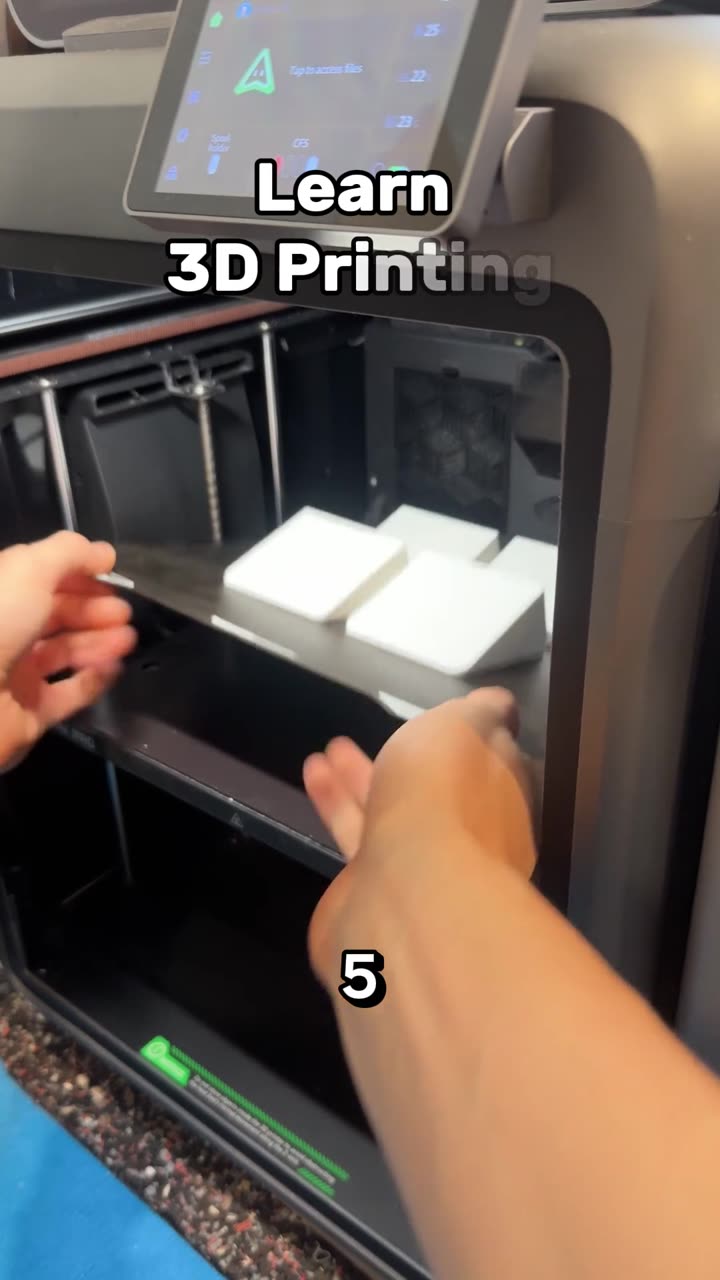
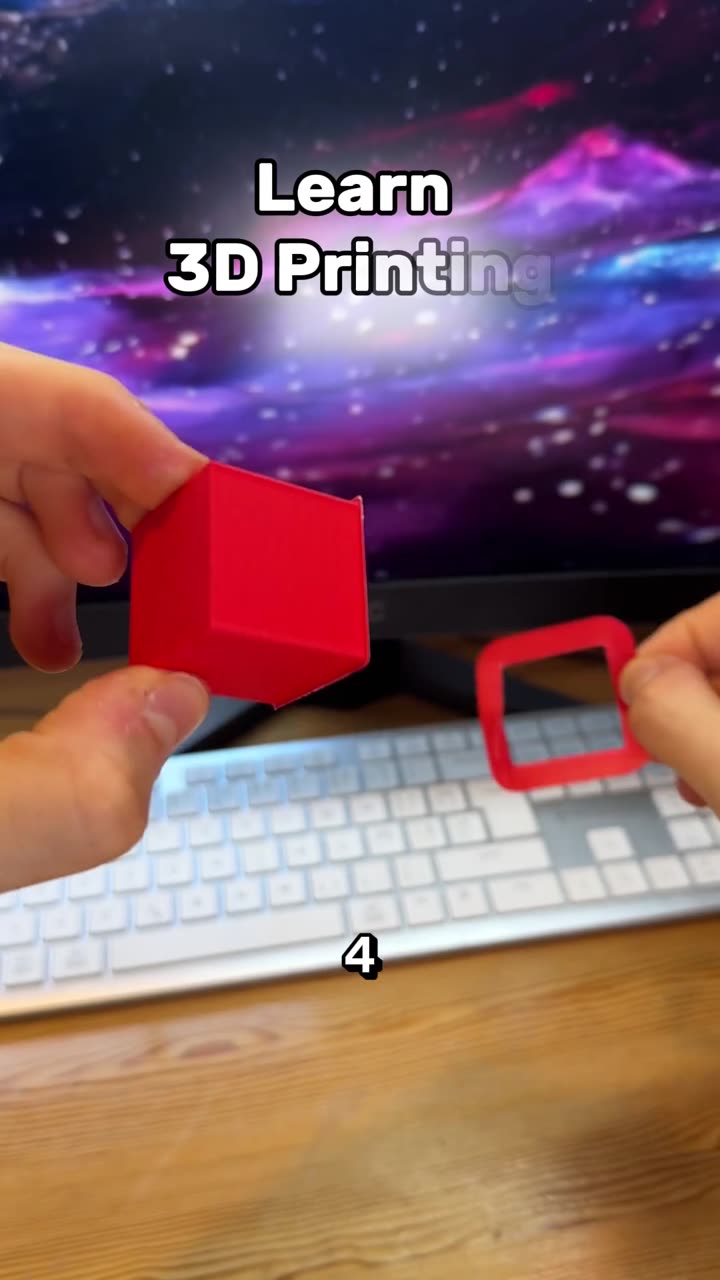
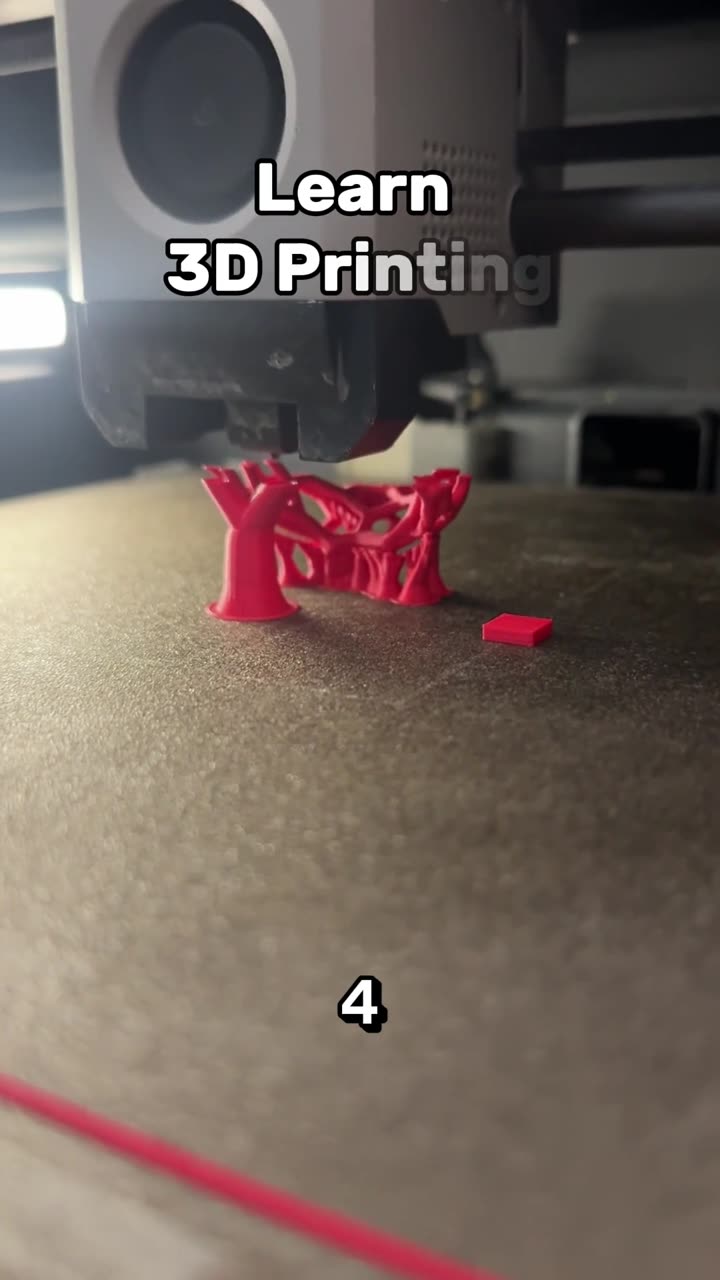
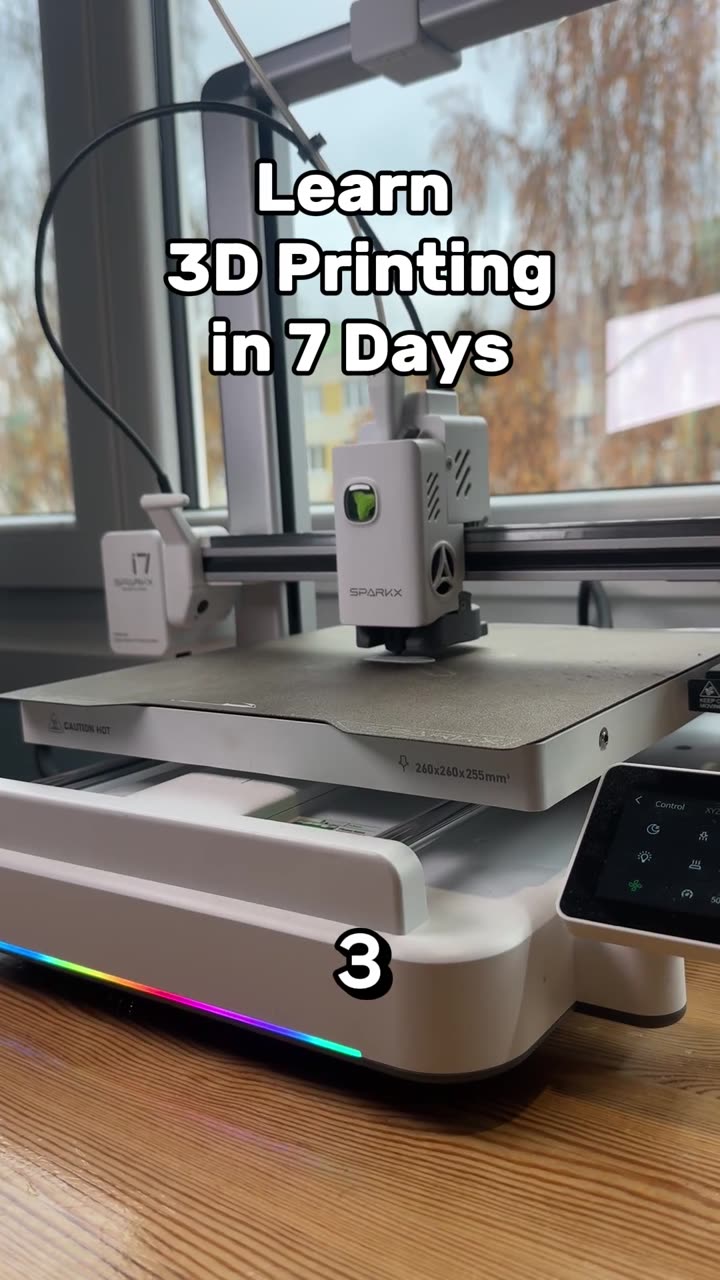
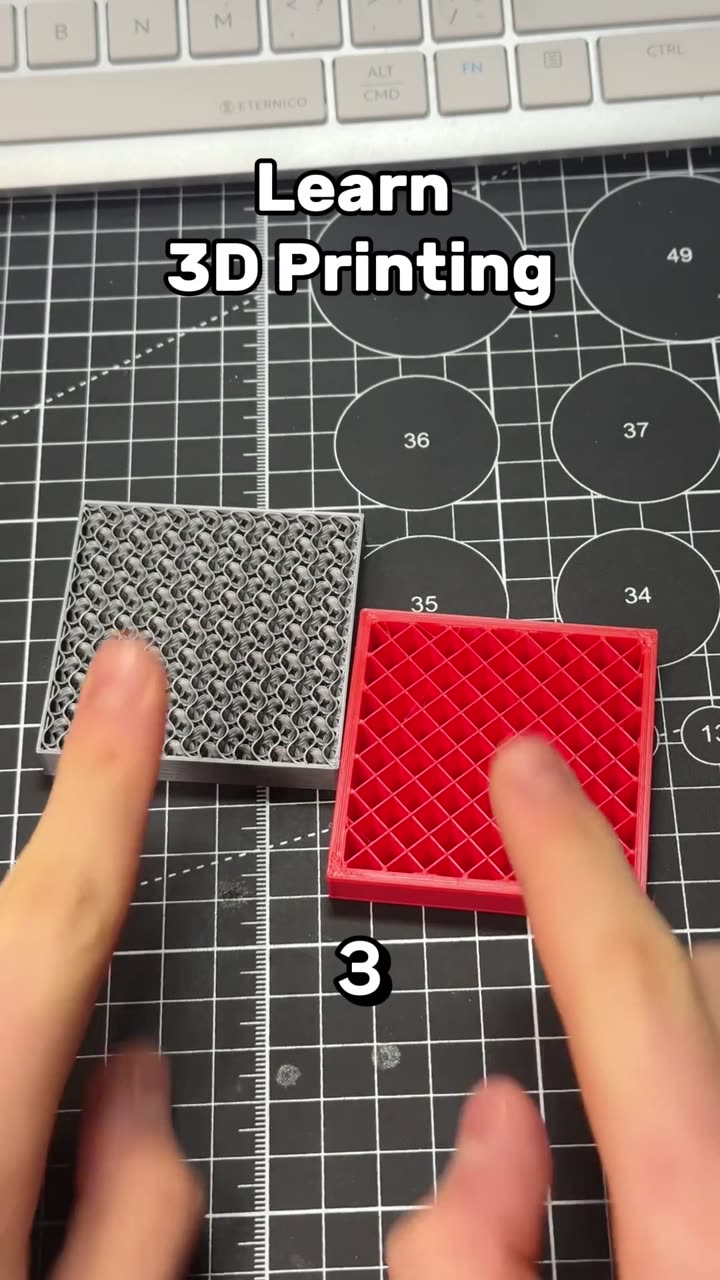
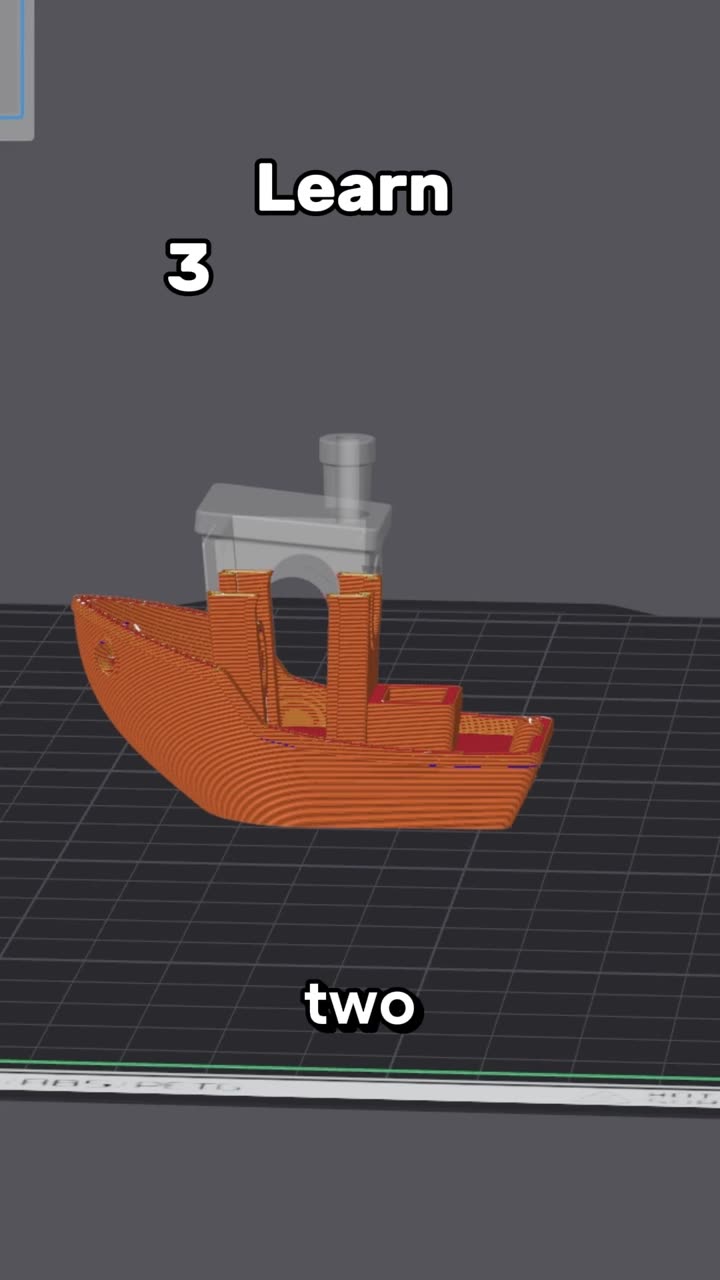
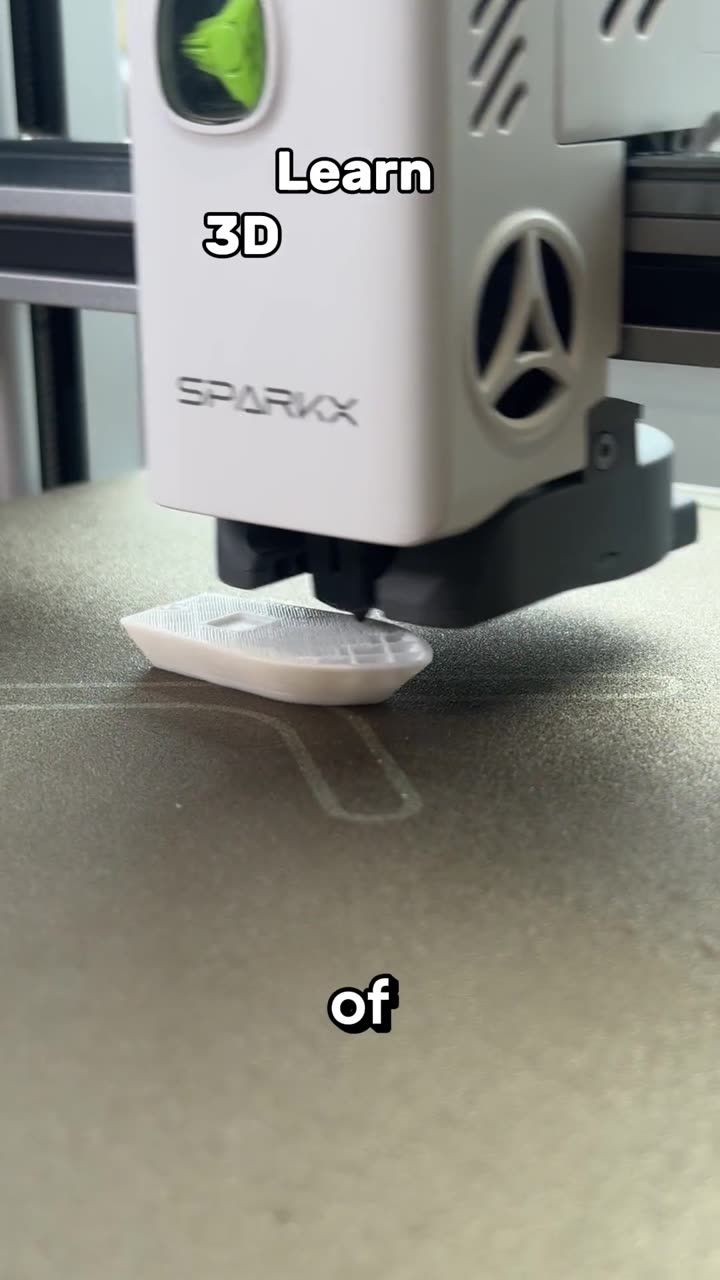
Learn 3D printing in 7 days, day 5: slicer tools to place your model
Autoplay paused while you read — scroll back up to continue
Learn 3D printing in 7 days, day 5, part 2: support, seam and color painting
Day 5, part 2 of learning 3D printing in 7 days: the slicer tools that change how your model prints, from support, seam and color painting to variable layer height, text and the measure tool.
Featured in this video