About this video
Day 5: the slicer tools that place your model
This is day 5, part 1 of PrintPal's learn 3D printing in 7 days series. After four days of settings, today covers the buttons along the top of the slicer. They decide where and how your model sits on the plate, which changes both how strong it is and how many supports it needs.
| Tool | What it does | When to use it |
|---|---|---|
| Add | Imports a model from your computer | Every new print |
| Add plate | Adds another build plate to the project | When one plate isn't enough |
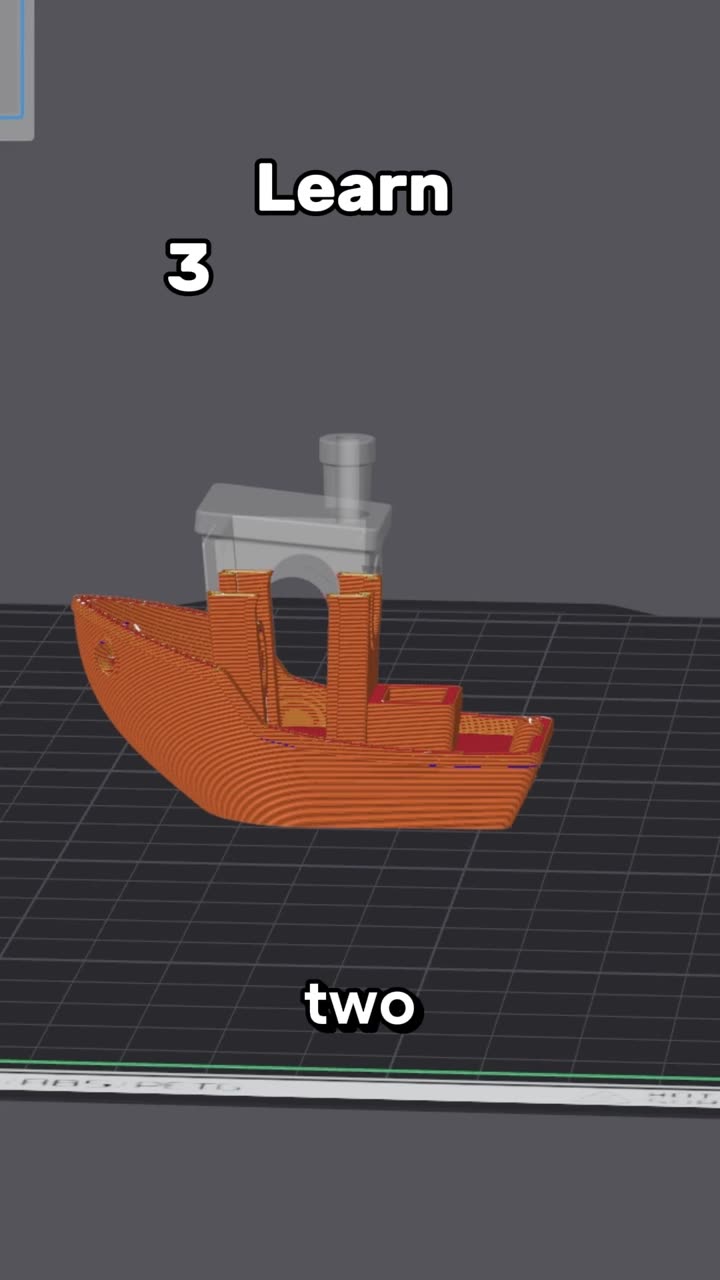
| Auto-orient | Turns the model to the position that needs the fewest supports | Right after importing |
| Arrange | Spreads all models across the plate so they don't touch | Several parts on one plate |
| Move, rotate, scale | Place and size the model by dragging or typing numbers | Exact placement or resizing |
| Lay on face | Click any flat face and the model lies down on it | A model that imports standing the wrong way |
| Cut | Splits the model into pieces | The model is bigger than your printer |
Why orientation matters
The way a model sits on the plate controls two things you learned earlier in the series:
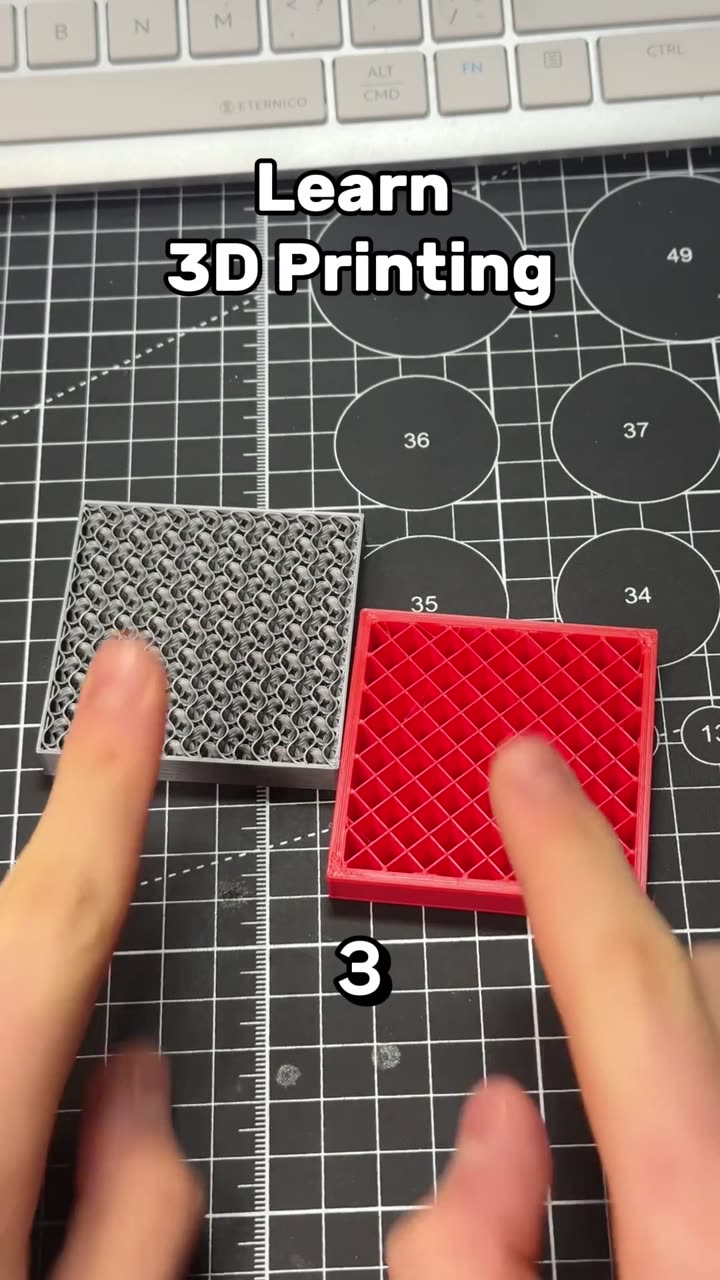
- Supports. Every overhang needs support (day 4), so a model turned the right way can need far fewer, or none.
- Strength. A print is weakest between its layers (day 3). Turn functional parts so the load runs along the layers instead of pulling them apart.
Auto-orient is a good first click, but it only optimizes for supports. It doesn't know how a part will be loaded, so check functional parts yourself before you slice.
Lay on face
Some models import standing on a corner or upside down. Lay on face fixes that in one click: pick the flat side you want on the plate and the model lies down on it. A flat face on the plate also gives the first layer the most contact.
Cutting models that are too big
Cut splits a model into pieces you can print separately and glue back together. Bambu Studio and OrcaSlicer can add connectors to the cut so the pieces line up. See the 5 best connectors you can add in the slicer. For more control, the free 3D model splitter cuts a model in your browser and adds pegs, dowels or dovetails.
What's next
Day 5, part 2 covers the tools that change how your model prints: support, seam and color painting, variable layer height, text and measure. Catch up on day 1, how a 3D printer works, day 2, day 3, day 3, part 2, day 4 and day 4, part 2.
FAQ
What does auto-orient do?
It rotates the model to the position that needs the fewest supports.
How do I make a model fit my printer?
Scale it down, or cut it into pieces and glue them together after printing.
Should I always use auto-orient?
It's a good start. For parts that carry weight, check that the layers run along the direction of the load.
Learn 3D printing in 7 days, day 4, part 2: brims and vase mode
Autoplay paused while you read — scroll back up to continue
Learn 3D printing in 7 days, day 5: slicer tools to place your model
Day 5 of learning 3D printing in 7 days: the slicer buttons that place your model, from add, auto-orient and arrange to move, rotate, scale, lay on face and cut, and why orientation changes strength and supports.
Featured in this video