About this video
From a photo to a full-color print
This video takes a plain headshot, turns it into a Pixar-style cartoon bust and prints it in four colors of PLA. Everything up to the slicer happens in PrintPal's AI 3D model generator. The only slow part is the generation itself, which took about 5 minutes at Production quality.
The 8 steps
| Step | What to do | In the video |
|---|---|---|
| 1 | Drop in any image: a photo, sketch or render | A headshot, uploaded on the Image tab |
| 2 | Describe the edits you want | "Turn this person into a Pixar-style cartoon 3D model. 4 main colors max, clear white background." |
| 3 | Turn on Full color under Model Settings | Model Quality set to Production |
| 4 | Hit Generate | About 5 minutes at Production quality |
| 5 | Spin the full-color model and check it from every side | Hair, face and shirt all came through in color |
| 6 | Split it into print colors | 4 colors |
| 7 | Download the 3MF | Opens in Bambu Studio and OrcaSlicer |
| 8 | Slice and print | Bambu Studio, PLA Basic, 0.2 mm layers |
Write the prompt for the printer
The text you add in step 2 edits the image before it becomes a 3D model, and the generator shows you that edited image while it builds. A few things in the prompt from the video make the print easier:
- Name the style. "Pixar-style cartoon" gives big, simple shapes that print cleanly at figurine size.
- Cap the colors. "4 main colors max" pushes the edited image toward large flat areas of color, which split into filament colors far more cleanly than a photo full of shading.
- Ask for a plain background. "Clear white background" keeps the AI focused on the subject, so the background doesn't end up as part of the model.
If you don't want to write a prompt, the style presets under the image (Enhance, Cartoon, Low Poly, Anime and Voxel) apply a style for you. More tips are in our image to 3D best practices guide.
Quality, color and plans
| Free | Pro ($10/month) | |
|---|---|---|
| Photo-to-3D generations | 10 a month | 200 a month |
| Model quality | Draft | Draft, Refined and Production |
| Full-color models | No | Yes |
| Commercial rights | Personal use only | Yes |
Draft models usually finish in 30 to 60 seconds. Production builds the most detail and takes longer, about 5 minutes in this video. Pro includes 20 Production-quality models a month, and Studio ($25/month) raises that to 60. See pricing for the current plans.
Splitting the model into print colors
The color button next to the model opens the split. You choose how many colors to print, from 2 to 8, using one color per spool. Most AMS units hold 4, which is what the video uses.
PrintPal then picks the colors and shows how much of the model each one covers. In the video that came out as Black at 40%, Dark red at 22%, Red at 17% and Coral at 14%. Tap any color to change it. You can pick a filament color, grab a color straight from the model or choose any custom color, and the Before and After toggle compares the result with the original.
When the colors look right, download the 3MF. Each color is already on its own filament slot when it opens in Bambu Studio or OrcaSlicer. There is also an OBJ download. If you already have a textured GLB or OBJ from somewhere else, the AMS Color OBJ Converter does the same split.
Printing it
The 3MF opens with every color assigned, so in the slicer you mostly check the filaments, layer height and supports before you print. The video uses PLA Basic at 0.2 mm layers.
A multi-color print on a single nozzle also needs a prime tower, the tall block next to the bust in the slicer, to purge between color changes. Reduce wasted filament on prime towers shows how to keep that waste down.
More ways to print yourself and your photos
- Turn any photo into a 3D print model with AI, the full beginner tutorial.
- 3D print yourself with zero experience.
- Turn any character into a figurine without modelling.
- Create a custom 3D printable bobble head.
- Iterating on AI 3D models, for when the first result isn't quite right.
FAQ
Can I turn any image into a 3D model?
Photos, sketches and renders all work. You get the best results from an image with one clear subject, and a plain background helps.
Is the AI 3D model generator free?
Yes. The free plan includes 10 photo-to-3D generations a month at Draft quality. The full-color, Production-quality model in this video needs Pro or Studio.
How many colors can I print?
Anywhere from 2 to 8. Pick the number of spools your printer can load. Most AMS units hold 4.
Which slicers open the 3MF?
The color 3MF is made for Bambu Studio and OrcaSlicer, with each color already on its own filament slot. You can also download an OBJ.
How long does it take to generate a model?
Draft models usually take 30 to 60 seconds. The Production-quality, full-color model in this video took about 5 minutes.
Do I need an AMS to print it?
You need a printer that can print more than one color, such as a Bambu printer with an AMS. On a single-color printer you can still print the model in one filament.
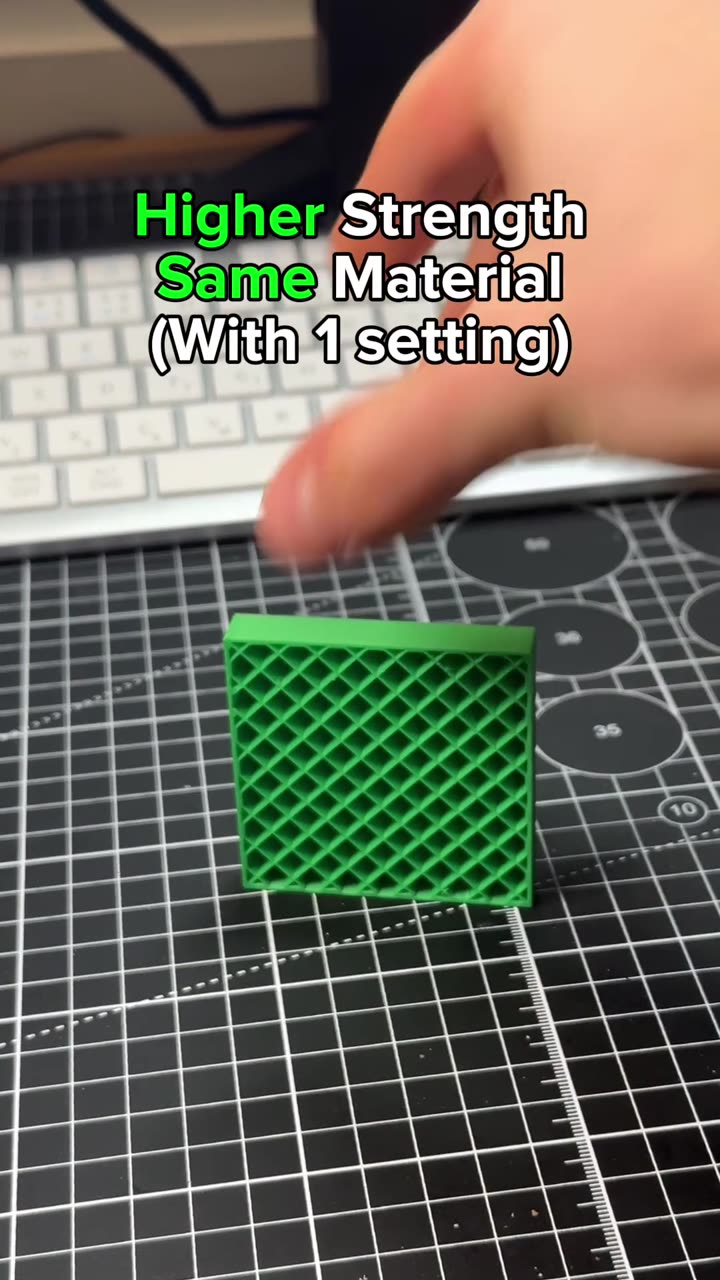
Stronger 3D prints with one slicer setting: Fill multiline
Autoplay paused while you read — scroll back up to continue
Turn any image into a colored 3D print
Turn a photo into a full-color 3D model with AI, split it into 4 filament colors and download a 3MF that opens ready to print in Bambu Studio or OrcaSlicer. Eight steps, no modeling.
Featured in this video