All resources

About this video

Flashforge Creator 5 Review: A New Era for Budget Multi-Color 3D Printing

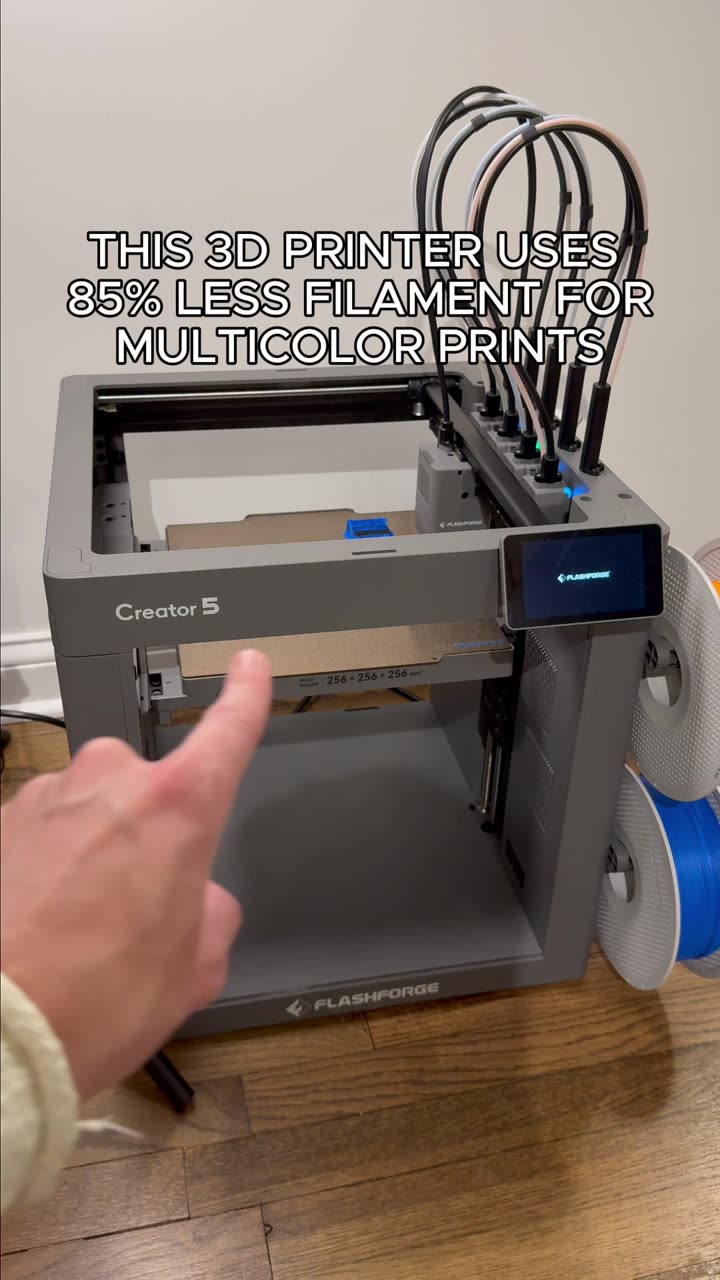
The Flashforge Creator 5 is one of the most talked-about FDM 3D printers heading into 2026, and for good reason. At a launch-friendly price of $699, it undercuts competitors like the Snapmaker U1 ($899) while delivering a feature set that used to be reserved for premium machines: a true 4-nozzle multi-color printing system, near-zero filament waste, and a setup so simple that beginners can be printing in under 15 minutes.

Unboxing and 15-Minute Assembly

The Creator 5 arrives almost fully assembled. After removing the foam packaging and protective film, the only steps left are:

  • Snapping the touchscreen display into place and securing it with two screws
  • Mounting the multi-nozzle carriage, making sure the PTFE tube and cable are perfectly aligned (a critical step to avoid print errors)
  • Removing the three bed-transport screws (two on the left, one on the right) — skipping this step will prevent the printer from operating
  • Installing the spool holders — but first peel back the sticker hiding the mounting hole. The holders should face outward to give spools enough clearance

The whole process, including Wi-Fi setup and phone pairing via QR code, takes roughly 15 minutes even when filming every step.

How the 4-Nozzle System Eliminates Waste

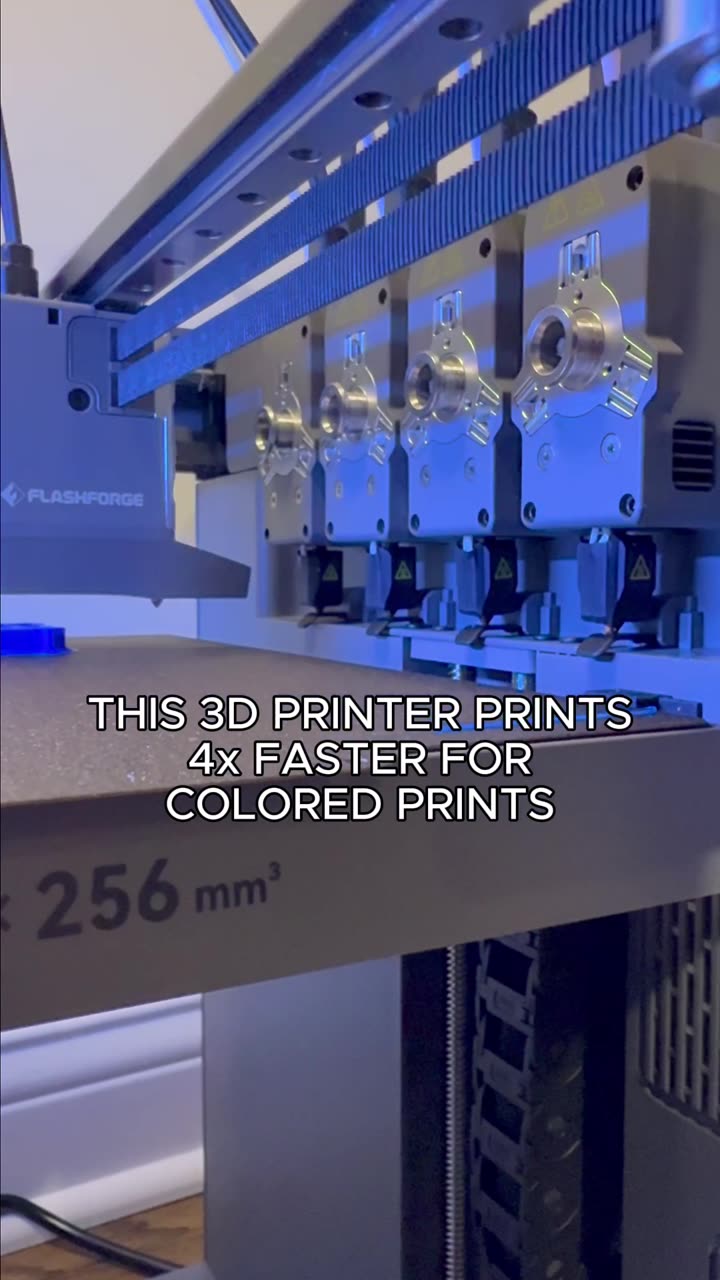
Unlike AMS-style systems that constantly flush a single nozzle, the Creator 5 keeps four independent nozzles ready to print at all times. This architecture delivers three major benefits:

  • Up to 500% faster multicolor prints because there is no purge cycle between colors
  • Zero flushed filament waste — only a small purge tower is needed
  • Multi-material printing with PLA, PETG, ABS, and more without contamination

Mixing PLA and PETG for Perfect Support Interfaces

One of the standout Creator 5 tips shown in the video is using PETG as the support interface material under PLA models. Because PETG bonds weakly to PLA, supports snap off cleanly and leave a smooth surface finish — solving one of the most common headaches with traditional supports. The nozzle simply switches over, lays down a thin interface layer, and continues printing the main part.

Real-World Test: Frog Model Comparison

A small multicolor frog model highlighted the difference clearly:

  • Single-nozzle printer: ~16 hours, 30 g model + 140 g flushed + 30 g purge tower = 200 g total, roughly $4 in filament
  • Flashforge Creator 5: ~3 hours, 40 g model + 40 g purge tower = 80 g total, roughly $1 in filament

That works out to 80% faster, 70% less filament, zero flushed waste, and a 4x lower cost per print.

Solved Quirks: The Rear Filament Purge

When loading a new filament, the old material extrudes out the back of the printer with no dedicated catch tray. Flashforge responded by publishing a free printable purge bin that hangs on the rear of the machine — a small but appreciated fix that keeps your workspace tidy.

Final Verdict: Who Should Buy the Creator 5?

The Creator 5 is an easy recommendation for:

  • Beginners who want a near plug-and-print experience
  • Hobbyists doing frequent multicolor or multi-material prints
  • Budget-conscious makers who want premium features without paying $900+

If you are shopping for your first 3D printer in 2026 or upgrading from a single-nozzle machine, the Flashforge Creator 5 currently offers the best balance of price, speed, and color-printing quality on the market.

Frequently Asked Questions

How long does Creator 5 assembly take?
About 15 minutes, including Wi-Fi setup and phone pairing.

Can the Creator 5 print multi-material parts?
Yes — the four-nozzle design handles PLA, PETG, and other filaments in a single print without manual swaps.

Is the Flashforge Creator 5 good for beginners?
Yes. The quick-start guide is thorough, the bed screws are clearly marked, and calibration is largely automatic.

What is the Creator 5 price?
$699 MSRP, significantly cheaper than the Snapmaker U1 at $899.

Does the Creator 5 waste filament?
Only the small purge tower — there is no flushed waste, unlike single-nozzle AMS systems.
Full Transcript

The New Flashforge Creator 5 in 2026 if you are looking to get a new 3D printer in 2,026 it can seem really overwhelming with the amount of information and speed at which this industry is growing and that's exactly why I would like to give you my honest review on the new Creator 5 from Flashforge that they sent me and this printer has a lot of the new features on the market so this video should help you see if that's something for you because it definitely surprised me in many ways so let's get into it well one of the most important parts is the price Price Comparison ($699 vs Competitors) and it really surprised me when I found out that it cost just $699 compared for example to some of the competition like Snapmaker U1 which cost 899 which made me question if this price decrease will showing the quality because if not then I think this price will allow even people who are just starting out to get the full experience of a 3D printer for an acceptable price to find out let's start unboxing and assembling the 3D printer Unboxing & 15-Minute Assembly Guide which is also quite an important part of the whole process because if you get stuck even before your first print usually the experience isn't that good but I cannot really say that over here because right after opening the box and pulling the printer out of it on my table and then removing the plastic Protection the printer was basically already assembled then once you start removing the foams inside one by one you'll realize that inside of it is the multi nozzle system then a few parts that you have to mount yourself for example the display which you just push into place and then secure it with screws that were included and can start putting these nozzle blockers inside of the printer which helps prevent extrusion when the nozzle isn't being used and is waiting for its exchange then we can already start putting in the multi nozzle system which you just need to make sure to have it aligned and then just simply press it into place and then again as well as with the display you just secure it into place with two screws now the next step is really important to get it right because I nearly got it wrong and it would ruin the whole printer setup because as you can see there are two holes that you insert into the pins that are on the printer but you need to make sure that the PTFE tube and the cable are perfectly aligned that they aren't twisted together because that could go wrong when it's printing also all of this was very well documented in the quick start guide so if you are going on your own you don't need to worry and if you ever get lost you can always look into it then to finish the nozzle setup you just plug in this cable into the main head and screw it in place again with two screws now there are three screws securing the bed from moving so you need to unscrew them two on the left and one on the right side they are pretty easy to find so I think you can do it so just make sure to pull all of them out because otherwise the printer won't work now before we start mounting the spool holders Crucial Spool Holder Setup Tip (Don't Miss This!) there is one very important step that we need to take that it took me a bit longer to figure out because the hole you're supposed to screw it in is actually hidden behind this sticker so you just need to remove them before you start putting them in but after that it's pretty easy to assemble you just put in the spool holder and secure it with a screw one important thing to keep in mind is that you should always make the spool holder face out of the printer not inside because then the spools have actually enough space to fit in there then of course the best part about the setup is removing the protective foil from the display and then once that is done we can actually plug in the printer then once it starts loading up you just need to go through some of the basic settings like language or Wi-Fi and then once that is done you can actually even connect it with your phone by scanning the QR code on the screen then you can start the proper calibration but I had to first move it to a proper place so that it wouldn't be standing on this wobbly table if we don't include this calibration the whole setup took just about 15 minutes which is amazing it's fast and that's even with me trying to film the whole thing now once you start loading the filament in there Solving the Rear Filament Purge Issue you will notice that it still needs to purge the old filament out and what it does is it goes into the bag and over there it starts extruding the filament which is kind of weird because there is not really any proper place for it to extrude into thankfully Flashforge themselves published a solution where they provide a bin that you can just print and assemble it into the back so even though this seemed like a weird issue at first I really appreciate Flashforge for solving it now the most important part How the 4-Nozzle System Eliminates Waste is the multi nozzle system because it's not just that you can use four colors you can do that even with other printers that have for example AMS but the point that we have four filaments constantly prepared to print and the waste is basically zero besides the small purge tower and even more that it can be 500% faster for any multicolor print because you never need to clean the nozzle there are just four nozzles that are constantly prepared to print with different plastics and different colors and so the first thing that I wanted to try Flawless Supports: Mixing PLA & PETG that was always hard to print and would just take too much time was to use a different support interference because if you don't know if you use something like PLA and then you use pet G for the support interference not only will it remove the most annoying parts about support which is when they stay there even though they shouldn't it also leaves a perfect surface finish after the support which as we all know is always a problem with supports so I made a very simple test print where I printed it from PLA and used support interference as pet G it was really cool to look at how the nozzles are switching and then after every single switch it just needs to lay a bit of the filament down on the purge tower so that it prevents things like stringing and as promised it separated perfectly and it left a perfect surface finish which to me is amazing because from now on I can use this with every single model where I need to use support and it won't take hours but minutes instead and the next thing that I want to test Multi-Color Test: Single Nozzle vs Creator 5 is to use as many colours as I can and see how much time and filament it actually saves so I decided to go with this very cute frog that I found on the internet the file will be in the description and so I loaded it inside of my slicers over here is for the Creator 5 using four nozzles and over here is using just a single nozzle having to flash the filament and once you look at the numbers it's actually insane because over here as you can see the frog has about just 30 grams of filament just 30 grams but the flushed filament which is basically just waste and something that goes completely out is not only hundred and forty grams completely flushed but even the tower takes 30 grams so in total it's 200 grams of filament while the frog is only 30 and so the whole cost comes to $4 and I'm not even talking about the printing time because the printing would take nearly 16 hours and so when we compare it over here as you can see the printing would take just about three hours the frog still takes 40 grams of filament the tower still takes 40 there's nothing being flushed and so it costs just $1 and the crazy thing about it is that this is just a small frog that would take otherwise 16 hours but this way it takes just three and doesn't waste any filament besides the purge tower and so just for this small frog if you put it into percentages it's 80% faster it has zero filament exchanges it uses 70% less filament it has zero flashed waste and it costs four times less and so when we are talking about multicolor printing I believe that this system is a must for any printer in the future and the Creator 5 provides exactly that at a very decent price to summarize it Final Verdict & Review Conclusion I think the Creator 5 comes at a really good price for what it's offering the assembly is really easy so that even a beginner who is just starting out will be able to do it and it took just about 15 minutes for me even with the recordings it enables you to use four different filaments and then pair with the device to your phone but when you load a new filament it will extrude the old one over here in the back which would get really annoying so I'm thankful that Flashforge themselves provided a bin like this that you can print that you just hang in there like this in the back and it solves the issue then it was able to print from different materials delivering this smooth surface finish on the support interference thanks to using PLA and PETG and the whole process took a lot shorter time because of the nozzle switching and it basically saves you from wasting filament on multicolor printing and so if you are planning to do multicolor prints with a new 3D printer I would definitely recommend buying one that has the nozzle system and not the ones using just a single nozzle and of course as the experience will go by I will probably find things that could use improvements but as well I will find things that are even more amazing about the printer and the nozzle switching system but right now if I would be starting over not having a large budget the Creator 5 would be something that I would definitely go for thanks again for Flashforge for sending me one for a review and I hope that this video was able to give you an overview of the features that the Creator 5 has